Salted butter, light brown sugar, granulated sugar, eggs, vanilla extract, all-purpose flour, cornstarch, baking powder, butterscotch chips.
I have a funny little soft spot for Butterscotch Bars. They remind me of the kind of dessert that shows up in a square pan at family gatherings, church suppers, bake sales, or those casual Sunday afternoons when someone says, “I just made a little something.” And then that “little something” disappears before dinner. You know the kind, right? No fancy frosting, no towering layers, no dramatic garnish. Just buttery, chewy bars with golden edges and sweet butterscotch chips tucked into every bite. Simple, but not boring. Actually, maybe simple is exactly why they’re so good.
The first time I made these Butterscotch Bars, I was craving something like a blondie, but not exactly a blondie. I didn’t want chocolate, which is rare enough that it probably deserved a calendar note. I wanted something rich, soft, buttery, and a little nostalgic. I found a bag of butterscotch chips in the pantry that had been sitting there for a while, giving me that quiet “please use me” energy every time I opened the cabinet. So I melted some butter, mixed in brown sugar and vanilla, and hoped for the best. Very scientific, obviously.
When the bars came out of the oven, the whole kitchen smelled like butter, brown sugar, and warm vanilla. That smell alone is enough to make you stand near the pan and pretend you’re “just checking if they’re cool yet.” I may have cut into them a little too early the first time. Okay, I definitely did. The middle was still soft and slightly messy, but honestly, warm butterscotch goo on a knife is not the worst mistake a person can make. Still, if you want clean squares, let them cool. Future-you will be proud.
What I love most about these Butterscotch Bars is that they feel cozy without trying too hard. They’re fudgy, chewy, buttery, and sweet in that caramel-like way butterscotch does so well. They’re not flashy, but they have personality. Kind of like the dessert version of a cardigan you keep wearing because it’s comfortable and somehow always right. Does that make sense? Maybe I’m getting too emotionally attached to dessert bars, but here we are.
These butterscotch dessert bars are perfect for the days when you want something homemade but don’t want to fuss with cookie scoops or frosting. One pan, one batter, one bake. That’s it. And when you cut them into squares, they look like the kind of treat that belongs in a lunchbox, on a holiday tray, or next to a cup of coffee when you need a small afternoon reward. Or a large reward. I don’t know your day.

Why you’ll Love these Butterscotch Bars?
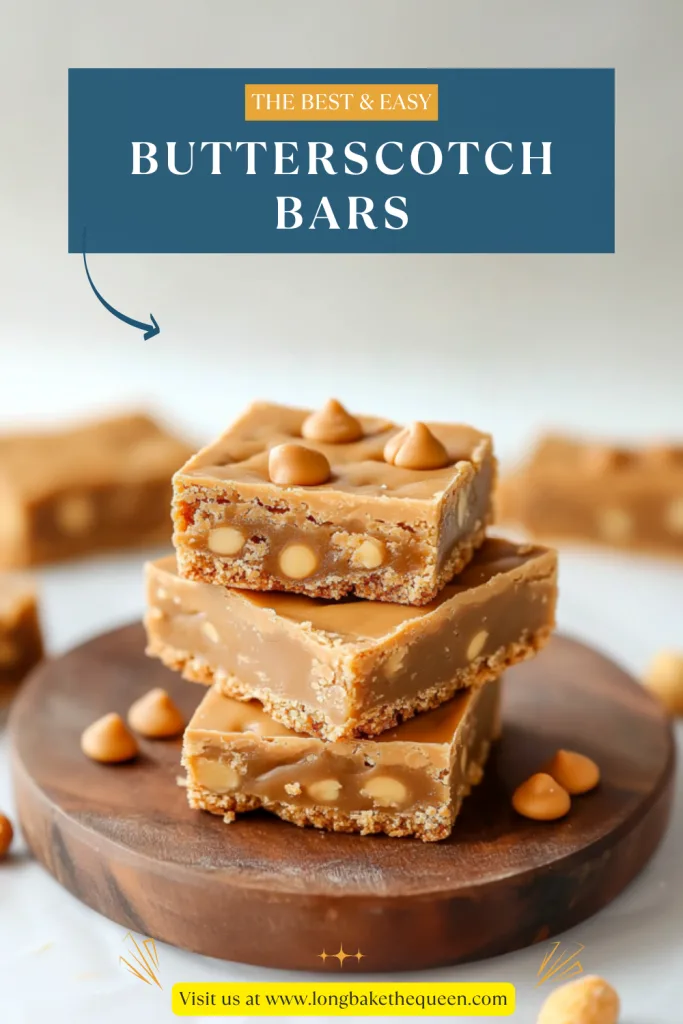
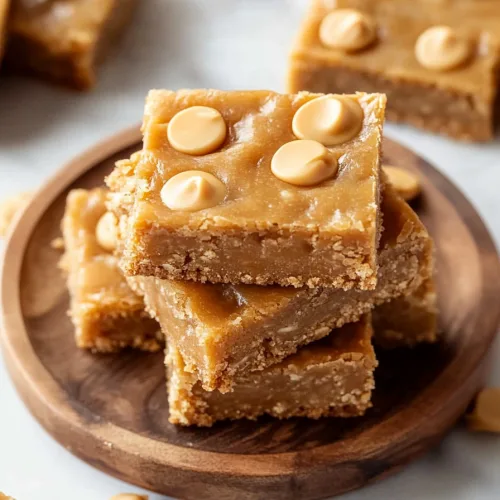
These Butterscotch Bars are the kind of dessert that wins people over quietly. At first glance, they look simple: golden squares, little butterscotch chips on top, nothing too dramatic. But then you take a bite, and there’s that rich buttery flavor, the chew from the brown sugar, the soft fudgy middle, and the sweet butterscotch chips that melt just enough into the batter. It’s not loud dessert. It’s comfort dessert. And sometimes that’s exactly what you want.
The texture is probably my favorite part. These bars are not cakey, which I feel strongly about. I like cake, sure, but when I make Butterscotch Bars, I want that dense, chewy, blondie-style bite. The extra egg yolks help with that. They make the bars richer and softer, while the cornstarch keeps them tender. It’s a small detail, but it makes a difference. Without getting too technical, it helps the bars taste like they came from someone who knew what they were doing — even if you were just mixing batter while answering a text and trying not to spill flour everywhere.
They’re also easy, which I deeply appreciate. You don’t need to chill dough. You don’t need to scoop cookies one by one. You don’t need to decorate anything. You just mix, spread, sprinkle, bake, cool, and slice. That’s a pretty good deal for a dessert that makes 18 servings. And if your “18 servings” turns into 12 because you cut generous squares, I’m not going to tell anyone.
The flavor is sweet, buttery, and a little caramel-like from the light brown sugar and butterscotch chips. The salted butter helps balance all that sweetness, which matters because butterscotch can be, well, enthusiastic. Delicious, yes. Subtle? Not always. But in these Butterscotch Bars, the salt, vanilla, and brown sugar keep everything warm and balanced instead of one-note sweet.
I also like that these bars travel well. They’re great for potlucks, bake sales, holiday dessert trays, lunchbox treats, or casual weekend baking. You can wrap them up, stack them with parchment paper, or bring the whole pan and slice them when you arrive. They don’t need refrigeration right away, they don’t melt into chaos, and they don’t require a fork. That’s practical dessert behavior, and I respect it.
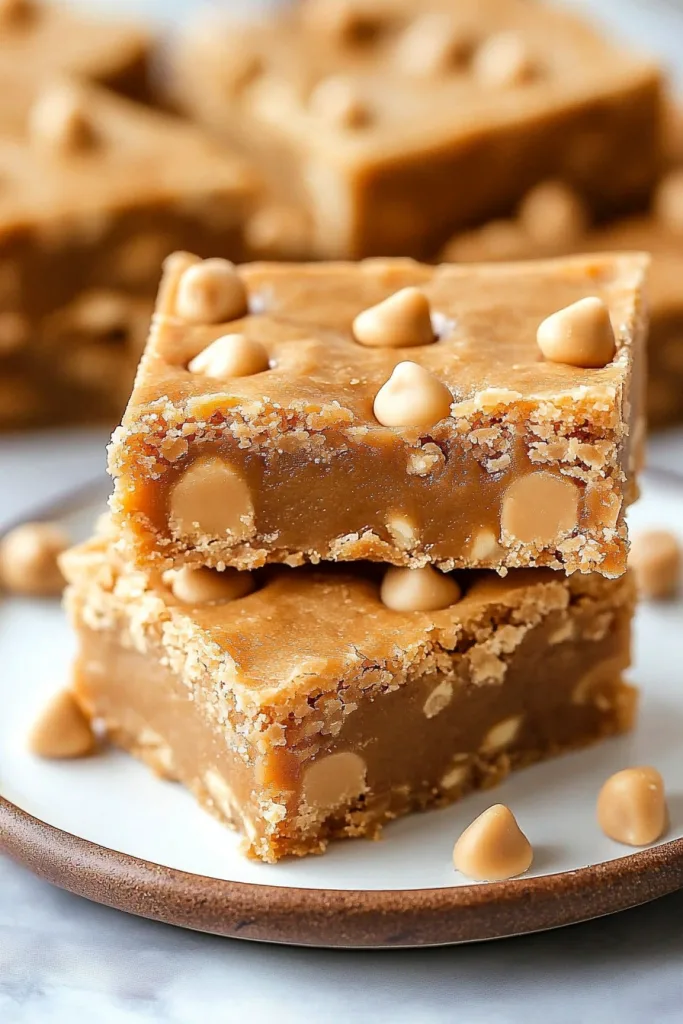
Ingredient Notes
The ingredients for these Butterscotch Bars are simple pantry baking staples, but each one has a job. The butter and sugars bring richness and sweetness. The egg and yolks give structure and that soft, fudgy bite. The flour holds everything together, while cornstarch keeps the crumb tender. And the butterscotch chips? They’re the reason we’re all here. Nothing fancy, but everything matters.
- Salted butter: Salted butter gives these Butterscotch Bars their rich, buttery base and helps balance the sweetness from the sugars and chips. Melt it first, then let it cool before mixing it with the sugars. You don’t want it scorching hot when the eggs go in, because hot butter can make things greasy or uneven. Warm is good. Lava butter is not.
- Light brown sugar: Light brown sugar adds moisture, chewiness, and that soft caramel-like flavor that makes these bars feel extra cozy. Make sure to pack it into the measuring cup. I know packing brown sugar feels oddly serious for such a simple dessert, but it helps the texture come out right.
- Granulated sugar: Granulated sugar works with the brown sugar to help the bars set properly. Brown sugar brings softness and chew, while granulated sugar adds sweetness and structure. Together, they make the bars rich without turning them into sticky candy.
- Egg and egg yolks: This recipe uses 1 large egg plus 2 egg yolks, and those extra yolks are doing important work. The whole egg helps hold the bars together, while the yolks add richness and tenderness. This is part of why these butterscotch cookie bars feel fudgy instead of dry or cakey.
- Vanilla extract: Vanilla gives the bars warmth and depth. One tablespoon may sound like a lot, but it works beautifully with the butter, brown sugar, and butterscotch chips. It gives the bars that bakery-style flavor without needing anything complicated.
- All-purpose flour: Flour gives the bars structure so they can be sliced into squares. Measure it carefully, and don’t pack it into the cup. Too much flour can make the bars dry, and dry bars are not what we’re doing today.
- Cornstarch: Cornstarch helps make the bars soft and tender. It’s one of those quiet ingredients that doesn’t get much attention, but it really helps the texture. Think of it as the behind-the-scenes helper making sure the bars don’t turn tough.
- Baking powder: Baking powder gives the bars just a little lift. Not enough to make them cakey, because we’re not making cake bars here, but enough so they don’t feel too heavy.
- Butterscotch chips: Butterscotch chips are the star of these Butterscotch Bars. Most go into the batter, and the rest get sprinkled on top. They add sweet, buttery flavor and little pockets of butterscotch in every bite. If you love butterscotch, this is your moment.
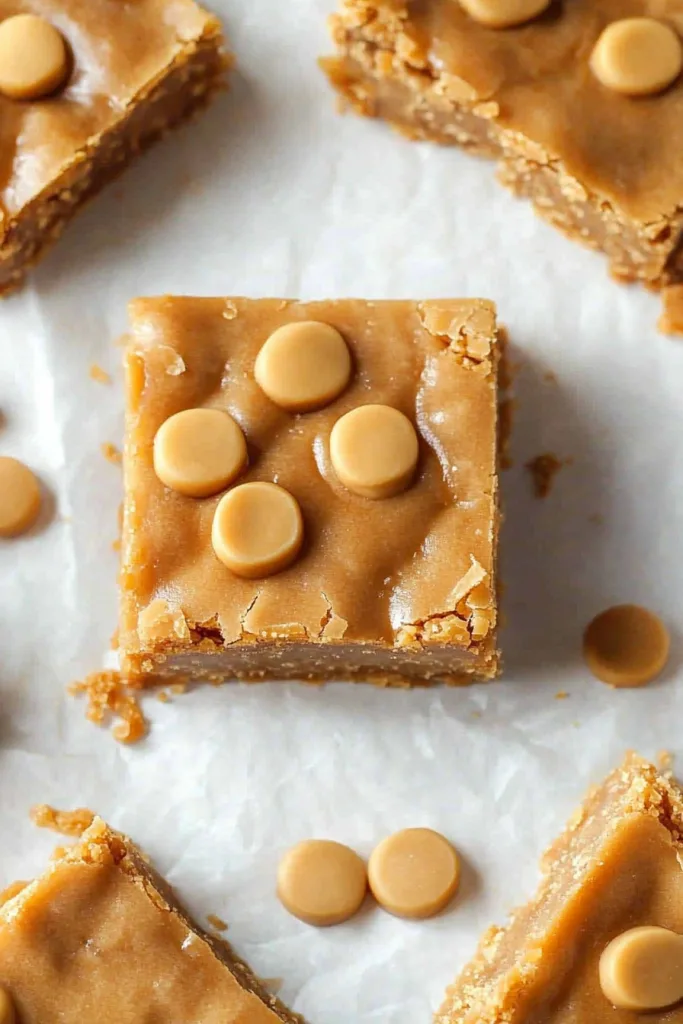
How to Make Butterscotch Bars?
Making Butterscotch Bars is easy, but there are a few little things that help them turn out soft and chewy. The biggest one is not overmixing once the flour goes in. Stir until everything comes together, then stop. I know it’s tempting to keep mixing because the batter is thick and satisfying, but too much mixing can make the bars tougher. We want fudgy and tender, not dessert that fights back.
Step 1: Preheat the Oven and Prepare the Pan
Preheat your oven to 350°F. Grease a 9×13-inch baking pan, then line it with parchment paper, leaving some overhang on the sides. That parchment overhang is your best friend later because it lets you lift the cooled bars out of the pan easily. Without it, you may end up trying to remove the first square with a knife, a spatula, and a little prayer. I’ve been there. Parchment is easier.
Step 2: Mix the Butter and Sugars
In a medium bowl, whisk together the melted and cooled salted butter, packed light brown sugar, and granulated sugar until smooth and creamy. The mixture should look glossy and thick. This is where the rich base of the Butterscotch Bars starts. Melted butter gives the bars that dense, chewy texture, while the sugars create sweetness and moisture.
Step 3: Add the Egg, Yolks, and Vanilla
Beat in the large egg and 2 egg yolks, one at a time, mixing well after each addition. Then stir in the vanilla extract. The batter should look smooth, rich, and slightly thick. Those extra yolks are what help give the bars their fudgy texture, so don’t skip them unless you’re okay with a slightly different result.
Step 4: Whisk the Dry Ingredients
In a separate bowl, whisk together the all-purpose flour, cornstarch, and baking powder. This helps spread the cornstarch and baking powder evenly before they go into the wet mixture. It only takes a few seconds, but it helps the bars bake more evenly. Nobody wants one corner soft and another corner acting like a biscuit.
Step 5: Combine the Wet and Dry Mixtures
Gradually add the dry ingredients to the wet mixture. Stir until the batter is about halfway combined. You should still see some streaks of flour at this point, and that’s okay. Actually, it’s helpful. You’ll keep mixing when the butterscotch chips go in, so stopping early helps prevent overmixing.
Step 6: Fold in the Butterscotch Chips
Add 3/4 cup of butterscotch chips to the batter and stir just until no streaks of flour remain. The batter will be thick, which is exactly what you want for chewy Butterscotch Bars. Fold gently and stop once everything is combined. This is the moment to put the spatula down, even if your brain says, “Just one more stir.” We are not listening to that brain today.
Step 7: Spread the Batter into the Pan
Transfer the thick batter into the prepared pan and spread it evenly into the corners. This may take a little patience because the batter isn’t thin or pourable. Use a spatula and do your best to smooth the top. It does not need to look perfect. Once it bakes, nobody will care if the surface had a few waves. Dessert bars are forgiving like that.
Step 8: Sprinkle the Remaining Butterscotch Chips
Sprinkle the remaining 1/4 cup butterscotch chips over the top of the batter. Press them in very lightly if needed so they stay put. This gives the baked bars a pretty chip-studded top and makes the butterscotch flavor obvious before anyone even takes a bite.
Step 9: Bake Until Golden
Bake the bars for 25 to 30 minutes, or until the top is golden brown and the center is set. Try not to overbake them. The bars will keep firming up as they cool, so if the middle looks just slightly soft, that’s usually okay. If you want fudgy butterscotch blondie bars, pulling them out at the right time matters. Overbaking is how chewy bars become dry bars, and that’s a tiny tragedy.
Step 10: Cool Completely Before Slicing
Let the Butterscotch Bars cool completely in the pan before slicing. I know. This part is annoying because they smell amazing, and warm butterscotch is persuasive. But cooling helps the bars set properly and gives you cleaner squares. Once they’re cool, lift them out using the parchment paper overhang and slice into 18 bars. If the edges are a little uneven, just call those “chef snacks.” Very official.
Step 11: Serve and Enjoy
Serve the bars as they are, or pair them with coffee, milk, vanilla ice cream, or caramel sauce. They’re buttery, chewy, sweet, and cozy. Perfect for sharing, gifting, or keeping in a container on the counter so you can take “just a tiny piece” every time you walk by. That never gets out of hand, obviously.
Storage Options
These Butterscotch Bars store nicely, which makes them great for making ahead. The important thing is to let them cool completely before packing them away. If you store them while warm, steam can get trapped inside the container and make the bars sticky or too soft. And while soft dessert bars are lovely, sweaty dessert bars are not the goal. There’s a line.
- Room temperature: Store cooled Butterscotch Bars in an airtight container at room temperature for up to 4 days. Keep them in a cool, dry spot. If your kitchen is warm, the butterscotch chips may soften a little, but the bars will still taste good.
- Refrigerator: For longer storage, place the bars in an airtight container and refrigerate for up to 1 week. They will firm up in the fridge, so let them sit at room temperature for a few minutes before serving if you prefer a softer, chewier bite.
- Freezer: These bars freeze well. Wrap individual squares tightly in plastic wrap, then place them in a freezer-safe bag or container. Freeze for up to 2 months. Thaw at room temperature before serving. You can also warm them slightly if you want the chips to soften again.
- Stacking tip: If stacking the bars, place parchment paper between layers so they don’t stick together. This is especially useful if the tops are soft or the butterscotch chips are a little melty.
- Make-ahead option: You can bake these Butterscotch Bars a day ahead and store them covered at room temperature. They actually slice better once they’ve cooled completely and had time to set, so making them ahead can be a smart move.
- Serving after storage: If the bars seem too firm after refrigeration or freezing, microwave a square for just a few seconds. It softens the texture and makes the butterscotch chips a little melty again. Tiny effort, big reward.
Variations & Substitutions
These Butterscotch Bars are delicious as written, but they’re also easy to play with. The buttery brown sugar base works well with chocolate, nuts, toffee, caramel, spices, and other baking chips. I wouldn’t change everything at once on the first try, but a little experimenting is part of the fun. Some of the best dessert bar moments come from “what if I add this?” decisions.
- Add chocolate chips: Swap some of the butterscotch chips for semi-sweet chocolate chips. The chocolate balances the sweetness and makes the bars taste a little richer. Chocolate and butterscotch together have a cozy bake-sale kind of flavor.
- Add chopped nuts: Chopped pecans or walnuts add crunch and a nutty flavor that pairs beautifully with butterscotch. Toast them first if you have time. It adds deeper flavor, though honestly, untoasted nuts will still work if you’re in a rush.
- Use dark brown sugar: Dark brown sugar can replace light brown sugar if you want a deeper molasses flavor. The bars will taste a little richer and more caramel-like. It’s a small swap, but a good one if you like stronger brown sugar flavor.
- Add caramel drizzle: Drizzle caramel sauce over the cooled bars for an extra-sweet finish. Let it set slightly before slicing or serving. This is great if you’re serving the bars as a more dressed-up dessert.
- Sprinkle with flaky salt: A little flaky sea salt on top helps balance the sweetness. This is especially good if you like sweet-and-salty desserts. Butterscotch is sweet, so salt gives it a nice little edge.
- Make them extra vanilla: Add a little vanilla bean paste along with the vanilla extract for a stronger vanilla flavor. This makes the Butterscotch Bars taste more bakery-style, which is never a bad thing.
- Add cinnamon: A pinch of cinnamon adds warmth and makes the bars feel extra cozy. It’s especially nice for fall baking or holiday dessert trays.
- Use white chocolate chips: White chocolate chips can be mixed with butterscotch chips for a sweeter, creamier bar. This version is rich, so smaller squares may be a good idea. Or not. Your dessert, your rules.
- Make them thicker: You can bake the batter in a smaller pan for thicker butterscotch blondie bars, but you’ll need to increase the baking time and watch the center carefully. The edges may set before the middle, so keep an eye on it.
- Add toffee bits: Toffee bits add crunch and buttery caramel flavor. They fit beautifully with the butterscotch chips and brown sugar base. This is one of my favorite add-ins when I want the bars to feel a little more special.
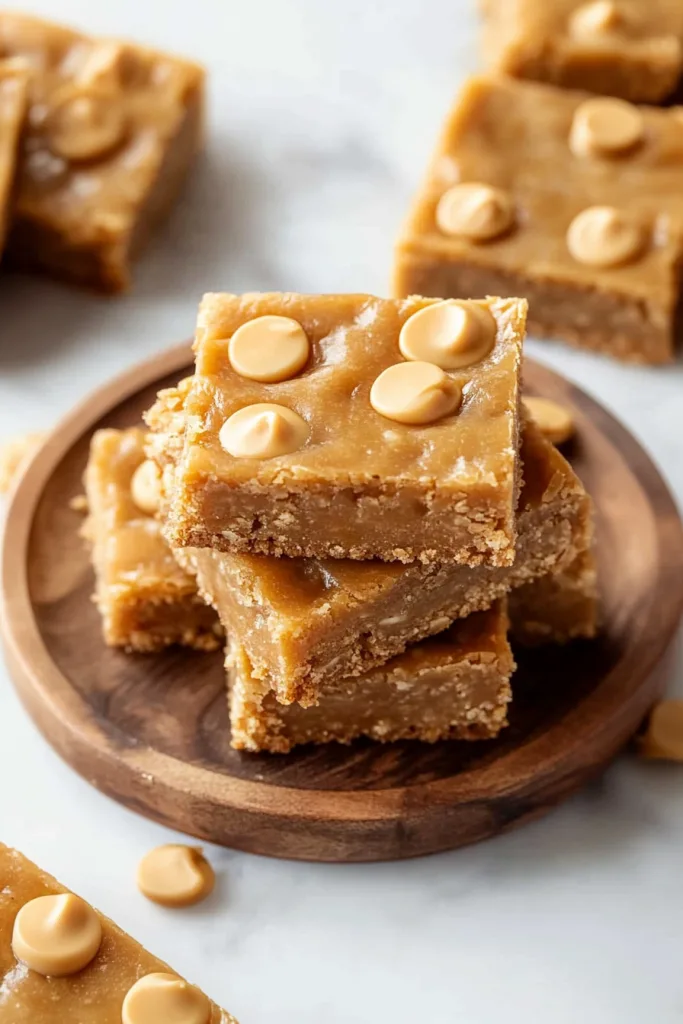
What to Serve With Butterscotch Bars?
These Butterscotch Bars are wonderful on their own, but the right pairing can make them even better. Since they’re sweet, buttery, and rich, they go nicely with drinks or toppings that balance the sweetness. Coffee, milk, berries, ice cream, or a sprinkle of salt all work well. Basically, anything that makes you want to sit down and enjoy the moment instead of eating a square over the sink. Though, no shame. We’ve all done it.
- Coffee: Coffee pairs beautifully with these Butterscotch Bars because the slight bitterness balances the sweetness. A chewy butterscotch square with a warm cup of coffee feels like a very good afternoon decision.
- Milk: A cold glass of milk is classic with dessert bars. It’s simple, nostalgic, and perfect if you’re serving these to kids — or adults who still love milk with sweets. Which is many of us.
- Vanilla ice cream: Warm a bar slightly and top it with vanilla ice cream. The ice cream melts into the fudgy center, and the butterscotch chips soften just enough. It turns a simple bar into a full dessert.
- Caramel sauce: Drizzle caramel sauce over the bars for extra richness. This is especially nice if you’re plating them for guests and want them to look a little more finished.
- Whipped cream: A small dollop of whipped cream adds a lighter, creamy touch. It keeps the dessert from feeling quite as heavy, or at least it gives that impression. Close enough.
- Hot tea: Black tea, chai, or spiced tea pairs nicely with the brown sugar and butterscotch flavors. Chai especially brings out the warm notes in the bars.
- Fresh berries: Strawberries, raspberries, or blueberries add brightness and tartness, which helps balance the sweet butterscotch flavor. Raspberries are especially good if you like a sharper contrast.
- Salted nuts: Salted pecans, walnuts, or almonds add crunch and balance. Serve them on the side or sprinkle chopped nuts over the bars before serving.
- Hot chocolate: If you want to go full cozy mode, serve Butterscotch Bars with hot chocolate. Is it sweet? Absolutely. Is it fun? Also absolutely.
- Holiday dessert trays: These bars fit beautifully on holiday platters with brownies, cookies, fudge, and blondies. They bring a buttery butterscotch flavor that stands out from all the chocolate-heavy treats.
FAQ
Why are my Butterscotch Bars dry?
Dry bars usually happen when there’s too much flour or the bars are baked too long. Measure the flour carefully and avoid packing it down. Also, start checking around the 25-minute mark. The center should be set but still soft, because the bars continue to firm up as they cool. If you wait until the center looks completely firm in the oven, they may be overbaked by the time they cool.
Why do I need extra egg yolks?
The extra egg yolks add richness, moisture, and chewiness. They help make these Butterscotch Bars soft and fudgy instead of cakey. It’s a small step, but it makes a noticeable difference in the texture.
Can I double this recipe?
Yes, you can double the recipe, but it’s best to bake it in two 9×13-inch pans. A single very thick batch may bake unevenly, with dry edges and an underdone center. Two pans give you better results and cleaner slices.
Can I make these bars less sweet?
Yes, a little. Butterscotch is naturally sweet, so these bars will always lean sweet. To balance that, you can use fewer butterscotch chips, replace some with chopped nuts or semi-sweet chocolate chips, or add a sprinkle of flaky sea salt on top. I especially like the salt option because it keeps the butterscotch flavor but makes it feel more balanced.
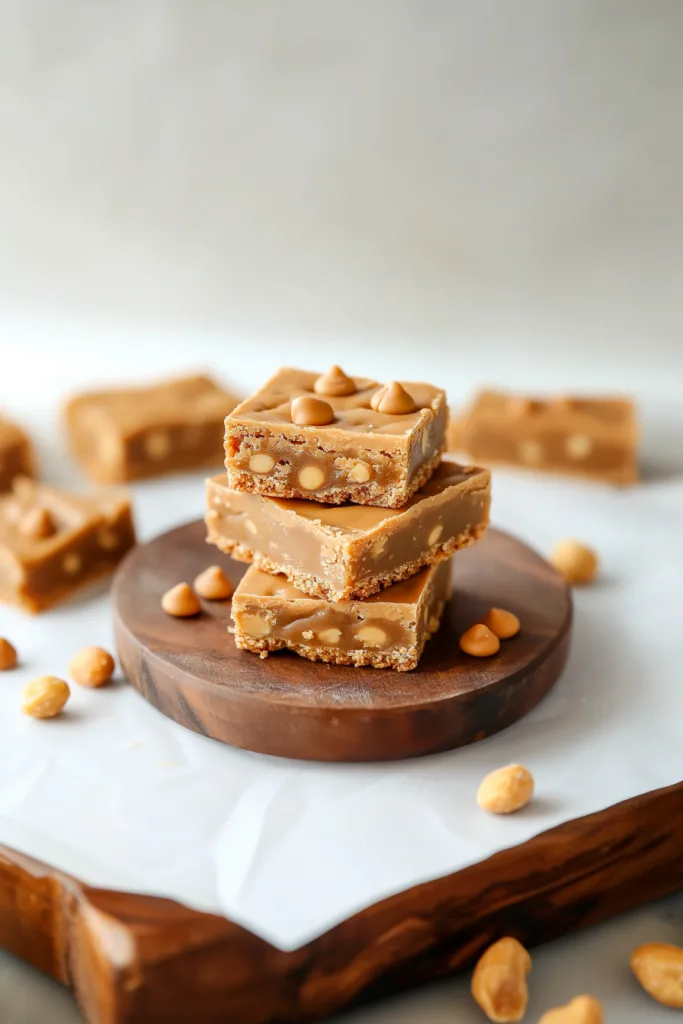
These Butterscotch Bars are buttery, chewy, fudgy, and full of sweet butterscotch flavor. They’re easy enough for a casual baking day but special enough for bake sales, potlucks, holidays, and dessert trays. I love that they come together in one pan and don’t need frosting, chilling, or decorating. Just bake, cool, slice, and try not to keep “evening out the edges” until half the pan is gone.
So the next time you want something cozy, sweet, and wonderfully simple, make a pan of these Butterscotch Bars. Pour yourself a cup of coffee, grab a square, and enjoy every buttery bite. Can’t wait to hear what you think!
Butterscotch Bars
Ingredients
- 1 cup salted butter melted and cooled
- 1 cup light brown sugar packed
- 1 cup granulated sugar
- 1 large egg
- 2 large egg yolks
- 1 tablespoon vanilla extract
- 2 1/2 cups all-purpose flour
- 1 tablespoon cornstarch
- 1 teaspoon baking powder
- 1 cup butterscotch chips divided
Instructions
- Preheat the oven to 350°F.
- Grease a 9×13-inch baking pan and line it with parchment paper, leaving an overhang on the sides for easy removal after baking.
- In a medium mixing bowl, whisk together the melted and cooled salted butter, packed light brown sugar, and granulated sugar until smooth and creamy.
- Add the large egg and mix until fully incorporated.
- Add the egg yolks one at a time, mixing well after each addition.
- Stir in the vanilla extract until evenly combined.
- In a separate bowl, whisk together the all-purpose flour, cornstarch, and baking powder.
- Gradually add the dry ingredients to the wet mixture.
- Stir until the batter is approximately halfway combined and some streaks of flour remain.
- Add 3/4 cup of the butterscotch chips.
- Continue mixing just until no visible streaks of flour remain. Do not overmix.
- Transfer the batter to the prepared baking pan.
- Spread the batter evenly into the pan using a spatula, ensuring it reaches the corners.
- Sprinkle the remaining 1/4 cup butterscotch chips evenly over the top of the batter.
- Bake for 25 to 30 minutes, or until the top is golden brown and the center is set.
- Remove the pan from the oven and allow the bars to cool completely in the pan.
- Once fully cooled, use the parchment paper overhang to lift the bars from the pan.
- Cut into squares and serve.
Notes