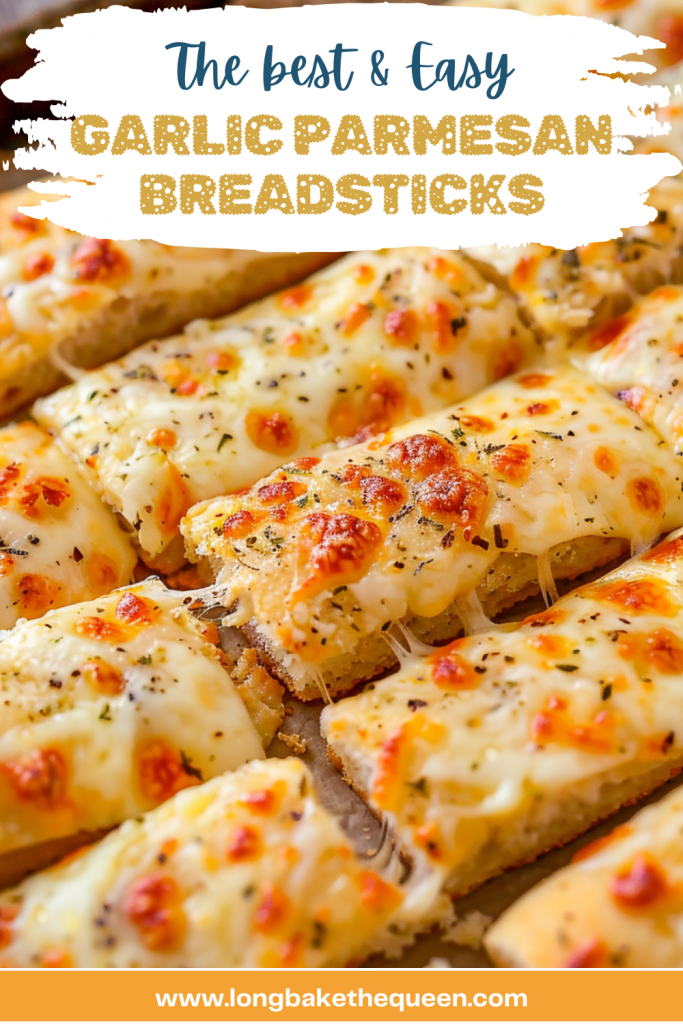
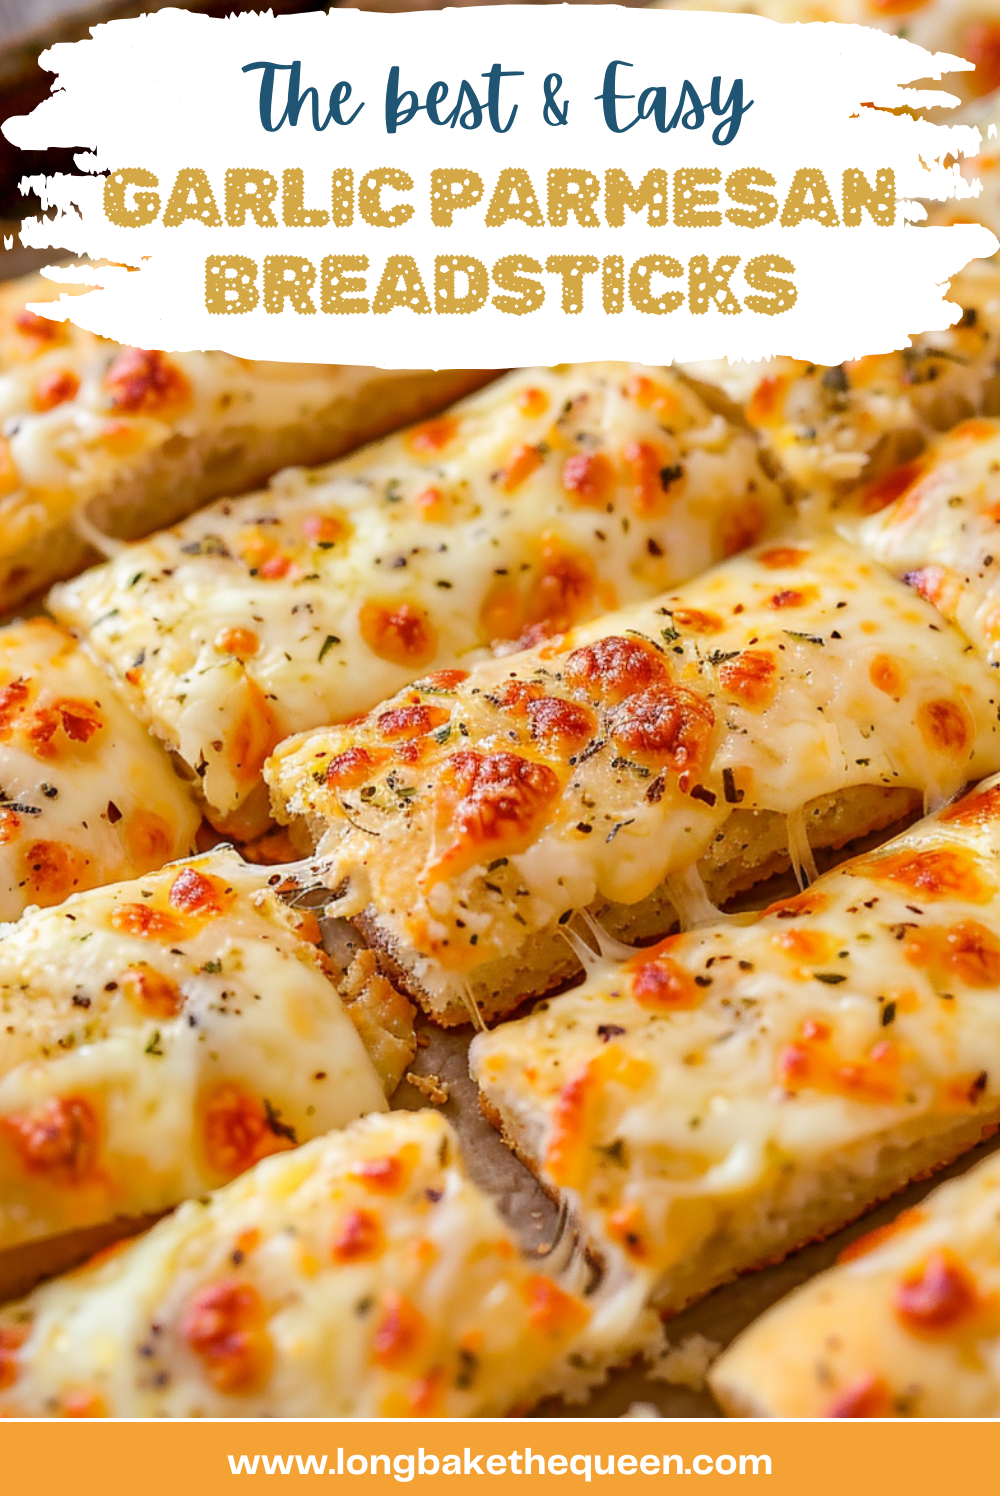
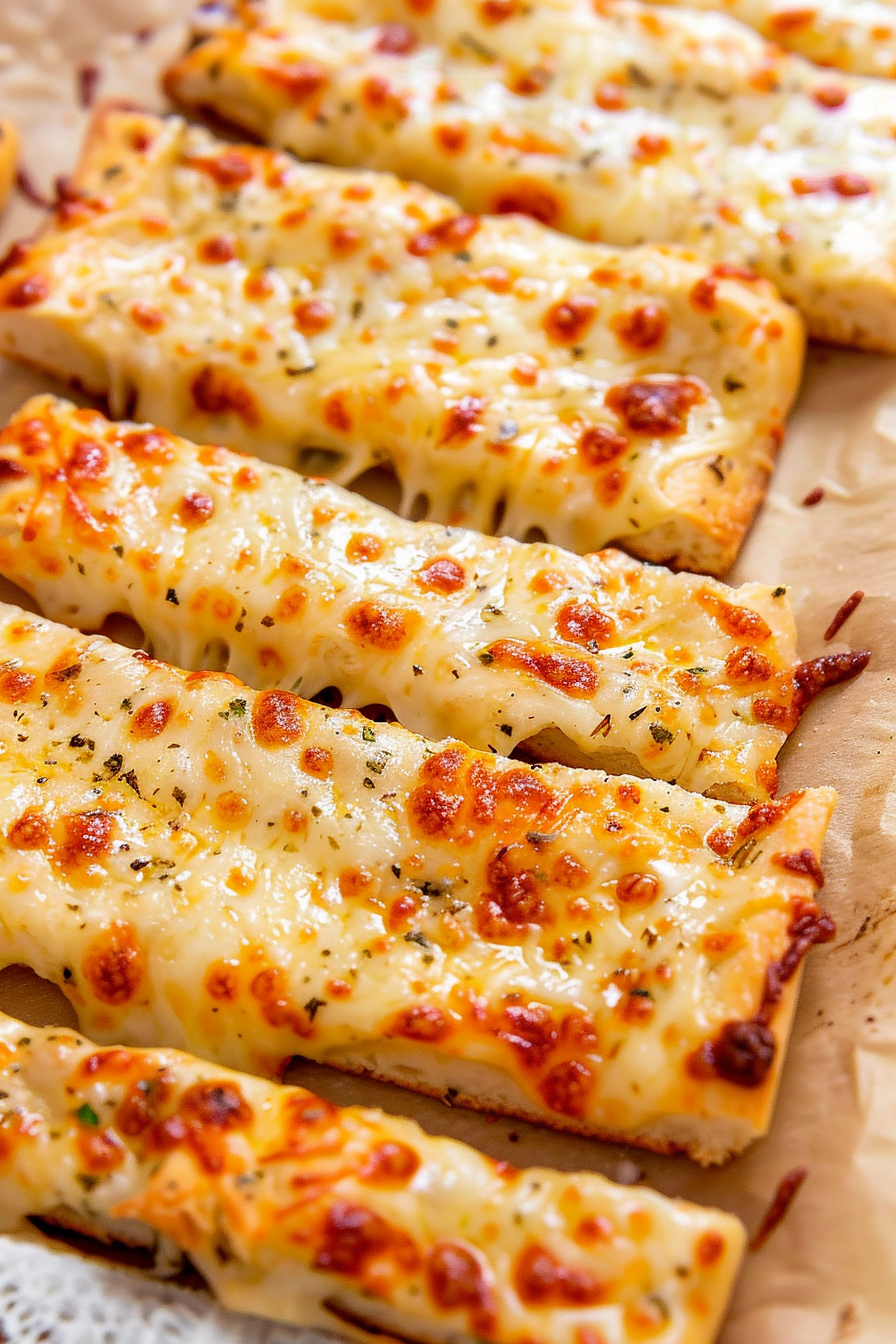
Garlic Parmesan Breadsticks – Are you ready to whip up a batch of scrumptiously cheesy Garlic Parmesan Breadsticks? Perfect as an appetizer or a side dish. These breadsticks combine. The aromatic punch of garlic with the rich, savory flavors of Parmesan. And mozzarella cheeses. Quick to prepare. And delightful to the taste buds. This recipe will become a go-to for gatherings. Or a perfect complement. To your family dinners.
The first time I made these Garlic Parmesan Breadsticks. It was a chilly evening. And I wanted something warm. And comforting to go with our spaghetti dinner. From the moment the aroma of garlic. And melting cheese filled the kitchen. I knew I had stumbled upon a winner. As soon as I took them out of the oven. Golden and bubbling. My husband. And our little one. Were eagerly waiting. To grab a piece. Their delighted faces. And the quick disappearance of the breadsticks off the plate. It was all the confirmation I needed. That this recipe was special.
What makes this Garlic Parmesan Breadsticks truly special?
What makes these Garlic Parmesan Breadsticks a favorite? Firstly, they’re homemade. Guaranteeing freshness. And flavor. That store-bought versions. Simply can’t match. The dough rises to the perfect texture. Soft on the inside. With a slightly crisp edge. Secondly, they’re incredibly versatile. Serve them alongside a pasta dish. Soup. Or simply with a selection of dips. Lastly, they’re a crowd-pleaser. Whether it’s a family dinner. Or a large gathering. These breadsticks always get rave reviews.
What You Need To Make This Garlic Parmesan Breadsticks Recipe?
Active Dry Yeast: This is what makes the breadsticks rise. Giving them a light and airy texture. Make sure your water is warm. To help activate the yeast.
Granulated Sugar: A little sugar helps feed the yeast. Boosting its activity to help the dough rise.
Warm Water: The right temperature. Is crucial for activating the yeast. It should be warm. Not too hot. Or cold.
Olive Oil: Adds moisture and flavor to the dough. Helping to create tender breadsticks.
Salt: Enhances the overall flavor of the dough. And balances the sweetness.
White Vinegar: A touch of vinegar strengthens the dough. Making it elastic. And easier to shape.
Bread Flour or All-Purpose Flour: Bread flour makes the breadsticks chewier. While all-purpose flour keeps them softer. Both work well. Depending on your texture preference.
Salted Butter: Used for the topping. It adds a rich, golden crust to the breadsticks.
Fresh Garlic: Key for flavor. Minced garlic gives the breadsticks a strong, aromatic kick.
Parmesan Cheese: Adds a sharp, salty flavor. And helps create a deliciously cheesy crust.
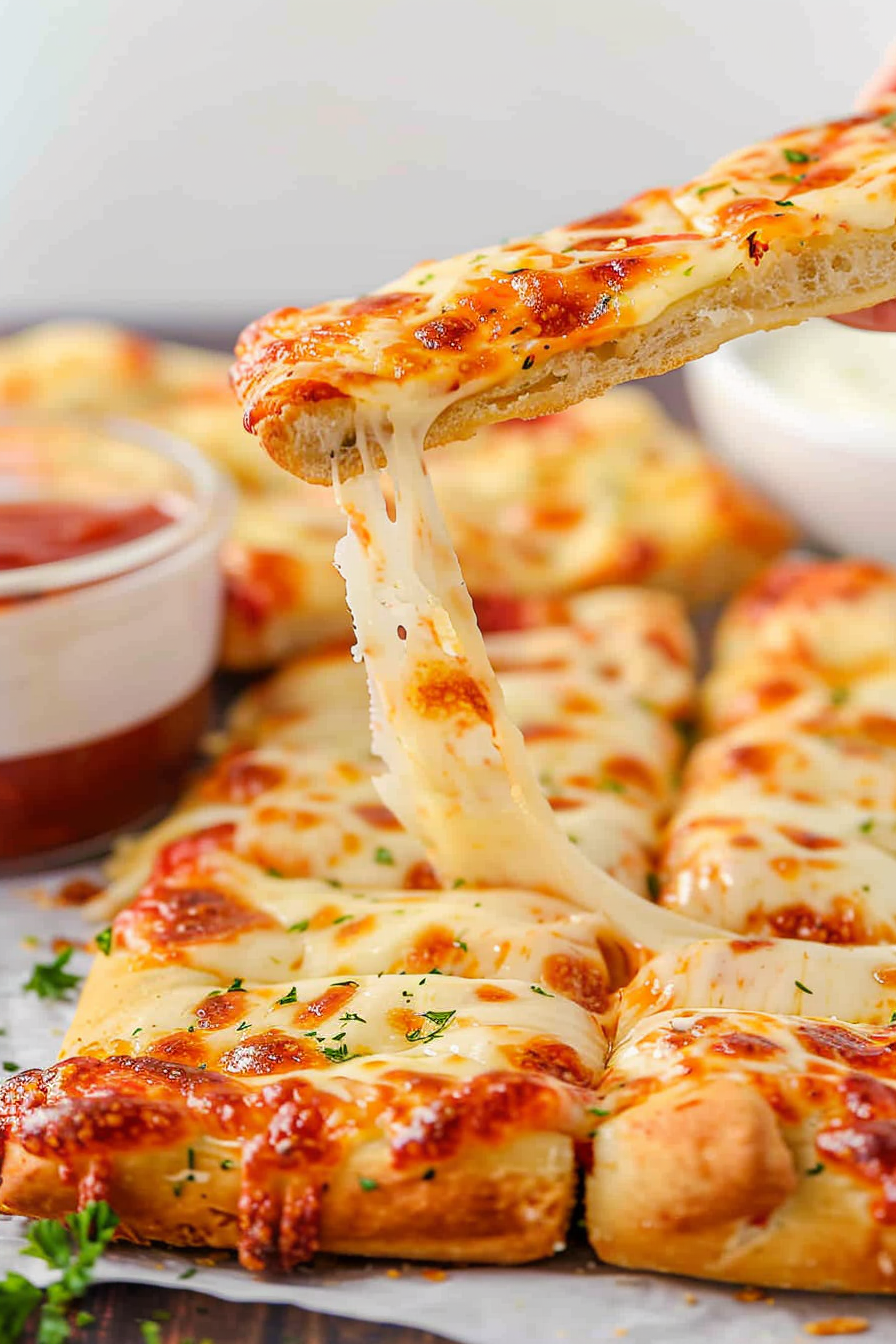
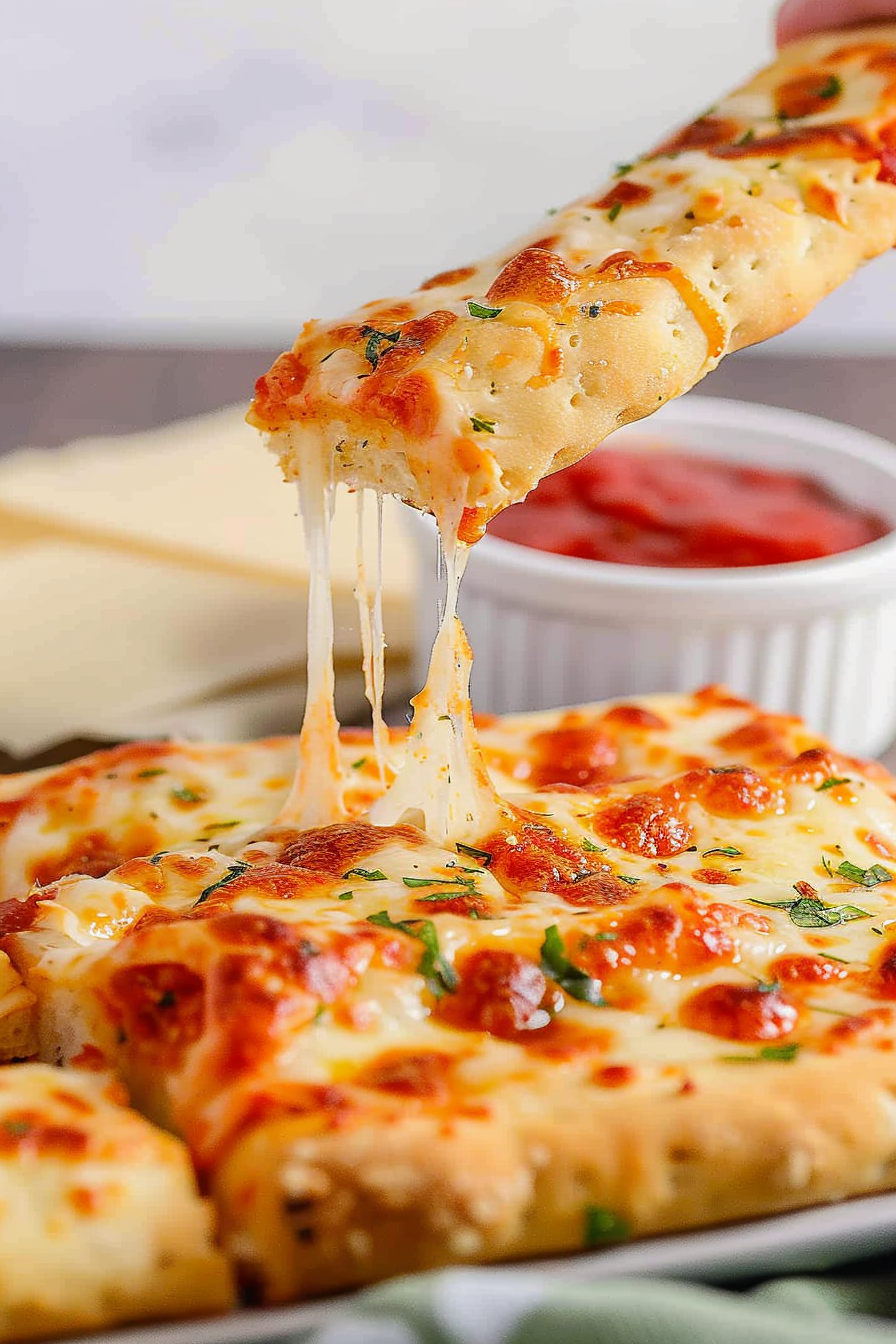
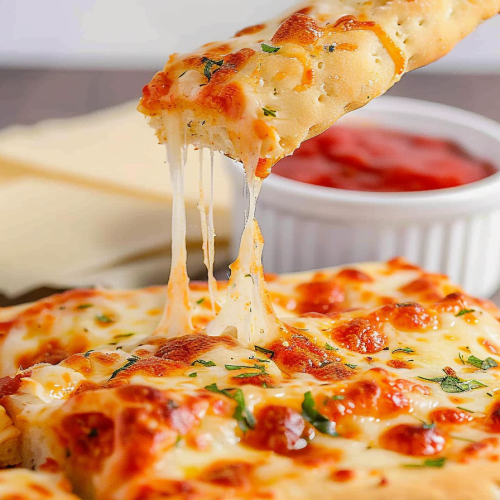
Mozzarella Cheese: Makes the breadsticks delightfully cheesy. And stretchy, perfect for pulling apart.
Steps To Make Garlic Parmesan Breadsticks:
Step 1: Prepare the Yeast Mixture: In a large bowl or stand mixer, combine ½ cup of the warm water with the sugar and yeast. Stir and let it rest for 5 minutes to activate the yeast.
Step 2: Mix the Dough: Add the remaining water, olive oil, salt, and vinegar. Start mixing at medium-low speed and gradually incorporate the flour. Knead until the dough is smooth and elastic—it should be slightly sticky, but not so much that it sticks to a clean fingertip.
Step 3: Let it Rise: Cover the dough with a dry towel and let it rest in a warm place for 1 hour until it doubles in size.
Step 4: Preheat and Shape: Preheat your oven to 475 degrees F with a pizza stone or an upside-down cookie sheet inside. Punch down the dough, then stretch it on parchment paper into a ⅓-inch thick rectangle.
Step 5: Add Toppings: Mix melted butter and garlic, spread it over the dough, then sprinkle evenly with Parmesan and mozzarella.
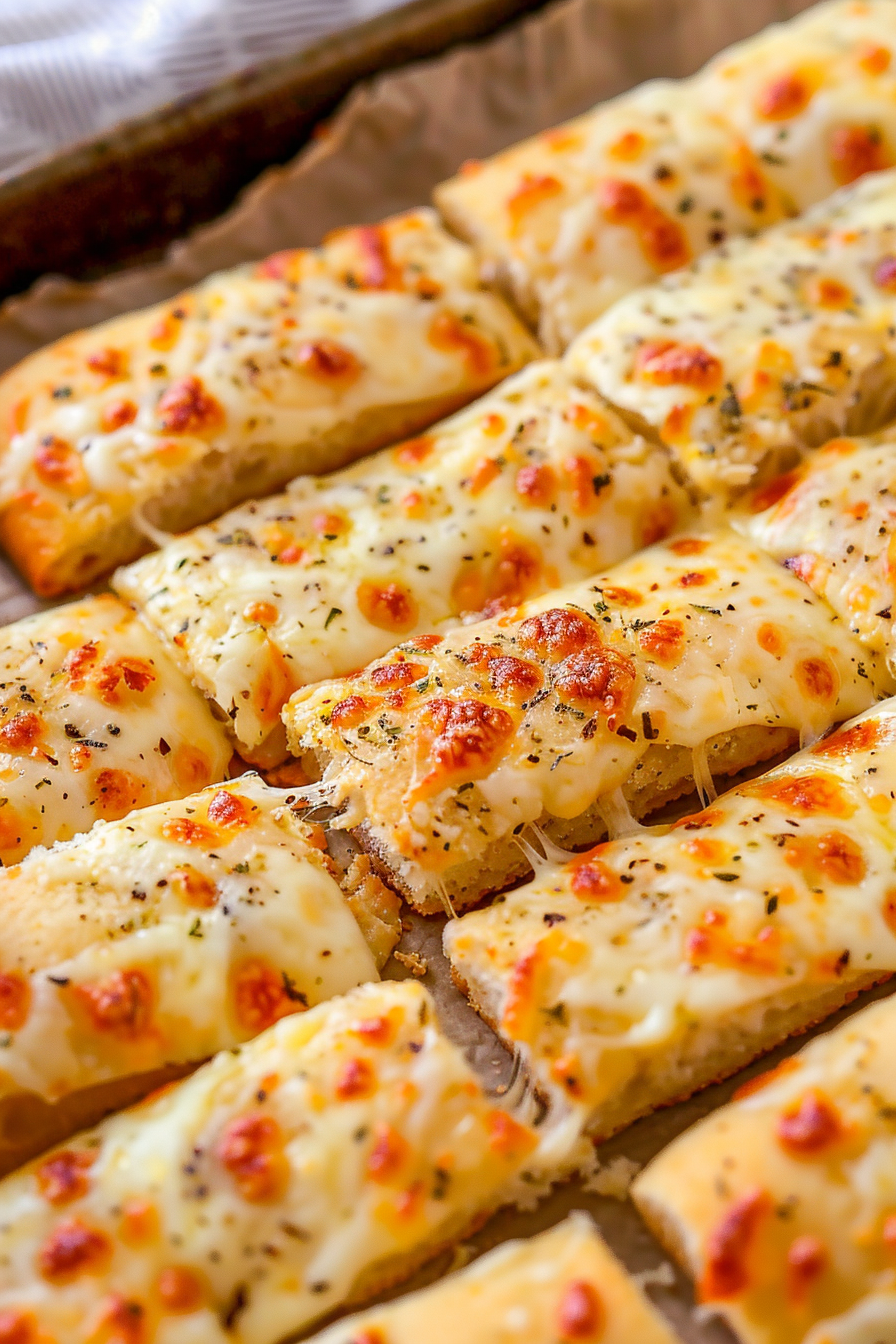
Step 6: Bake: Transfer the dough on the parchment to the hot pizza stone. Bake for 8-12 minutes until golden and bubbly.
Tip:
One pro tip. For making these Garlic Parmesan Breadsticks truly exceptional. Is to preheat your baking surface. Whether you’re using a pizza stone. Or an inverted cookie sheet. Heating it in the oven. At 475 degrees F. Before placing your dough on it. Can make a big difference. This technique ensures that the bottom of the breadsticks. Starts cooking the moment it hits the surface. Leading to a beautifully crisp bottom. And edges. While keeping the inside soft. And fluffy. This mimics the effect of a professional baker’s oven. Giving your breadsticks. That irresistible bakery-quality crunch. With every bite.
Frequently Asked Questions:
Can I make the dough ahead of time?
Absolutely! You can prepare the dough. Cover it tightly. And refrigerate for up to 24 hours. Before you plan to bake it.
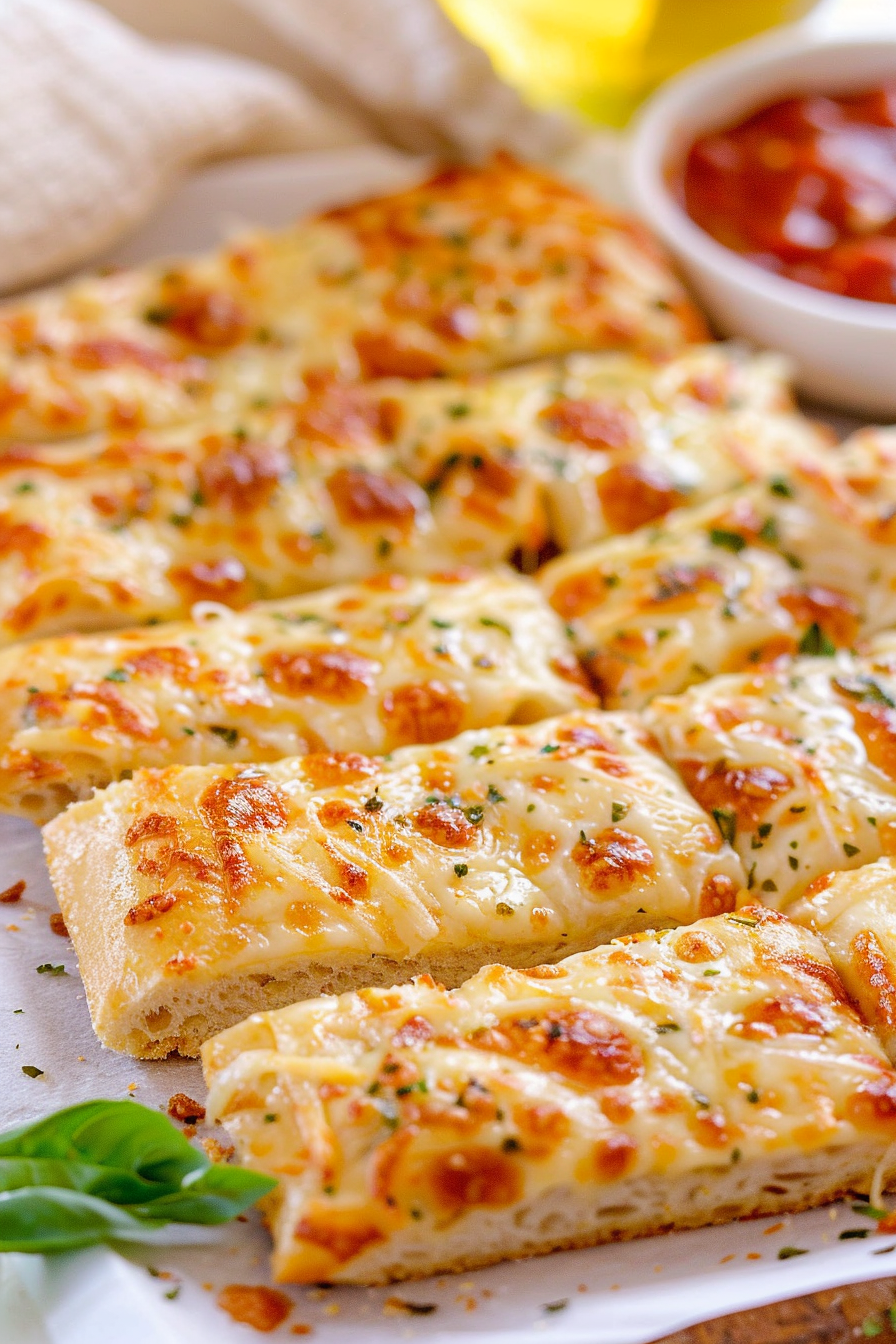
What are the best dipping sauces for these breadsticks?
Marinara sauce, ranch, or even a garlic butter sauce. Make excellent companions. For these cheesy treats.
How do I store leftover breadsticks?
Keep any leftovers in an airtight container. At room temperature. For up to 2 days. Reheat in the oven. Or microwave. Before serving. To get them nice and warm!
Garlic Parmesan Breadsticks
Ingredients
Dough:
- 1 1/8 tsp active dry yeast
- 1 tsp granulated sugar
- 3/4 c warm water
- 1 1/2 tbsp olive oil
- 3/4 tsp salt
- 1/2 tsp white vinegar
- 1 ½ – 2 c bread flour or all-purpose flour
Topping:
- 1 1/2 tbsp salted butter
- 2 cloves garlic minced
- 1/3 c freshly grated Parmesan cheese
- 1 1/4 c shredded mozzarella cheese
Instructions
- Activate the Yeast: In a large bowl. Mix ½ cup warm water, sugar, and yeast. Let it sit for 5 minutes. Until it becomes frothy.
- Make the Dough: Add the remaining ¼ cup warm water, olive oil, salt, and vinegar to the yeast mixture. Gradually mix in 1 ½ to 2 cups of flour. Until the dough comes together. It should be smooth. And slightly sticky. Knead the dough. For a few minutes.
- Let it Rise: Cover the dough with a towel. And set it in a warm place. To rise for 1 hour. Or until it doubles in size.
- Preheat the Oven: Place a pizza stone. Or an upside-down cookie sheet in the oven. And preheat to 475 degrees F.
- Shape the Dough: Punch down the risen dough. And stretch it out on a piece of parchment paper. Into a rectangle about ⅓ inch thick.
- Add Toppings: Mix melted butter with minced garlic. And spread over the dough. Sprinkle with Parmesan. And mozzarella cheeses.
- Bake: Transfer the dough on the parchment paper. To the preheated pizza stone. Bake for 8-12 minutes. Until the cheese is bubbly. And the crust is golden.
- Serve: Remove from the oven. Slice. And serve hot with your favorite dipping sauces.
Notes