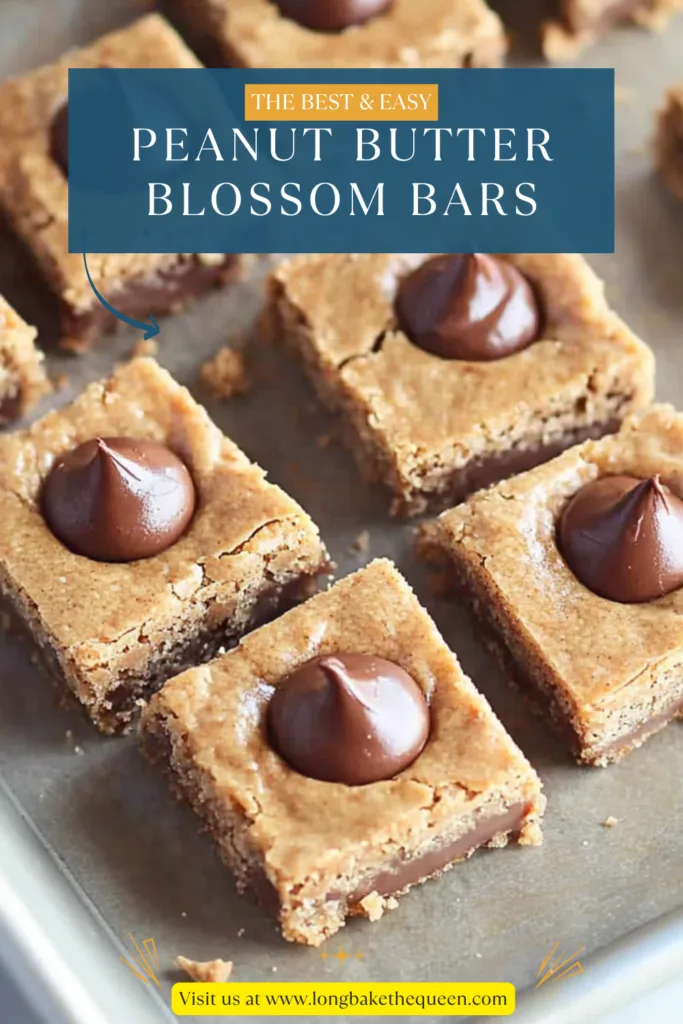
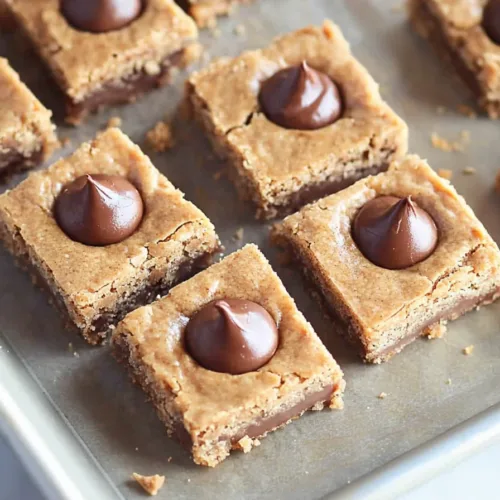
Peanut butter bars made with butter, sugar, flour, chocolate chips, and topped with classic Hershey’s Kisses.
Every time I make Peanut Butter Blossom Bars, I get this weird flashback feeling. Not a clear memory—more like a vibe. Crowded kitchens. Winter coats piled on chairs. Someone asking, “Are those done yet?” while hovering way too close to the oven. Peanut butter blossoms were always around growing up, especially during the holidays, and they were always the first cookies to disappear. No one ever admitted to taking the last one. It just… vanished. Funny how that works.
I still love those classic cookies, but I’ll be honest—some days I don’t have the patience for rolling dough balls and pressing kisses one by one like I’m on a baking competition show. Some days I just want the flavor. The comfort. The nostalgia. Without the extra work. That’s where these Peanut Butter Blossom Bars came from. Not genius. Not revolutionary. Just practical, slightly lazy, and honestly? Better for it.
The first time I made them, I wasn’t even sure they’d scratch the same itch. Bars instead of cookies felt almost wrong. But one bite in—soft peanut butter base, melty chocolate chips, that familiar Hershey’s Kiss on top—I knew. Same soul. Different shape. And now? These are what I make when I want that childhood feeling without wrecking my afternoon.

Why you’ll Love These Peanut Butter Blossom Bars?
Here’s my not-so-scientific opinion: bars are underrated. Especially when it comes to nostalgic desserts. These Peanut Butter Blossom Bars give you all the things you want—chewy texture, rich peanut butter flavor, chocolate in every bite—without making you feel like you signed up for a project.
I love that they’re unfussy. Spread the batter. Bake it. Cut it. Done. And yet, when people see them? They know exactly what they’re getting. That Hershey’s Kiss on top does a lot of emotional heavy lifting. It’s familiar. Comforting. Almost reassuring. Like, yes, this will be good. And it always is. At least in my experience. Could I be biased? Probably. But I stand by it.
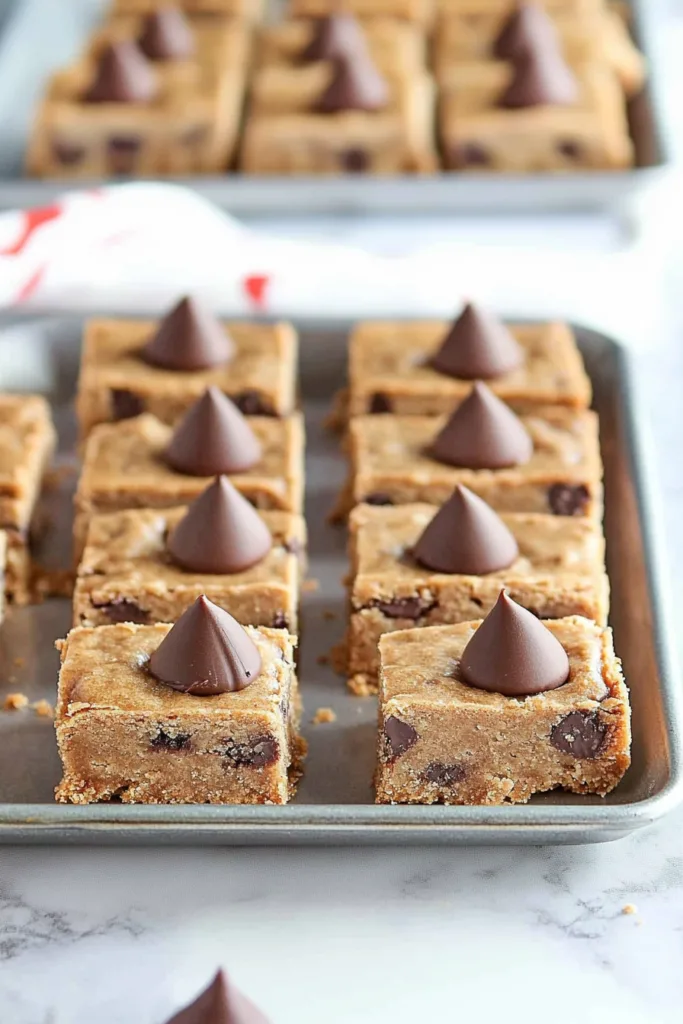
Ingredient Notes
Let’s talk ingredients—but casually. No lectures.
- Butter – Softened is important. Not melted, not cold. Somewhere in that awkward middle where it still looks solid but gives when you press it. You know?
- Granulated & Brown Sugar – This combo is doing more than you think. Granulated sugar gives structure. Brown sugar keeps things soft and cozy.
- Peanut Butter – Creamy is the safe bet. Natural peanut butter can work, but it’s unpredictable. Some days it behaves, some days it doesn’t. I don’t like gambling with dessert.
- Egg & Vanilla – They don’t get much attention, but they matter. Vanilla especially. It rounds everything out.
- Flour, Baking Soda & Baking Powder – This trio keeps the bars chewy without tipping into cake territory. It’s a fine line, and this combo walks it well.
- Salt – Just enough to keep the sweetness from getting loud.
- Chocolate Chips – Semi-sweet or milk chocolate both work. I go back and forth depending on the mood.
- Hershey’s Kisses – The whole point. Pressing them in is weirdly satisfying. Like the final stamp of approval.
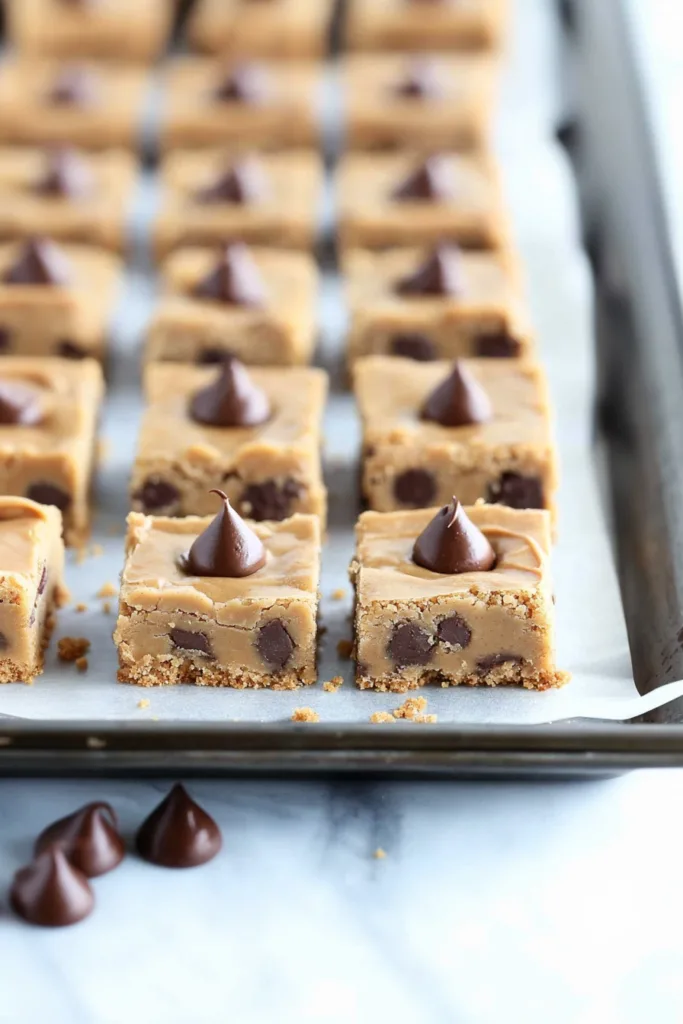
How to Make Peanut Butter Blossom Bars?
- I start by preheating the oven to 350°F, mostly because I’ve forgotten to do that too many times and had to wait around later. Then I grease a 9×13-inch pan and tell myself I’ll only lick the spoon once. We’ll see.
- Butter and sugars get mixed first until everything looks fluffy and smooth. Then in goes the peanut butter, egg, and vanilla. At this point, the batter already smells like something you shouldn’t be left alone with. Just saying.
- I add the dry ingredients next—flour, baking soda, baking powder, salt—and mix until it’s just combined. Not overmixed. Not perfect. Then the chocolate chips go in, and I always pause here because this is where it officially becomes dessert.
- The batter gets spread into the pan, pushed gently into the corners (no perfection needed), and baked for 20–25 minutes. I pull it out when the top is lightly golden but still soft in the middle. Overbaking ruins the whole vibe.
- After about 10 minutes of cooling, I cut the bars and press a Hershey’s Kiss into each one while they’re still warm. The chocolate softens, sinks just a little, and honestly? This part never gets old. Then I let them cool completely. Or mostly. Depends on my self-control that day.
Storage Options
These Peanut Butter Blossom Bars store surprisingly well. Room temperature in an airtight container is fine for about 3 days. The fridge gives you a little more time—up to 5 days—especially if your kitchen runs warm. They also freeze great. Wrap them individually and freeze for up to 2 months. Future You will be very grateful.
Variations & Substitutions
I don’t make them exactly the same every time. Sometimes I:
- Use mini chocolate chips for more chocolate throughout
- Swap in dark chocolate Kisses for a richer bite
- Sprinkle a little flaky salt on top because I’m that person
- Try almond butter when peanut butter feels too predictable
- Skip the chips and let the Kiss do all the talking
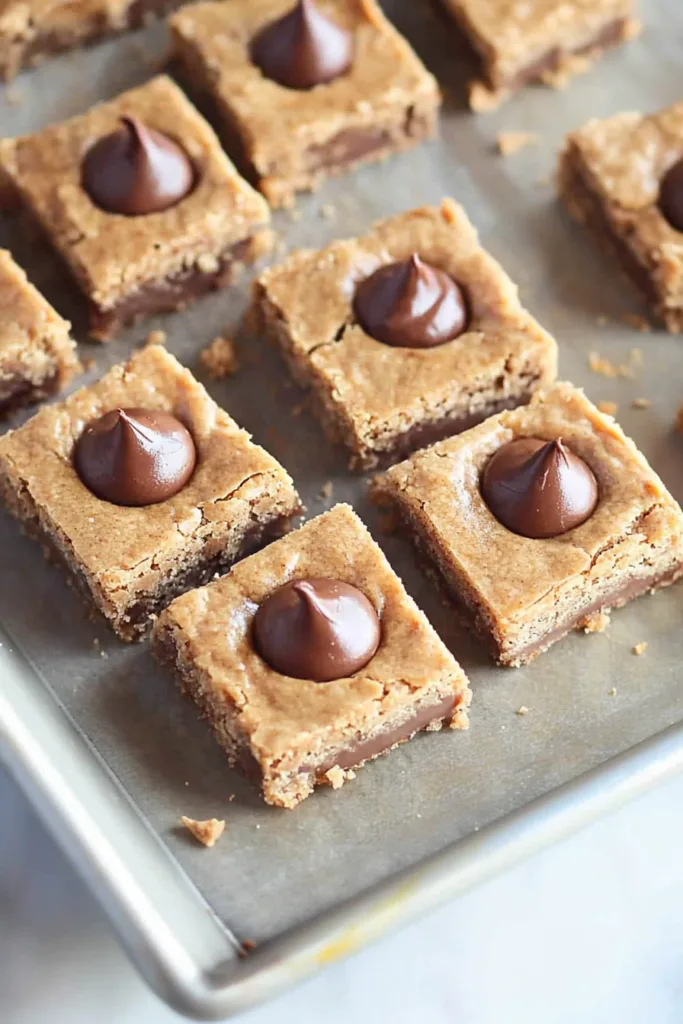
Some versions are better than others. That’s just how it goes. Still worth trying.
What to Serve With Peanut Butter Blossom Bars?
Milk is the obvious choice. Cold milk. Always. But coffee works too, especially in the afternoon when you’re pretending this is just a snack. Ice cream? Also yes. Vanilla, preferably. These bars don’t need much help, but they don’t mind company either.
FAQ:
Can I make these ahead of time?
Yes. And honestly, I think they’re better the next day. The flavors settle. The texture softens just right.
Can I use crunchy peanut butter?
You can. I don’t always love the texture, but some people swear by it. This might be one of those “try it once” situations.
Do the Hershey’s Kisses melt?
They soften but keep their shape. If you want them firmer, wait a few extra minutes before pressing them in.
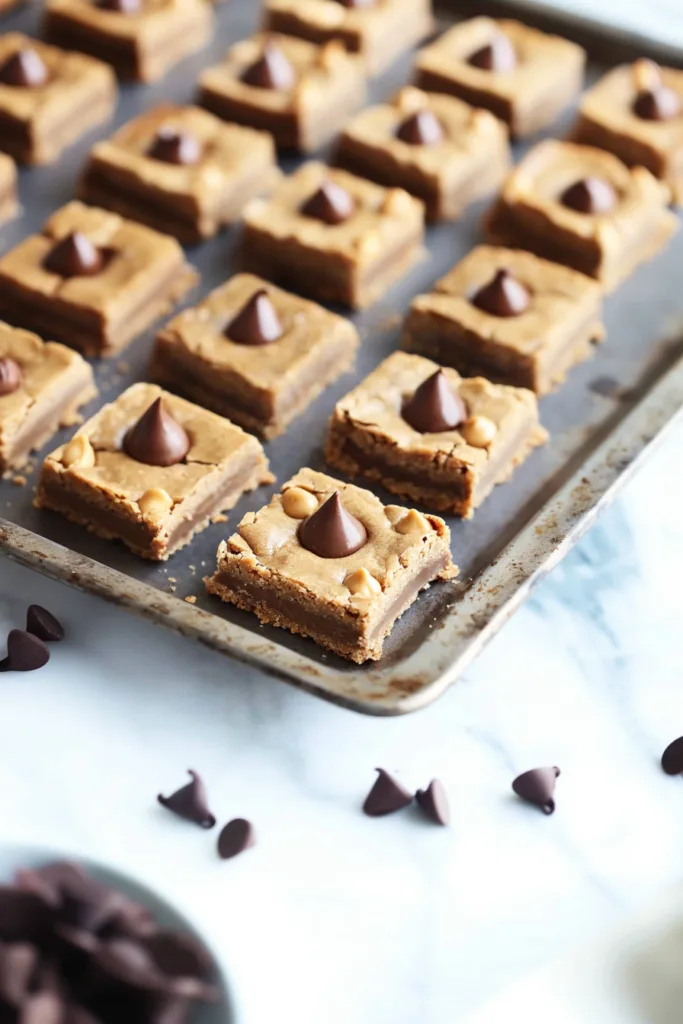
If you make these Peanut Butter Blossom Bars, I hope they give you that same oh yeah, I remember this feeling. And if you tweak them—or eat one standing at the counter before they cool—I get it. Tell me about it. I’m always up for a dessert conversation.
Peanut Butter Blossom Bars
Ingredients
- ½ cup unsalted butter softened
- ½ cup granulated sugar
- ½ cup packed brown sugar
- ½ cup creamy peanut butter
- 1 large egg
- 1 teaspoon vanilla extract
- 1½ cups all-purpose flour
- ¾ teaspoon baking soda
- ½ teaspoon baking powder
- ⅛ teaspoon salt
- 1 cup chocolate chips semi-sweet or milk chocolate
- 24 Hershey’s Kisses unwrapped
Instructions
- Preheat the oven to 350°F (175°C). Lightly grease a 9×13-inch baking pan with non-stick cooking spray and set aside.
- In a large mixing bowl, beat the softened butter, granulated sugar, and brown sugar together using an electric mixer until smooth and fully combined.
- Add the peanut butter, egg, and vanilla extract to the bowl and mix until evenly incorporated.
- Gradually stir in the flour, baking soda, baking powder, and salt, mixing just until the dry ingredients are fully incorporated.
- Fold the chocolate chips into the batter until evenly distributed.
- Transfer the batter to the prepared baking pan and spread evenly from edge to edge.
- Bake for 20–25 minutes, or until the top is lightly golden and the center is set.
- Allow the bars to cool in the pan for 10 minutes, then cut into 24 portions. Press one Hershey’s Kiss into the center of each bar while still warm. Allow to cool completely before serving.
Notes