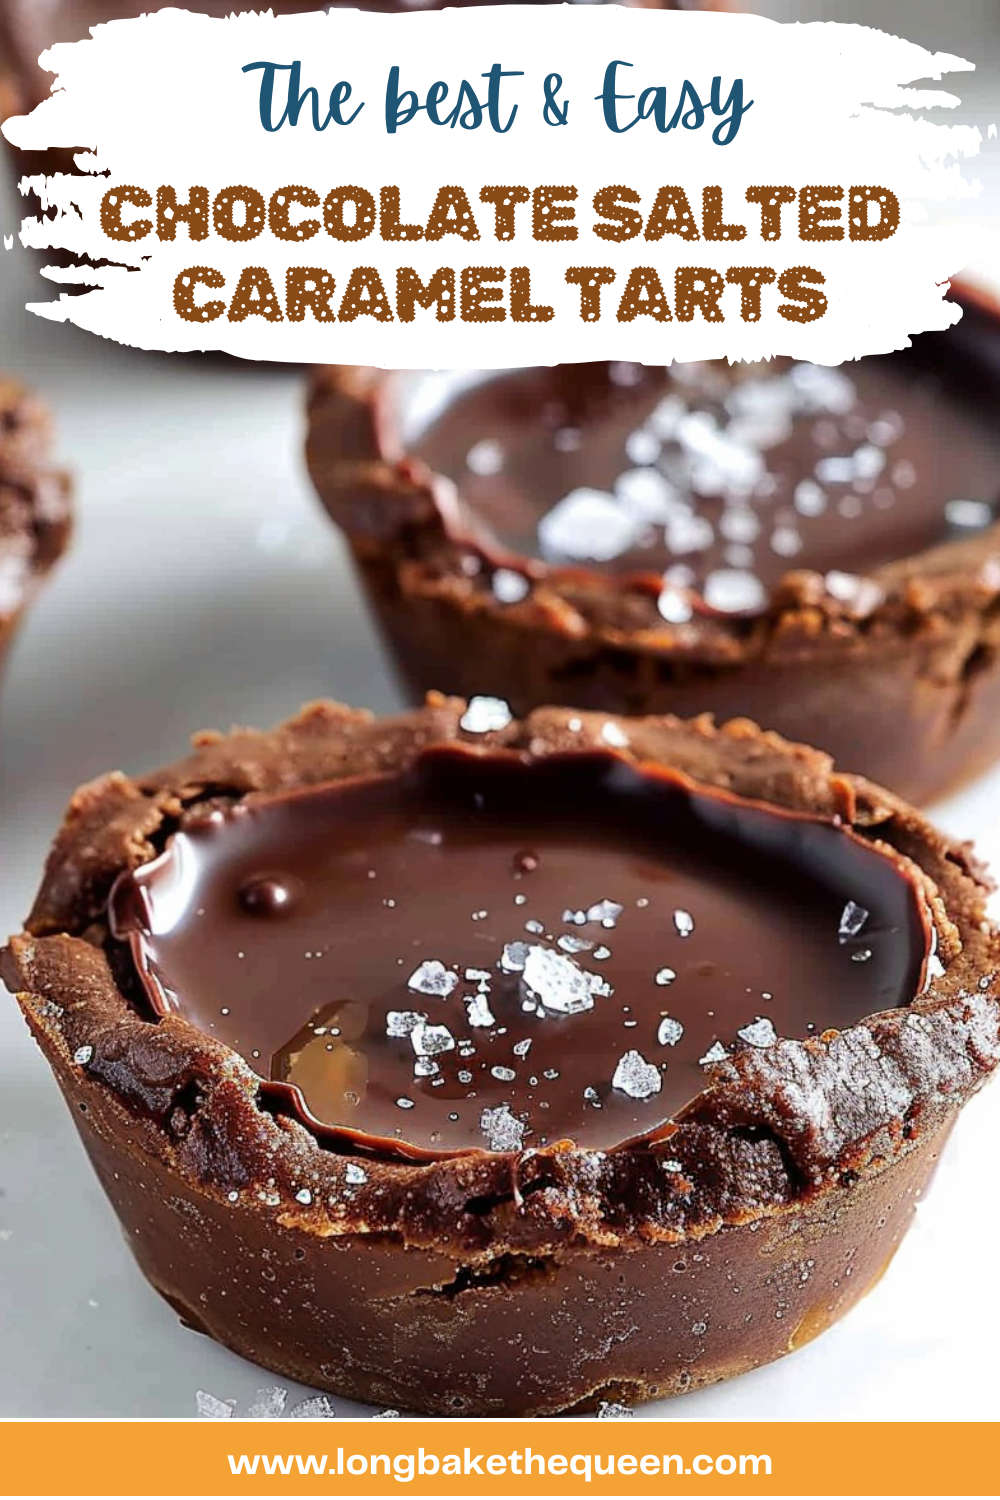
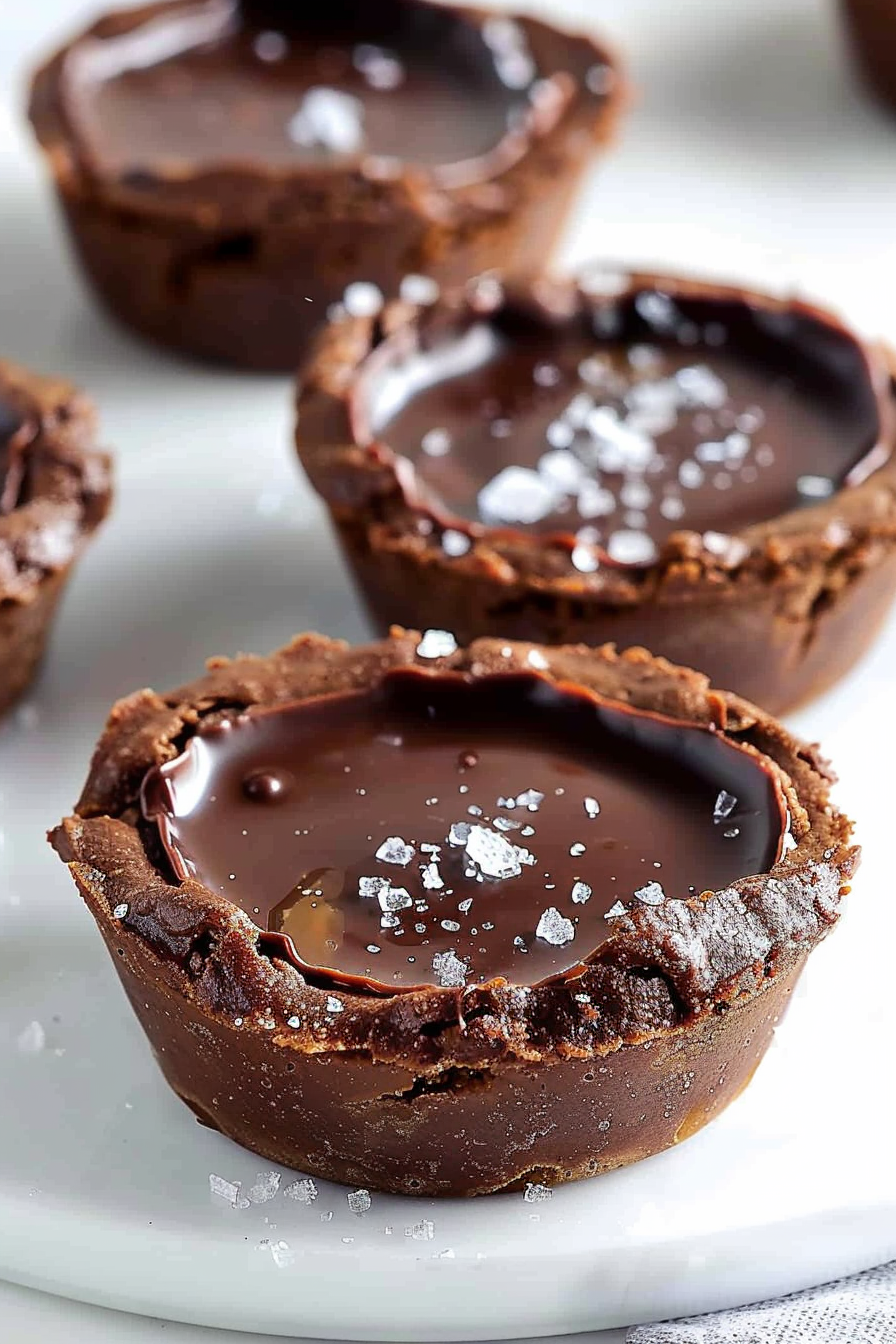
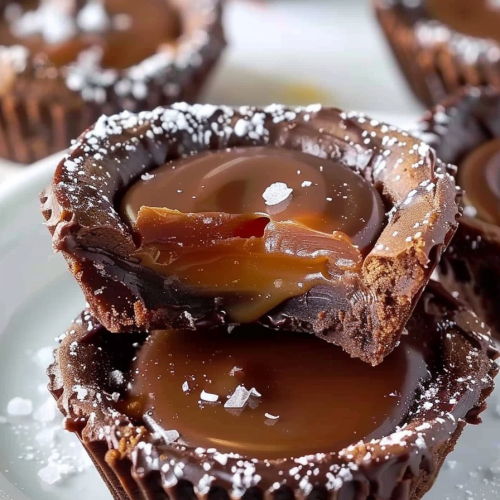
Chocolate Salted Caramel Tarts – If you love indulging in desserts I highly recommend trying out these Chocolate Salted Caramel Tarts. They bring together the richness of velvety chocolate the silkiness of salted caramel and a buttery cocoa-infused crust to create a dessert that’s bliss. The combination of salty flavors, in these tarts will make your taste buds dance with delight. Let’s embark on a journey to create these treats together.
I can still vividly remember the first time I made these Chocolate Salted Caramel Tarts. It was a special occasion. I wanted to create a dessert that would leave a lasting impression. As the tarts baked in the oven my kitchen was filled with an aroma of chocolate and caramel that built up anticipation. When I finally served them to my husband and child their faces lit up with joy. Every bite was an explosion of flavors and textures that came together perfectly. Since then this recipe has become a family favorite.
What makes this Chocolate Salted Caramel Tarts truly special?
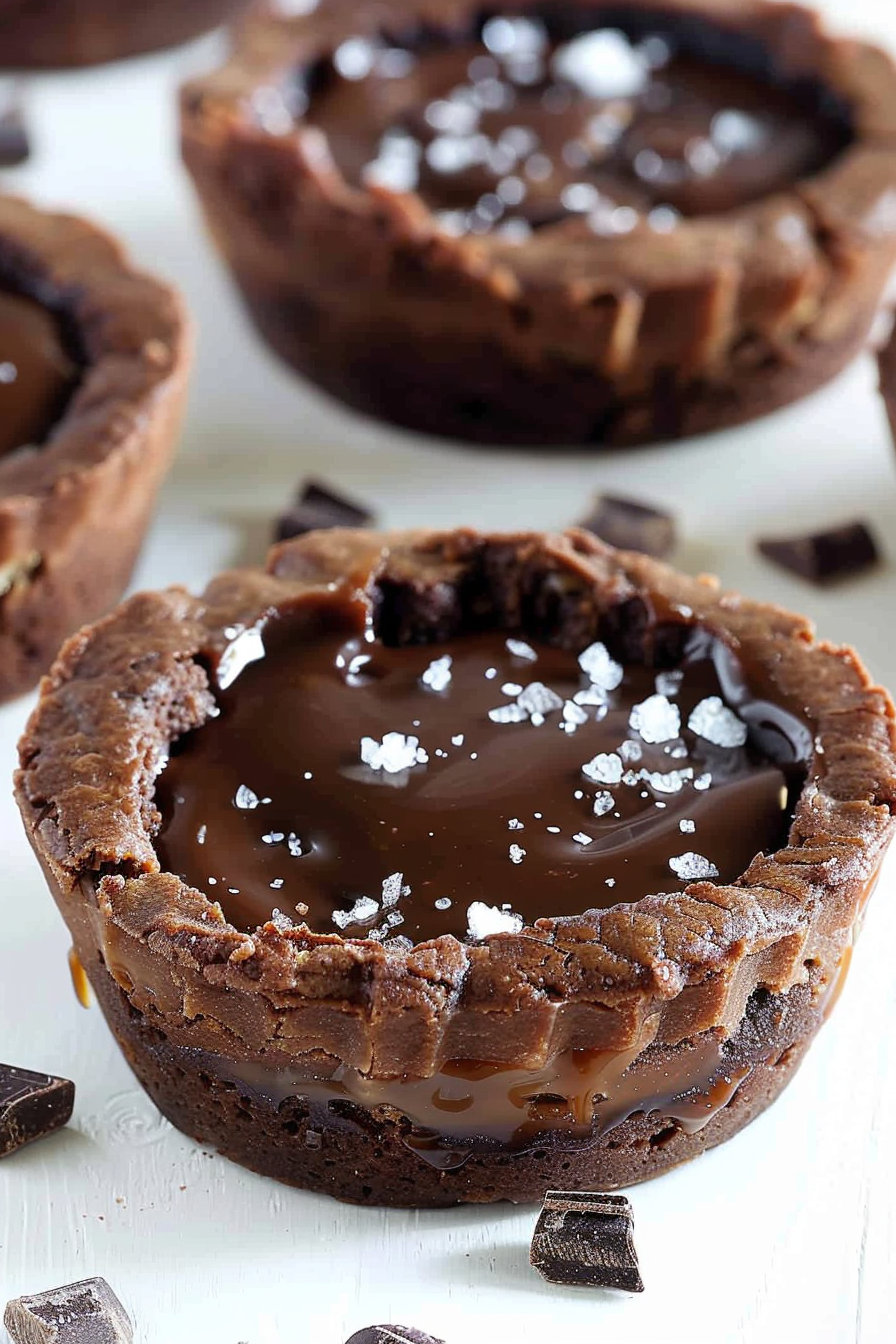
Now it’s your turn to indulge in the world of Chocolate Salted Caramel Tarts where sweetness and saltiness harmonize beautifully. With their cocoa-infused crust that crumbles deliciously with every forkful along with homemade salted caramel that is like gold these tarts offer an extraordinary taste experience, like no other. Finish it off with a dark chocolate ganache and you’ve got yourself a dessert that doesn’t just please your palate but also dazzles your senses. Whether you’re hosting a dinner or enjoying a get-together with family these tarts are the perfect attention grabbers sure to impress your guests with their luxurious and smooth charisma.
What You Need To Make This Chocolate Salted Caramel Tarts Recipe?
All-Purpose Flour: Consider all-purpose flour as the base of our tart. It’s, like that friend you can always rely on. It gives structure, stability and that delightful crumbly texture that will make your taste buds dance. It serves as the canvas where our chocolatey masterpiece takes shape.
Dutch-Processed Cocoa Powder: This isn’t just any cocoa powder; it’s the Dutch-processed cocoa powder that adds a touch of magic. Imagine it as the weapon of a chocolatier. It brings depth, darkness and a delicious essence that transforms our crust into a chocolate lovers fantasy. Don’t compromise on quality here; your taste buds will be grateful.
Sugar: Sugar plays the role of a maestro in this salty symphony. It’s the melody that harmonizes flavors and sets the tone for a dessert masterpiece. It adds sweetness to seal the deal and keeps your senses delighted.
Cold Unsalted Butter: Visualize butter as the flaky virtuoso of our tart. It’s the master, behind that melt-in-your-mouth sensation. Every cube acts like a buttery building block creating layers of perfection in every bite. Its chilled embrace guarantees an outcome of buttery goodness.
Egg: The humble egg is, like that friend who brings everyone together. It plays a role in binding the flour and butter ensuring they work together harmoniously. Without it our dough wouldn’t have the texture and structure we desire.
Ice Water: Ice water may seem insignificant. It is a partner in our dough-making process. It provides a calming touch that helps bring everything. Remember, patience is key here; add it gradually to achieve the ideal consistency.
Homemade Caramel: Crafting our caramel is where the magic happens. Just imagine sugar transforming into gold creating a mesmerizing amber elixir. It’s at the heart of our tart enchanting your senses with its soul.. Be careful! Caramel can quickly go from perfection to disaster in seconds so keep an eye on it.
Room Temperature Butter: Room temperature butter in our caramel adds an embrace to the mix. It acts as the smoothing agent that balances out the sweetness and gives it that texture we adore. It’s the secret behind our smooth and dreamy caramel.
Heavy Cream: Heavy cream takes on a role, in creating the velvety texture of our caramel. Like a brushstroke it enriches the flavor resulting in that signature creaminess we all love. It’s, like having a dancer in our ensemble of flavors.
Salt: Salt is not only an afterthought; it plays the role of a flavor maestro. It takes our caramel from being simply sweet to irresistibly addictive. It creates balance and harmony complementing flavors.
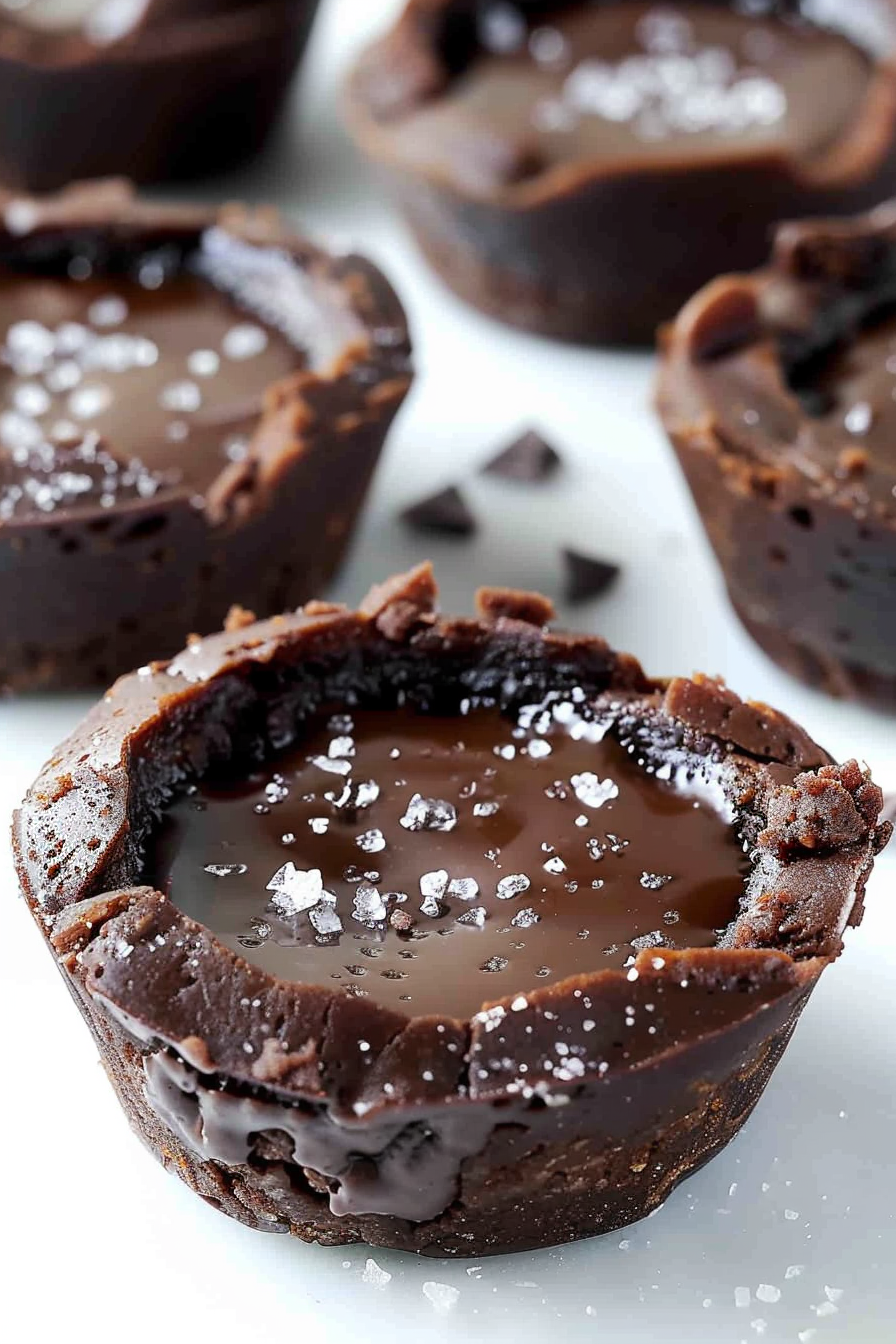
Extra-Bittersweet Chocolate: Our ganache deserves nothing but dark chocolate, which is the highlight of our dessert. It steals the show leaving you wanting more. The quality of chocolate used here makes a difference.
Sea Salt Crystals or Kosher Salt: Picture sea salt crystals or kosher salt, as the grand finale. They add a touch of sophistication acting as punctuation that harmonizes beautifully with the caramel making every bite absolutely perfect.
Steps To Make Chocolate Salted Caramel Tarts:
Step 1: In a bowl combine flour, cocoa powder (Dutch processed), sugar and salt. Use a pastry blender, fork or food processor to blend in the butter until the mixture becomes crumbly. Add the egg. Mix well. Gradually add ice water, one tablespoon, at a time while mixing gently but swiftly.
Step 2: Shape the dough into a disk. Tightly wrap it in plastic wrap. Refrigerate for 2 hours or overnight.
Step 3: On a floured surface roll out the chilled dough to 1/4 inch thickness. Use a cookie cutter or biscuit cutter ( 3.5 inches in diameter) to cut out circles.
Step 4: Gently press each circle into the cups of a cupcake tin. Place in the refrigerator for 30 minutes before baking.
Step 5: Preheat your oven to 350°F (175°C). Prick the dough with a fork. Cover each cupcake with parchment paper. Fill with beans, rice or pie weights. Bake for about 10 minutes. Remove the weights and parchment paper before returning to the oven for 5 to 10 minutes of baking time. Allow them to cool completely before removing from the cupcake pan.
Step 6: In a saucepan, over medium heat carefully stir sugar until it transforms into a thick amber liquid without burning. After the sugar has completely melted, add the butter. Stir until it is fully melted (2 minutes). Slowly pour in 1/2 cup of cream while stirring. Let the mixture boil for 1 minute (it will rise in the pan). Take it off the heat. Mix in 1 teaspoon of salt.
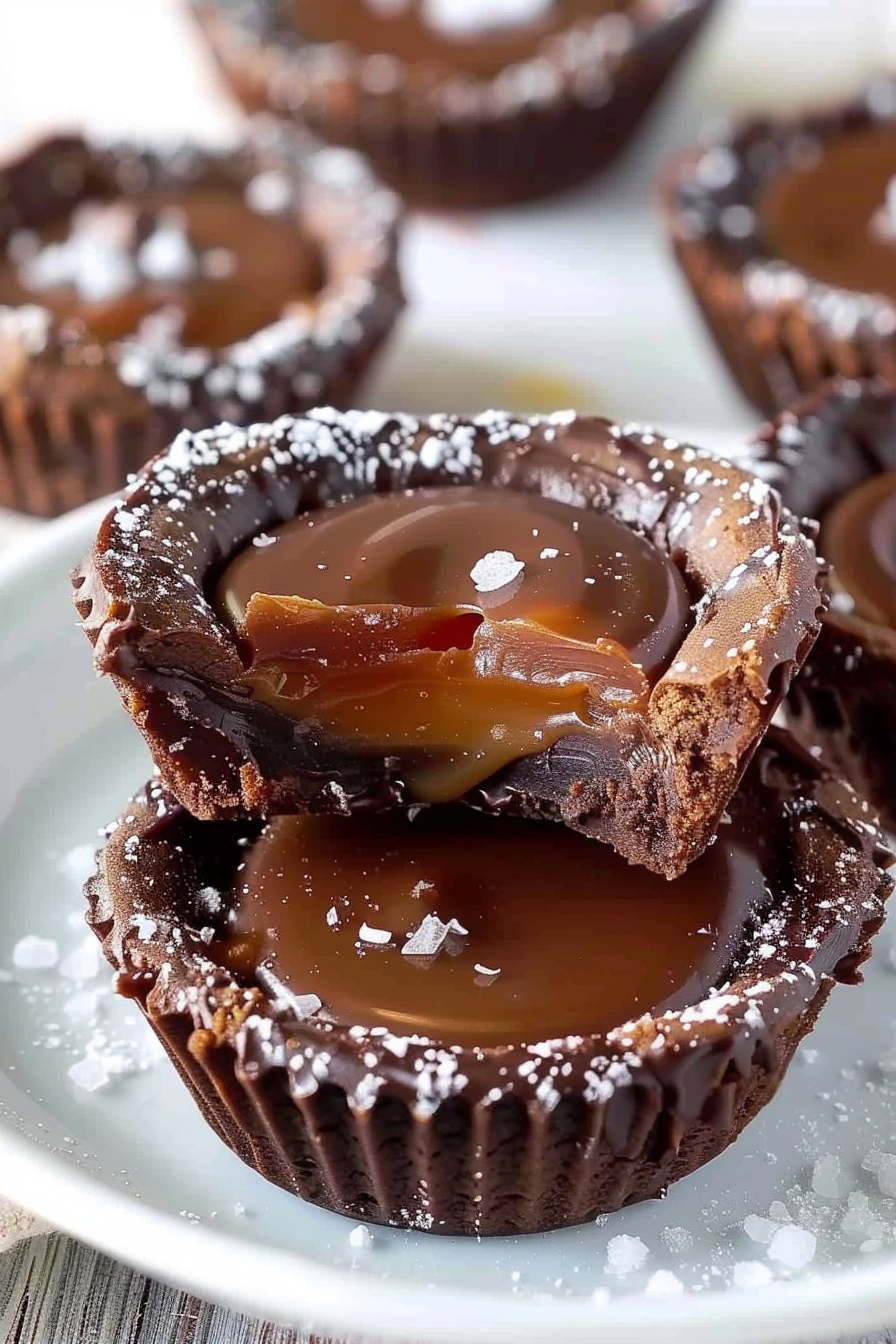
Step 7: Allow the caramel to cool slightly then pour 3 tablespoons into each cooled shell. Refrigerate, until firm, which should take 4 hours.
Step 8: In a saucepan heat the remaining cream until it begins to boil at the edges. Remove from heat. Pour it over the chopped chocolate. Let it sit for one minute then stir until smooth.
Step 9: Spread the chocolate ganache evenly over the caramel layer. Refrigerate for another 2 to 3 hours, before serving. Sprinkle with sea salt flakes. Savor these Chocolate Salted Caramel Tarts.
Tip:
When you’re preparing the caramel for your Chocolate Salted Caramel Tarts it’s important to remember to swirl the saucepan instead of vigorously stirring. Here’s why it makes a difference:
- Prevent Graininess: If you stir vigorously the caramel might end up with a grainy texture. By swirling it you can maintain its silky consistency.
- Even Color: Gentle swirling ensures that the sugar melts evenly resulting in a hue, for your caramel.
- Control the Process: Swirling allows you to have control over how dark your caramel becomes. You can observe its color changing as you swirl and stop when it reaches the desired shade.
- Smooth Caramel: By swirling you’ll achieve a caramel that’s perfect for drizzling onto your tarts without any lumps or bumps.
In terms think of swirling as dancing with your caramel at a slow and steady pace. It’s, about being gentle and maintaining control than being rough and hasty. By doing you’ll create a velvety caramel that perfectly complements your tarts. So take your time. Aim for that textured velvety caramel!
Frequently Asked Questions:
Can I make these tarts ahead of time?
Definitely! You have the option to prepare the tarts ahead of time up, to a day before serving. Simply keep them in the refrigerator until you’re ready to enjoy. Just remember to sprinkle some salt flakes on top for that finishing touch.
Can I use store-bought caramel instead of making my own?
While homemade caramel adds a touch to this recipe using a high-quality store-bought caramel sauce is an alternative.
Can I freeze these tarts for future enjoyment?
Absolutely! These tarts can be frozen for indulgence. Wrap them tightly with plastic wrap. Store them in an airtight container in the freezer for, up to one month. When you’re ready thaw them in the refrigerator. Savor a treat whenever you like.
Chocolate Salted Caramel Tarts
Ingredients
FOR THE CRUST:
- 1 1/4 c all-purpose flour
- 2 1/2 tablespoons Dutch-processed cocoa powder
- 1/2 c sugar
- 1/4 teaspoon salt
- 1 stick 1/2 cup cold unsalted butter, cut into small (1/2-inch) cubes
- 1 egg
- 1-2 tablespoons ice water
FOR THE CARAMEL:
- 1 c sugar
- 6 tablespoons unsalted butter room temperature, cut up into 6 pieces
- 1/2 c heavy cream
- 1 teaspoon salt
FOR THE GANACHE:
- 1/2 c heavy cream
- 4 ounces extra-bittersweet chocolate finely chopped
Instructions
Here's how you can prepare the crust:
- In a bowl combine flour, cocoa, sugar and salt.
- Add butter and mix until the mixture resembles crumbs.
- Incorporate the egg into the mixture and add ice water until the dough comes together.
- Flatten the dough wrap it in plastic wrap and refrigerate for 2 hours.
- Roll out the dough. Cut circles that fit your pans; chill them for 30 minutes.
- Preheat your oven to 350°F (180°C).
- Bake the shells, with weights for 10 minutes then remove the weights and bake for 5 to 10 minutes.
Now let's move on to making caramel:
- Heat sugar over medium heat until it turns amber in color.
- Add butter to the pan and stir until melted; gradually pour in cream while stirring continuously.
- Allow it to boil for a minute before removing from heat; stir in salt.
- Pour 3 tablespoons of caramel into each shell and refrigerate.
Next up is preparing ganache:
- Heat cream until it begins to boil; remove from heat.
- Pour cream over chopped chocolate. Let it sit for a minute; then stir until smooth.
- Spread ganache evenly over the caramel layer.
Finally, chill and serve:
- Refrigerate tarts, for about 2 to 3 hours until they are set.
- Before serving, sprinkle sea salt crystals or kosher salt on top.
- Enjoy your tarts! Indulge, in the delight of our Chocolate Salted Caramel Tarts!
Notes