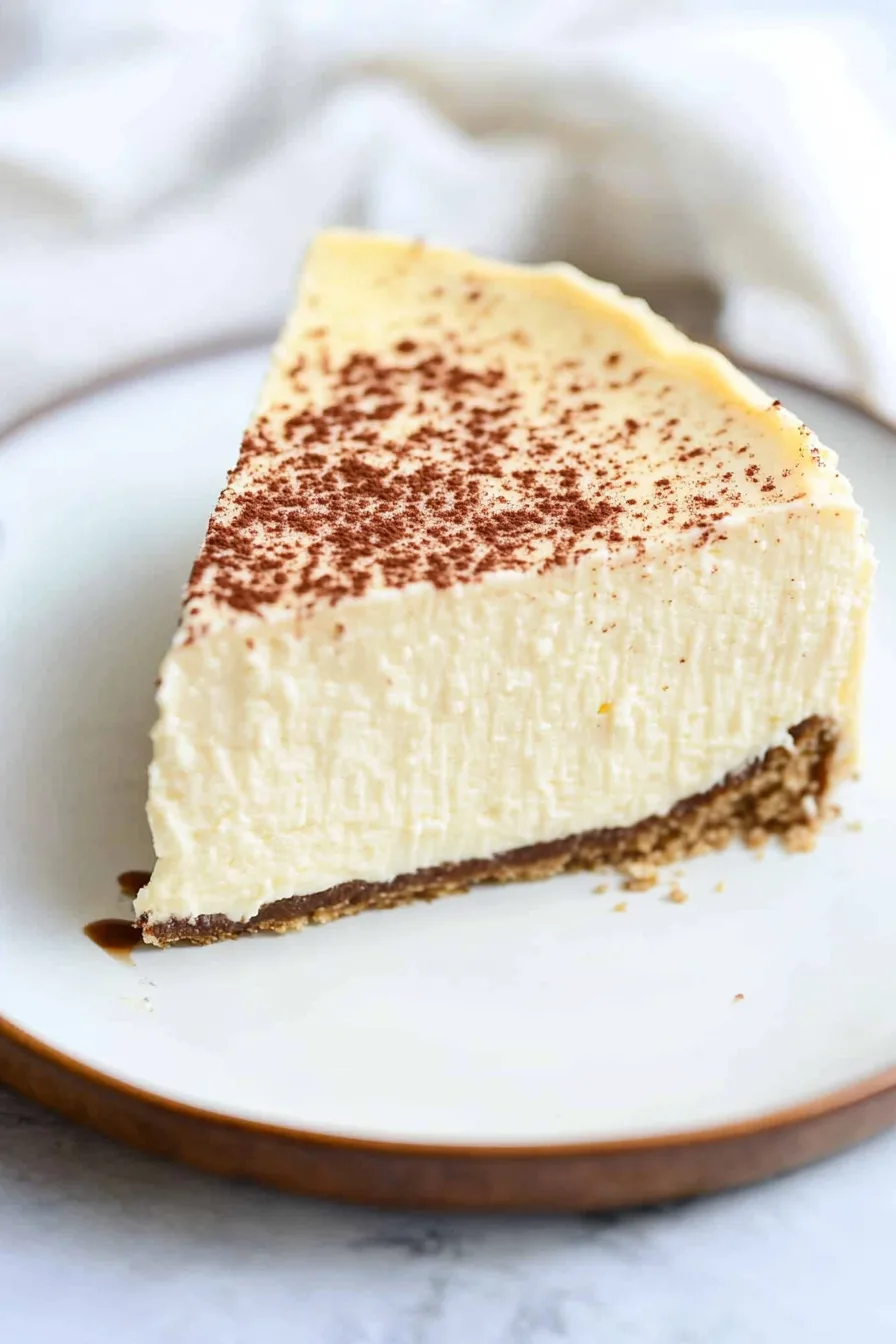
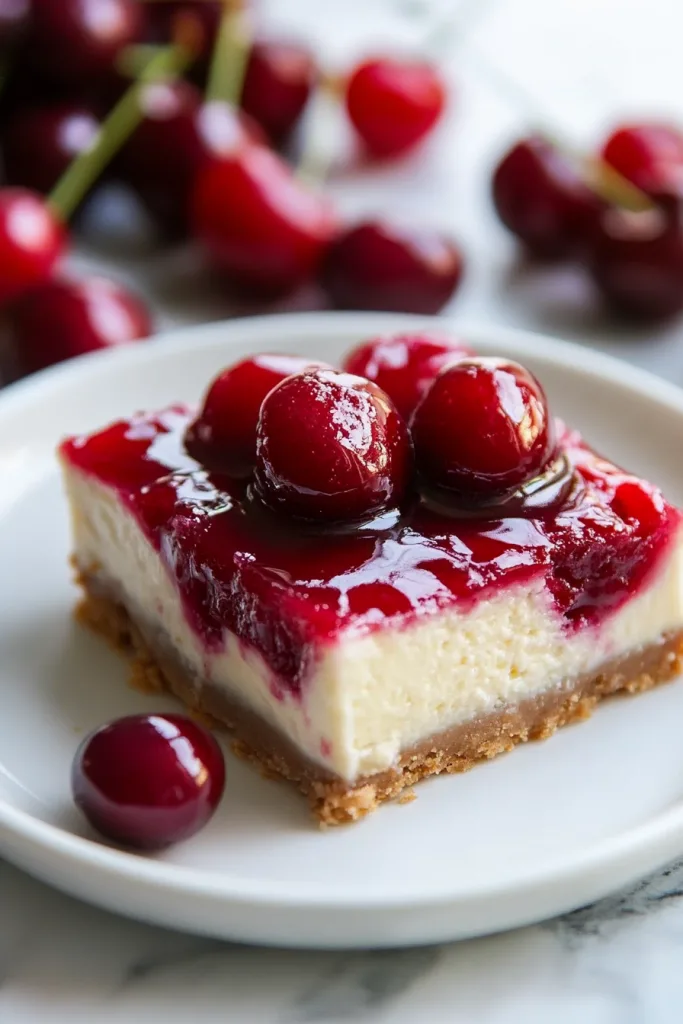
Graham cracker crumbs, butter, sugar, cream cheese, eggs, vanilla extract, salt, and cherry pie filling.
Some desserts feel like they’ve been around forever, in the best possible way. These Cherry Cheesecake Bars have that old-fashioned, family-table kind of charm. You know the kind I mean? The dessert that shows up at potlucks, holiday dinners, church suppers, baby showers, and backyard cookouts, sitting proudly in a pan while everyone pretends they’re “just going to take a tiny piece.” Sure. A tiny piece that somehow turns into three trips back to the dessert table.
I first made Cherry Cheesecake Bars when I was craving cheesecake but had absolutely no emotional space for a full cheesecake situation. The springform pan. The water bath. The slow cooling. The worry that it might crack across the top like it was personally offended by my oven. I just wasn’t in the mood for all that. I wanted something creamy, pretty, and reliable. Something I could bake the night before, chill, top with cherries, and slice into neat little squares the next day. Sound familiar?
These bars gave me exactly that. The first time I made them, I remember pulling the pan from the fridge the next morning and feeling weirdly proud. The cheesecake layer had set beautifully, the graham cracker crust looked sturdy, and once I spread the cherry pie filling over the top, the whole thing suddenly looked like I had tried much harder than I actually had. I love when dessert is kind like that.
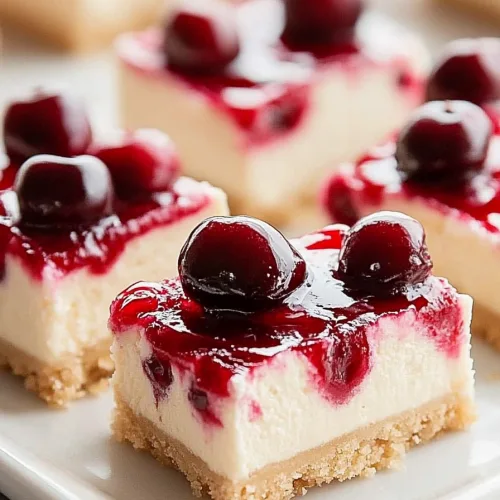
There’s something so nostalgic about old-fashioned cherry cheesecake bars. They remind me of family dinners where someone always brings a dessert in a covered pan, and you don’t know what it is until the lid comes off. Then everyone gets a little too excited. The glossy cherry topping, the creamy filling, the buttery graham cracker crust — it all feels familiar and comforting. Not trendy. Not fussy. Just good.
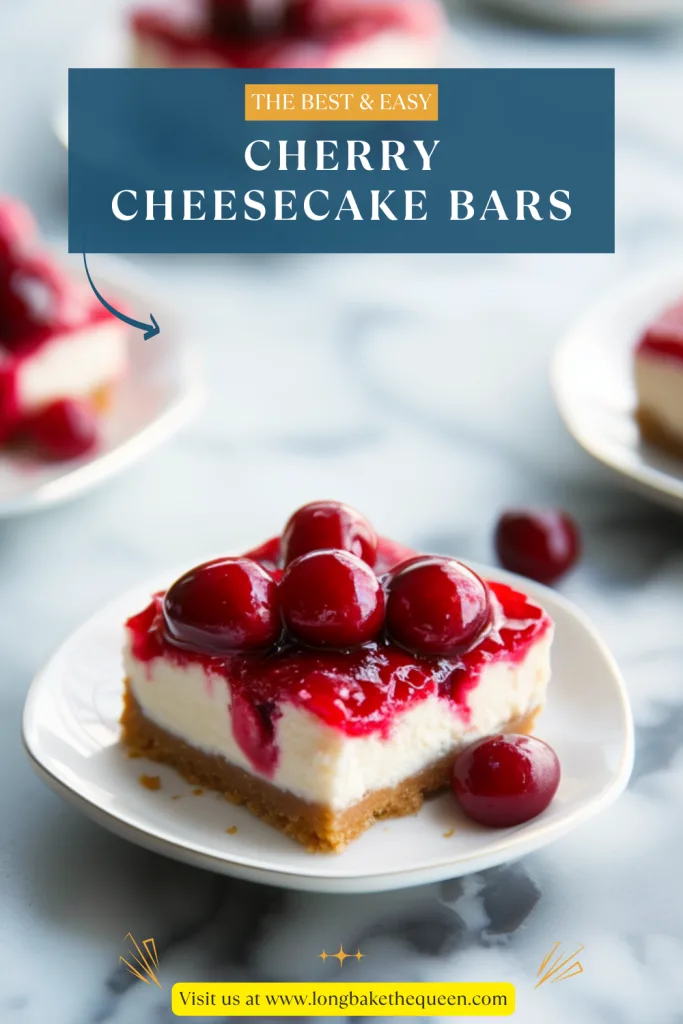
What I love most is that these creamy cheesecake bars are easier than a traditional cheesecake but still taste rich and dreamy. The graham cracker crust is simple and buttery. The cheesecake filling is smooth, lightly sweet, and full of vanilla flavor. Then the cherry topping adds that bright, fruity finish that makes the bars look festive with almost no decorating effort. Honestly, cherry pie filling is doing a lot of heavy lifting here, and I respect it.
And yes, the cherry topping also hides little imperfections. If the cheesecake layer has a tiny crack or the top isn’t perfectly smooth, no one needs to know. The cherries sweep in like a red velvet curtain and cover everything. Very dramatic. Very helpful.
These Cherry Cheesecake Bars are the kind of dessert I’d make for holidays, Sunday dinner, summer parties, or those weeks when you just want something sweet waiting in the fridge. They’re chilled, creamy, easy to slice, and perfect for sharing. Though, if you save one square in the back of the fridge for later, I fully understand. That’s not selfish. That’s planning.

Why you’ll Love these Cherry Cheesecake Bars?
You’ll love these Cherry Cheesecake Bars because they give you all the classic flavor of cheesecake without the stress of making a full cheesecake. You get the buttery graham cracker crust, the smooth cream cheese filling, and the glossy cherry topping, but everything bakes in a simple 9×13-inch pan. No water bath. No springform pan. No standing by the oven whispering, “Please don’t crack.” Much calmer.
The texture is probably my favorite part. The crust is firm and buttery with just enough sweetness, the cheesecake layer is creamy and rich, and the cherry topping adds a soft fruity finish. Every bite has a little crunch from the crust, a thick creamy center, and a sweet cherry topping. That combo just works. It’s classic for a reason.
These old-fashioned cherry cheesecake bars are also perfect for making ahead. In fact, they need at least 4 hours to chill, and honestly, overnight is even better. That makes them great for parties, holidays, and family gatherings because you’re not trying to make dessert while also cleaning the kitchen, setting the table, answering messages, and wondering why everyone is suddenly hungry at the same time.
I also like that the ingredients are simple. Graham cracker crumbs, melted butter, sugar, cream cheese, eggs, vanilla, salt, and cherry pie filling. Nothing strange. Nothing you need to hunt down in a specialty store. It’s the kind of recipe that feels familiar before you even make it.
Another big win? These creamy cheesecake bars are easy to serve. A traditional cheesecake can feel a little formal, and slicing it neatly can turn into a small performance. But cheesecake bars are casual. You lift them from the pan, cut them into squares, and serve them chilled. If one square is slightly uneven, who cares? Someone will still grab it. Probably me.
They also look beautiful without fancy decorating skills. That bright cherry topping makes the whole pan look festive and cheerful. It’s perfect for Christmas, Valentine’s Day, summer cookouts, potlucks, or anytime you want a dessert that looks like it belongs on a celebration table. Do you agree that the best desserts are the ones that look impressive but don’t make you tired?
Ingredient Notes
The ingredients in these Cherry Cheesecake Bars are classic and easy, but each one matters. Because the recipe is simple, the texture depends on a few little details: finely crushed graham crackers, softened cream cheese, gentle mixing, and enough chill time. Nothing scary, just the kind of small baking things that make a dessert turn out smooth and sliceable instead of “well, it tastes good at least.”
- Graham Cracker Crumbs: Graham cracker crumbs make the base for these Cherry Cheesecake Bars. You can use store-bought crumbs or crush about 16 full graham cracker sheets yourself. If you crush them at home, try to get the crumbs fairly fine so the crust presses together evenly. Big chunks can make the crust crumbly, which isn’t terrible, but it does make slicing messier.
- Granulated Sugar: Sugar goes into both the crust and the cheesecake filling. In the crust, it adds sweetness and helps the crumbs bake into a firmer layer. In the filling, it balances the tanginess of the cream cheese and gives the bars that classic cheesecake flavor.
- Unsalted Butter: Melted butter binds the graham cracker crumbs together and gives the crust that rich, buttery flavor. Once baked, the crust becomes sturdy enough to hold the creamy cheesecake layer. Use unsalted butter if you can, so the flavor stays balanced.
- Cream Cheese: Cream cheese is the heart of these creamy cheesecake bars. Use two 8-ounce blocks and let them soften to room temperature before mixing. This is important. Cold cream cheese can turn lumpy, and then you’ll be chasing little cream cheese bits around the bowl with a mixer. I’ve done it. Not fun.
- Eggs: Eggs help the cheesecake filling set as it bakes. Add them one at a time and mix on low speed. This keeps the filling smooth without adding too much air. Too much air can make cheesecake puff up and crack, and while the cherry topping will hide it, we may as well avoid drama where we can.
- Vanilla Extract: Vanilla adds warmth and makes the filling taste more rounded. Since the cheesecake layer is simple, the vanilla really does matter. It gives the bars that cozy, homemade flavor.
- Salt: A small amount of salt balances the sweetness and makes the cream cheese flavor taste richer. It will not make the bars salty. It just keeps them from tasting flat.
- Cherry Pie Filling: Cherry pie filling is the bright, glossy topping that gives these old-fashioned cherry cheesecake bars their classic look. It’s sweet, fruity, and convenient. Spread it over the chilled cheesecake layer right before serving for the prettiest finish.
How to Make Cherry Cheesecake Bars?
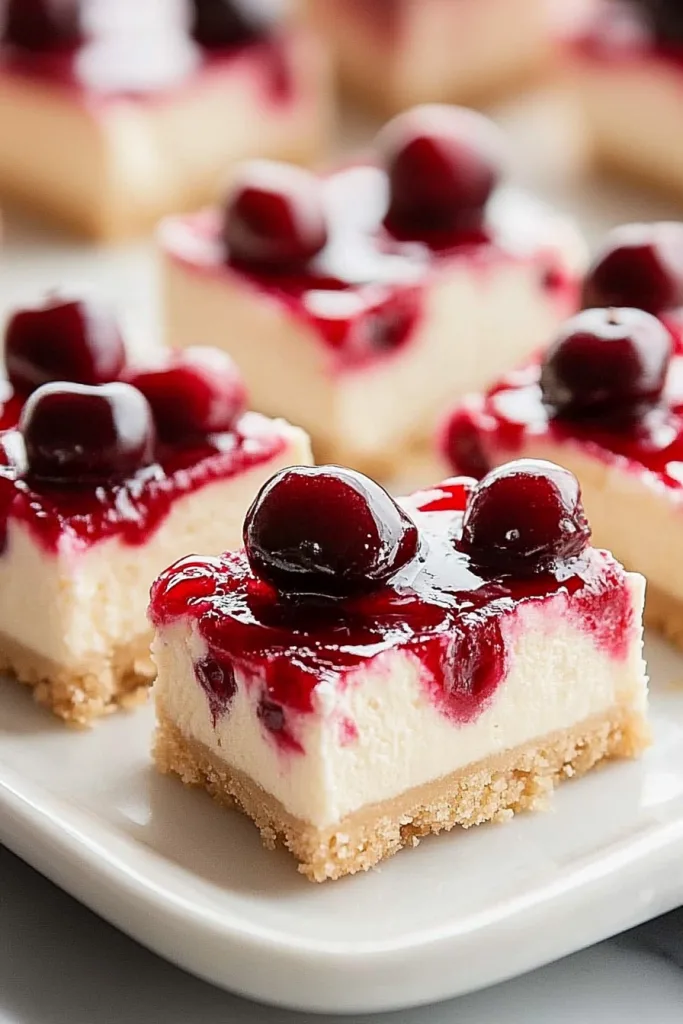
Making Cherry Cheesecake Bars is much easier than making a whole cheesecake, but the steps still matter. You’ll bake the graham cracker crust first, mix the cheesecake filling gently, bake until the edges are set and the center has a slight wobble, then chill everything until firm. The cherry topping goes on last, which keeps it glossy and bright. The hardest part is waiting. Cheesecake is not an instant-gratification dessert, unfortunately.
Step 1: Preheat the oven and prepare the pan
Preheat your oven to 325°F. Line a 9×13-inch baking pan with parchment paper, leaving an overhang on the sides. Those little parchment “handles” make it much easier to lift the chilled bars out of the pan later. It’s a small step, but future-you will be very grateful when it’s time to slice.
Step 2: Make the graham cracker crust
In a mixing bowl, combine the graham cracker crumbs, granulated sugar, and melted butter. Stir until the mixture looks evenly moistened, almost like wet sand. I know “wet sand” is not exactly a delicious image, but it’s the right texture. Press the mixture firmly into the bottom of the prepared pan. I like using the bottom of a measuring cup to pack it down evenly.
Step 3: Bake the crust
Bake the crust for 10 minutes, then remove it from the oven and set it aside to cool. Baking the crust first helps it firm up and gives it a slightly toasted flavor. It also helps keep the crust from getting too soft once the cheesecake filling is added.
Step 4: Beat the cream cheese and sugar
In a large bowl, beat the softened cream cheese and granulated sugar with an electric mixer until smooth and creamy, about 2 minutes. The cream cheese should be room temperature so it blends easily. If it’s too cold, the filling may turn lumpy, and lumpy cheesecake filling is one of those tiny kitchen frustrations that can ruin your mood a little.
Step 5: Add the eggs gently
Add the eggs one at a time, mixing on low speed after each addition. Low speed is important because you don’t want to whip too much air into the filling. Cheesecake likes gentle mixing. Think calm, not chaos.
Step 6: Add vanilla and salt
Mix in the vanilla extract and salt until just combined. Once the filling looks smooth, stop mixing. Overmixing can add too much air, which may cause the cheesecake layer to puff or crack while baking. Again, the cherry topping can hide a lot, but still.
Step 7: Pour the filling over the crust
Pour the cheesecake filling over the cooled graham cracker crust. Spread it evenly with a spatula so the bars bake at the same rate. Don’t worry if the top isn’t perfectly smooth. The cherry topping will cover it later, like a very delicious safety blanket.
Step 8: Bake the cheesecake layer
Bake for 35 to 40 minutes, or until the edges are set and the center is still slightly jiggly. The center should not look liquid, but it should have a soft wobble when you gently move the pan. This little jiggle is what helps the bars stay creamy after chilling.
Step 9: Cool completely
Remove the pan from the oven and let the bars cool completely at room temperature. Try not to rush this step. Going straight from hot oven to cold fridge can be a little harsh on cheesecake. Letting the bars cool gradually helps the filling settle.
Step 10: Chill the bars
Refrigerate the cheesecake bars for at least 4 hours, or overnight. Overnight is my favorite because the bars slice more cleanly and the texture feels extra creamy. I know waiting is annoying, especially when the kitchen smells like cheesecake, but this is one of those times where patience really does pay off.
Step 11: Add the cherry topping
Before serving, spread the cherry pie filling evenly over the chilled cheesecake layer. Try to cover the top from edge to edge so every square gets some cherries. Nobody wants the sad cherry-less corner. That corner deserves joy too.
Step 12: Slice and serve
Use the parchment paper overhang to lift the bars out of the pan. Place them on a cutting board and slice into squares. For cleaner cuts, use a sharp knife and wipe it clean between slices. Serve the Cherry Cheesecake Bars chilled, preferably with coffee nearby and no one rushing you.
Storage Options
Cherry Cheesecake Bars need to be stored in the refrigerator because they contain cream cheese and eggs. Once the bars are chilled, topped, or sliced, place them in an airtight container and refrigerate for up to 5 days. Keep them cold until serving so the cheesecake layer stays firm and creamy.
If you’re making these bars ahead for a party, I like baking and chilling the cheesecake layer first, then adding the cherry pie filling before serving. This keeps the topping glossy and fresh-looking. The bars will still taste good if you add the topping earlier, but the cherries may soften the surface a little as they sit. Not a disaster. Just something to know.
If you need to stack the bars, place parchment paper between layers. The cherry topping is sticky, and without parchment, the bars can cling together like they’re forming a dessert committee. Very sweet, not very convenient.
You can freeze Cherry Cheesecake Bars, but I recommend freezing them without the cherry topping for the best texture. Chill the cheesecake bars completely, cut them into squares, wrap them tightly, and place them in a freezer-safe container. Freeze for up to 2 months.
When you’re ready to serve, thaw the bars overnight in the refrigerator, then add the cherry pie filling on top. This keeps the topping brighter and less watery. If you freeze the bars with the cherry topping already added, they will still be edible, but the topping may become softer after thawing. Still tasty, just a little less pretty.
These old-fashioned cherry cheesecake bars are best served cold. If they’re sitting out at a party or potluck, try not to leave them at room temperature for more than 2 hours. After that, tuck the leftovers back into the fridge. Assuming there are leftovers, which is always a hopeful thought.
Variations & Substitutions
These Cherry Cheesecake Bars are classic with cherry topping, but they’re easy to adjust. The graham cracker crust and creamy cheesecake filling work beautifully with different fruit toppings, crusts, and flavor add-ins. I’d make the classic version first if you haven’t tried it, but after that? Play a little.
- Use Blueberry Pie Filling: Swap the cherry pie filling for blueberry pie filling. Blueberry cheesecake bars are sweet, slightly tangy, and gorgeous on a dessert tray. They feel very summer, at least to me.
- Use Strawberry Topping: Strawberry pie filling or homemade strawberry sauce works well too. It gives the bars a bright, fruity flavor that’s lovely for spring parties, baby showers, and cookouts.
- Try Mixed Berry Topping: Mixed berry topping adds color and a slightly more tart flavor. It’s a good option if you want something a little less classic but still familiar.
- Use an Oreo Crust: Replace the graham cracker crust with crushed Oreo cookies and melted butter for a chocolate twist. Chocolate and cherry are a natural match, so this version feels extra rich and a little dramatic.
- Add Lemon Zest: Add 1 to 2 teaspoons of lemon zest to the cheesecake filling for a brighter flavor. Lemon helps balance the richness and works beautifully with cherry. It’s subtle, but I really like it.
- Use Almond Extract: Add ¼ teaspoon almond extract to the filling for a cherry-almond flavor. Go lightly here because almond extract is strong. Too much and suddenly the bars taste like they’re wearing perfume.
- Make Them Extra Thick: Bake the bars in a slightly smaller pan if you want a thicker cheesecake layer. The bake time may increase, so watch for set edges and a slightly jiggly center.
- Use Homemade Cherry Topping: Homemade cherry topping is wonderful if you have the time. Make it with cherries, sugar, lemon juice, and a little cornstarch if needed. Let it cool completely before spreading it over the chilled cheesecake layer.
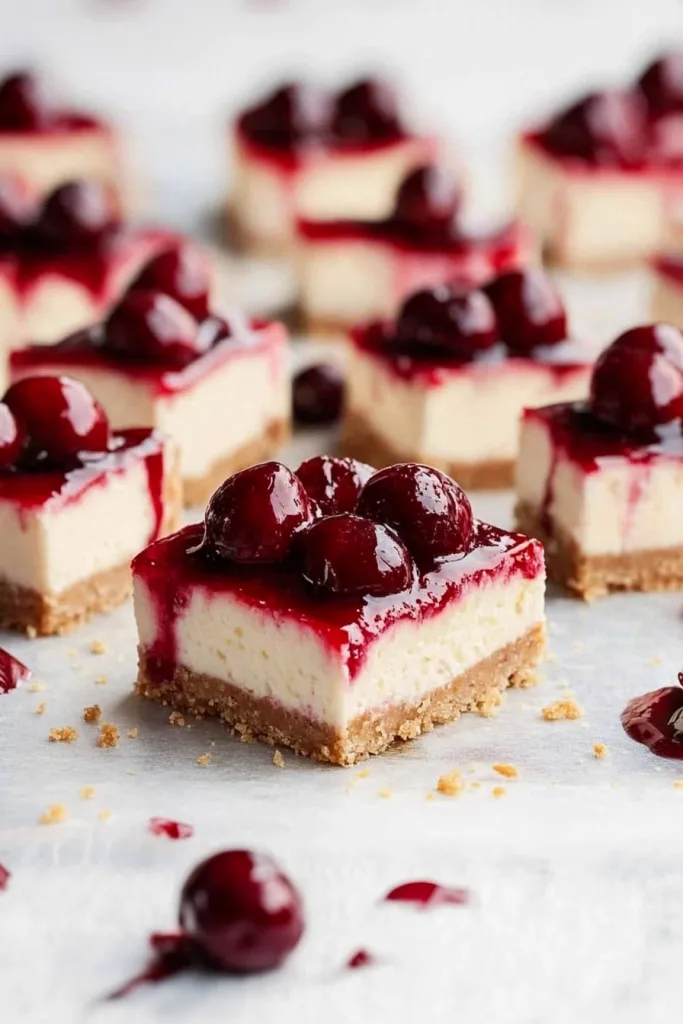
- Make Mini Cheesecake Bites: Cut the chilled bars into small squares for bite-size servings. This is great for parties, showers, holiday trays, or any event where people like to “just try one” and then try three more.
- Add Whipped Cream: Add a small dollop of whipped cream on each bar before serving. It makes the bars look extra pretty and adds a lighter finish to the rich cheesecake layer.
What to Serve With Cherry Cheesecake Bars?
Cherry Cheesecake Bars are rich, creamy, and fruity, so they pair nicely with simple drinks and light sides. You don’t need to add much because the bars already have a buttery crust, creamy filling, and sweet cherry topping. Still, the right pairing can make them feel even more special.
- Hot Coffee: Coffee balances the sweetness of the cheesecake and cherry topping. A chilled cheesecake bar with hot coffee after dinner feels cozy, classic, and just a little indulgent. My favorite kind of dessert moment.
- Iced Coffee: Iced coffee is great for warmer days or summer parties. The slight bitterness works well with the rich cheesecake layer and sweet cherry topping.
- Black Tea: Black tea cuts through the richness and gives these creamy cheesecake bars a calm, old-fashioned feel. It’s simple, but it works.
- Milk: A cold glass of milk is always a good casual pairing. It’s especially nice if you’re serving these at a family dessert night or with kids around.
- Whipped Cream: A little whipped cream makes the bars look pretty and adds a soft, airy finish. Don’t overdo it, though. These bars are already rich, and they know it.
- Fresh Berries: Strawberries, raspberries, or blueberries add freshness and color. They make the dessert plate look a little more elegant without much effort.
- Vanilla Ice Cream: If you want to go all in, serve a bar with a small scoop of vanilla ice cream. Is it rich? Yes. Is it too much? Maybe. But sometimes too much is the point.
- Lemonade: Lemonade adds a sweet-tart contrast that works beautifully with the cherry topping. It’s especially nice for spring or summer gatherings.
- Sparkling Water: Sparkling water with lemon or lime keeps the dessert from feeling too heavy. It’s refreshing and simple, which is nice next to creamy cheesecake.
- Holiday Dessert Tray: Add these Cherry Cheesecake Bars to a dessert tray with brownies, lemon bars, sugar cookies, shortbread, or chocolate truffles. The red cherry topping makes the whole tray look more festive.
FAQ
Why is my cheesecake filling lumpy?
Lumpy filling usually means the cream cheese was too cold. Let the cream cheese soften to room temperature before mixing, then beat it with the sugar until smooth before adding the eggs. Soft cream cheese is much easier to work with. Cold cream cheese fights back.
How do I know when the cheesecake bars are done?
The edges should be set, and the center should still have a slight jiggle. It should not look liquid, but it should wobble gently when the pan moves. The bars will continue to firm up as they cool and chill. If you bake until the center is completely firm, the texture may be drier.
Can I use homemade cherry topping?
Yes, homemade cherry topping works beautifully on these old-fashioned cherry cheesecake bars. Use cherries, sugar, lemon juice, and a little cornstarch if needed to thicken it. Let the topping cool completely before spreading it over the chilled cheesecake layer.
Why did my cheesecake bars crack?
Cracks can happen if the filling is overmixed, overbaked, or cooled too quickly. The good news is that the cherry topping covers the surface, so small cracks are not a big deal. This is one of those rare dessert problems that basically fixes itself.
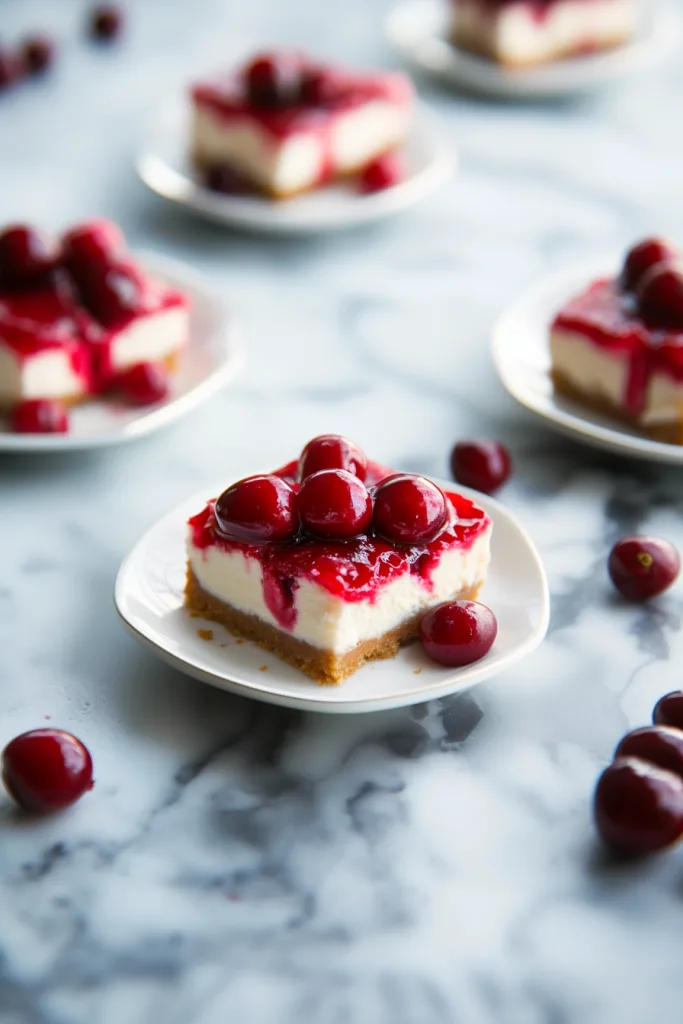
Cherry Cheesecake Bars are creamy, nostalgic, sweet, and easy to share. They have a buttery graham cracker crust, a smooth cheesecake filling, and a glossy cherry topping that makes the whole pan look festive without any fancy decorating. I love that. A dessert that brings its own outfit.
These bars feel special, but not stressful. They’re easier than a full cheesecake, perfect for making ahead, and just right for holidays, potlucks, family dinners, cookouts, and those moments when you want something old-fashioned and comforting in the fridge.
Try these Cherry Cheesecake Bars the next time you want creamy cheesecake bars, a cherry pie filling dessert, or a crowd-friendly treat that tastes like it came from a family recipe box. And tell me — would you keep the cherry topping classic, or try blueberry, strawberry, or an Oreo crust next? Can’t wait to hear what you think!
Cherry Cheesecake Bars
Ingredients
For the Crust
- 2 cups graham cracker crumbs about 16 full sheets
- ¼ cup granulated sugar
- ½ cup unsalted butter melted
For the Cheesecake Filling
- 16 oz cream cheese softened to room temperature
- ⅔ cup granulated sugar
- 2 large eggs
- 2 tsp vanilla extract
- ¼ tsp salt
For the Cherry Topping
- 1 can cherry pie filling 21 oz
Instructions
Preheat the oven.
- Preheat the oven to 325°F.
Prepare the baking pan.
- Line a 9×13-inch baking pan with parchment paper, leaving an overhang on the sides for easy removal.
Prepare the crust mixture.
- In a medium mixing bowl, combine the graham cracker crumbs, granulated sugar, and melted butter. Stir until the crumbs are evenly moistened.
Press the crust into the pan.
- Press the graham cracker mixture firmly and evenly into the bottom of the prepared baking pan.
Bake the crust.
- Bake the crust for 10 minutes. Remove from the oven and set aside to cool.
Prepare the cheesecake filling.
- In a large mixing bowl, beat the softened cream cheese and granulated sugar with an electric mixer until smooth and creamy, about 2 minutes.
Add the eggs.
- Add the eggs one at a time, mixing on low speed after each addition until just incorporated.
Add vanilla and salt.
- Add the vanilla extract and salt. Mix on low speed until just combined. Do not overmix.
Add the filling to the crust.
- Pour the cheesecake filling over the cooled graham cracker crust and spread it evenly with a spatula.
Bake the cheesecake layer.
- Bake for 35 to 40 minutes, or until the edges are set and the center remains slightly jiggly.
Cool completely.
- Remove the pan from the oven and allow the cheesecake bars to cool completely at room temperature.
Chill the bars.
- Refrigerate for at least 4 hours, or overnight, until fully chilled and firm.
Add the cherry topping.
- Before serving, spread the cherry pie filling evenly over the chilled cheesecake layer.
Remove from the pan.
- Use the parchment paper overhang to lift the cheesecake bars out of the pan.
Slice and serve.
- Cut into squares and serve chilled.
Notes