Unsalted butter, powdered sugar, vanilla extract, peppermint extract, salt, heavy cream or milk, and optional food coloring.
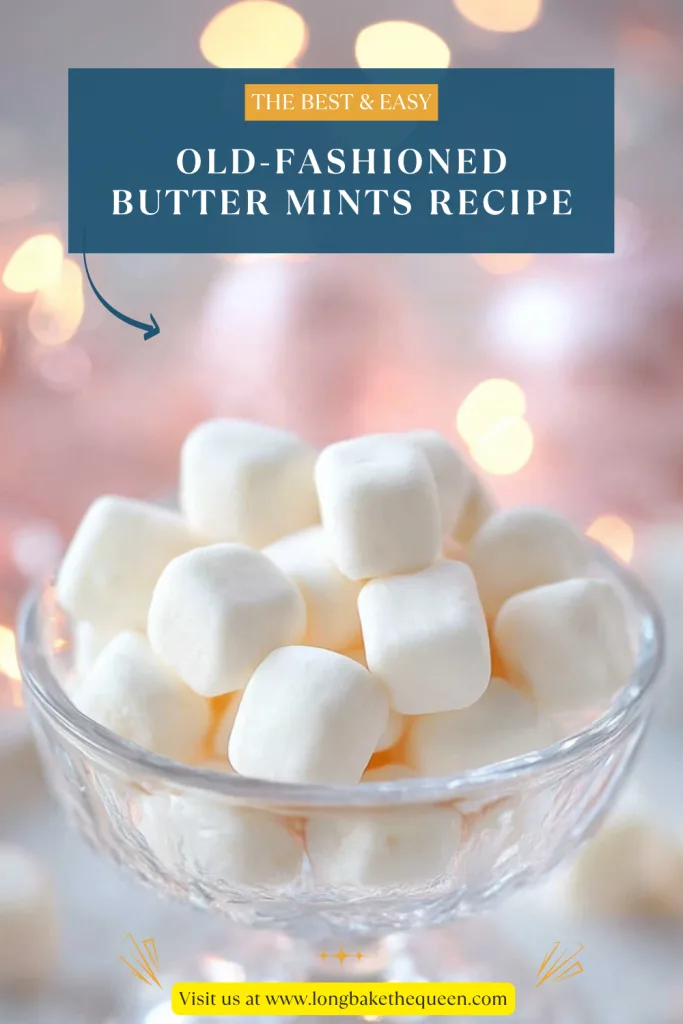
I have such a soft spot for little candies that feel like they belong in a glass dish on someone’s holiday table. You know the kind, right? The pastel ones at weddings, baby showers, church suppers, and those family parties where someone always brings a casserole with no label and everyone still eats it. This Old-Fashioned Butter Mints Recipe brings back that same sweet, nostalgic feeling. Soft, creamy, pepperminty, and just fancy enough to make you feel like you did something special.
The first time I made homemade butter mints, I thought they were going to be fussy. They look so delicate, like something a grandmother makes with a calm smile and zero powdered sugar on her shirt. Meanwhile, I had powdered sugar on the counter, on my sleeve, and somehow on the floor behind me. How? No idea. But once I started mixing the butter with the powdered sugar, vanilla, peppermint, and salt, I realized these little mints are actually pretty forgiving. A little messy, yes. But not hard.
What I love about this Old-Fashioned Butter Mints Recipe is the texture. They’re soft and creamy inside, but after drying, they form this gentle little shell on the outside. Then you bite into one and it just sort of melts away. Not crunchy. Not chewy. Just buttery, sweet, and minty in that old-school way. It’s the kind of candy you put out “for guests” and then catch yourself sneaking every time you walk past the dish. Sound familiar?
These butter mints feel especially sweet for holidays, bridal showers, baby showers, Easter, Christmas, weddings, or even just a quiet afternoon when you want to make something pretty with your hands. I know they’re simple, but that’s kind of the charm. They don’t shout. They sit there looking soft and polite, then disappear one by one. Very sneaky little candies.

Why you’ll Love this Old-Fashioned Butter Mints Recipe?
The biggest reason this Old-Fashioned Butter Mints Recipe is such a keeper is that it feels elegant without asking you to do scary candy-making things. No candy thermometer. No boiling syrup. No standing over a pot wondering if you’ve accidentally made glue. You just beat softened butter, add powdered sugar, flavor it with vanilla and peppermint, shape the dough, and let the mints dry. That’s it. Simple, old-fashioned, and honestly kind of soothing once you get going.
Another thing that makes these homemade butter mints so lovely is their melt-in-your-mouth texture. The butter gives richness, the powdered sugar gives structure, and the peppermint extract keeps them from feeling too heavy. Once they’ve dried, the outside becomes firm while the inside stays creamy. It’s that little contrast that makes butter mints feel different from regular candy. They’re not flashy. They’re just quietly wonderful.
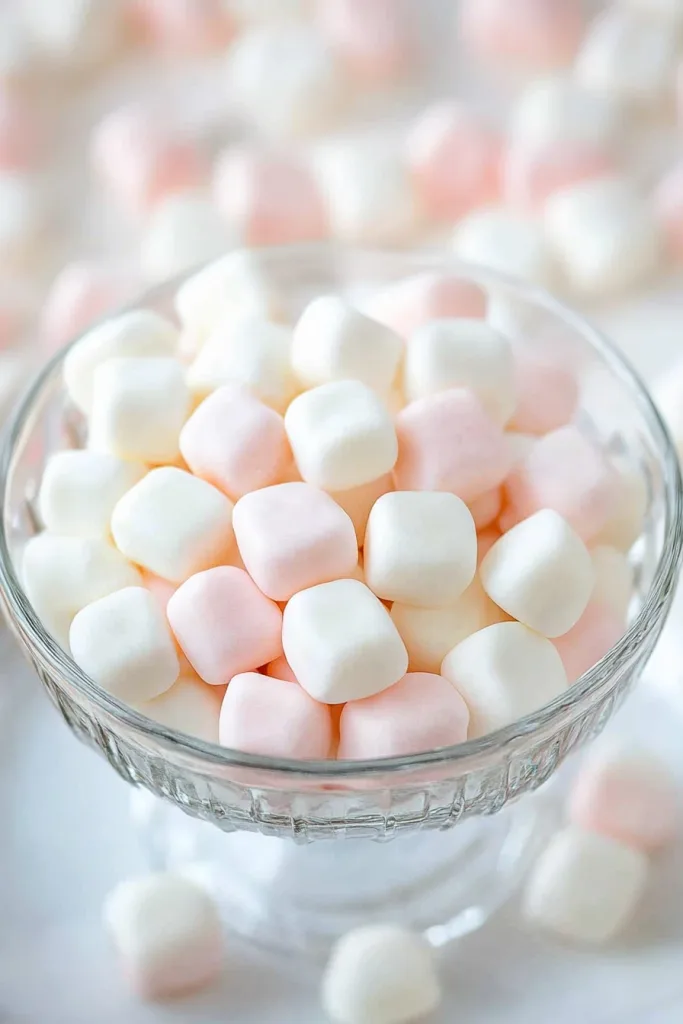
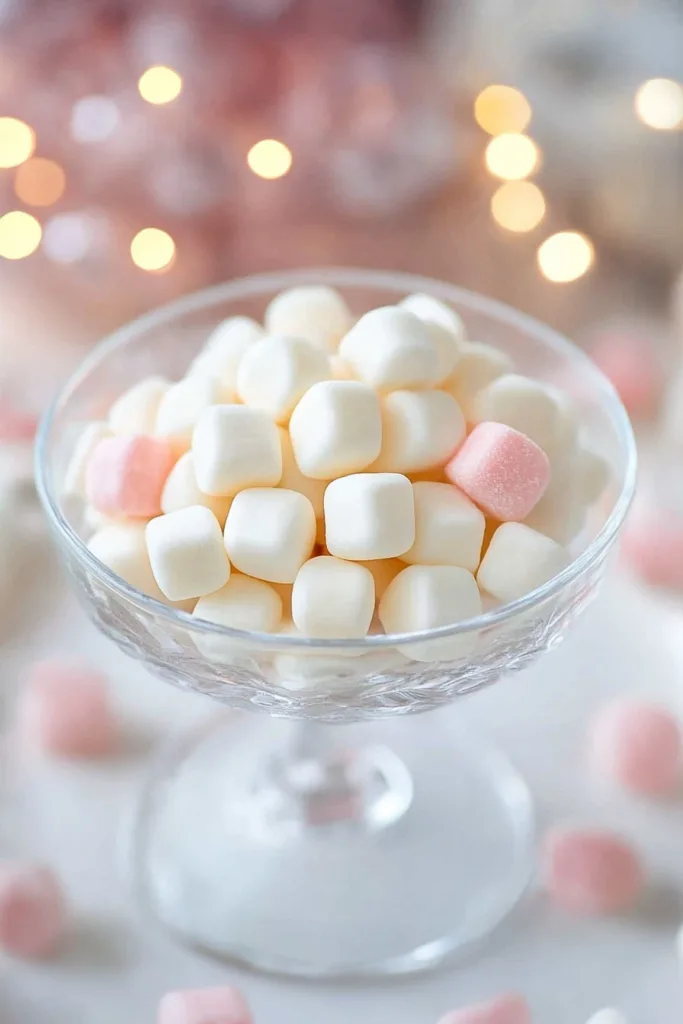
This Old-Fashioned Butter Mints Recipe is also easy to make pretty. You can leave the mints white for a classic look, or tint the dough with soft pastel colors. Pink, mint green, pale yellow, lavender, baby blue — all those gentle colors look so sweet in a candy bowl. I’m partial to pale green because it feels very “vintage mint dish,” but honestly, they’re cute in every shade. Maybe too cute, if that’s a thing.
I also love that these butter mints can be made ahead. Since they need 12 to 24 hours to air dry, they’re actually perfect for parties and holidays because you’re not rushing at the last minute. Make them the day before, let them set, and tuck them into an airtight container. When you need them, they’re ready. Honestly, desserts that cooperate deserve applause.
Ingredient Notes
Before you start mixing, let’s talk about what goes into this Old-Fashioned Butter Mints Recipe. The ingredient list is short, so each one matters. Butter gives the mints their creamy base. Powdered sugar turns everything into a soft dough. Vanilla smooths out the flavor. Peppermint brings that classic cool taste. Salt keeps the sweetness balanced. And cream or milk helps the dough come together when it needs a little nudge.
- Unsalted butter: Butter is the heart of these old-fashioned mints, so start with softened butter. Not melted. Not cold. Softened butter blends smoothly with the powdered sugar and gives the mints that creamy, melt-away texture. If the butter is too cold, you’ll fight lumps. If it’s too warm, the dough can feel greasy. Soft but still holding its shape is the sweet spot.
- Powdered sugar: Powdered sugar gives the butter mints their sweetness and structure. Sifting it helps keep the dough smooth, which is worth doing even if it feels like one extra little step. You’ll add the sugar in stages so it mixes in without turning your kitchen into a winter scene. The finished dough should feel soft, smooth, and a bit like playdough. If it feels sticky, add a little more powdered sugar. If it feels dry, add cream or milk, just a tiny bit at a time.
- Vanilla extract: Vanilla adds warmth and keeps the peppermint from tasting too sharp. It doesn’t scream “vanilla,” but it rounds everything out and makes the mints taste softer and more homemade. I think of it like the quiet friend in the recipe who makes everyone else behave.
- Peppermint extract: Peppermint extract gives this Old-Fashioned Butter Mints Recipe its classic refreshing flavor. Go carefully here because peppermint extract is strong. A little tastes lovely and cool. Too much tastes like you accidentally made candy out of toothpaste. Not ideal. Measure it, and if you decide to adjust, do it drop by drop.
- Salt: A pinch of salt may seem tiny, but it matters. These mints are very sweet, and salt helps balance that sweetness. It also brings out the butter and vanilla. Don’t skip it. Tiny ingredient, big personality.
- Heavy cream or milk: Heavy cream or milk helps soften the dough if it feels dry or crumbly. Heavy cream gives a slightly richer texture, but milk works perfectly fine too. Add it slowly, because a little liquid can change the dough quickly. You want a soft dough that rolls easily, not one that sticks to everything like frosting with big plans.
- Food coloring: Food coloring is optional, but it gives the mints that pretty pastel look people often remember from showers and weddings. Gel food coloring is best because it adds color without adding too much liquid. Start with the tiniest amount and knead it in. You can always add more, but you can’t exactly un-pink the dough once you’ve gone too far. Ask me how I know.
How to Make Old-Fashioned Butter Mints Recipe?
This Old-Fashioned Butter Mints Recipe is all about texture. You want a dough that feels soft and smooth, almost like playdough. Not sticky. Not crumbly. Once the dough is right, the rest is simple: roll it into ropes, cut it into little pieces, and let the mints dry until they form that classic firm outside. It’s candy-making, but the calm kind. Thank goodness.
Step 1: Beat the Butter
Place the softened butter in a large mixing bowl. Beat it with an electric mixer on medium speed until it is smooth and creamy. Scrape down the bottom and sides of the bowl, then beat again until no lumps remain.
This step gives you a smooth base for the mints. If the butter starts lumpy, the dough may stay lumpy, and nobody wants little butter pockets hiding in their candy. Take a minute here. It’s worth it.
Step 2: Add the First Portion of Powdered Sugar
Reduce the mixer speed to low and slowly add 2 cups of powdered sugar. Add it gradually so it doesn’t puff up everywhere. Powdered sugar is innocent-looking, but it can absolutely attack your counter if you rush it.
Mix until the sugar is mostly blended into the butter. The mixture will begin to thicken and look more like a soft candy base. Keep the mixer low and steady. No need for drama yet.
Step 3: Add the Flavorings
Add the vanilla extract, peppermint extract, and pinch of salt. Mix until everything is evenly combined.
This is the moment the dough starts smelling like butter mints. The vanilla softens the flavor, the peppermint adds freshness, and the salt balances all that sweetness. It’s simple, but the balance matters.
Step 4: Add the Remaining Powdered Sugar
Slowly add the remaining powdered sugar, mixing on low speed. If the dough becomes too dry or crumbly, add heavy cream or milk a tiny bit at a time until the dough comes together.
The dough should feel soft, smooth, and easy to roll. If it sticks to your hands, add a little more powdered sugar. If it cracks or crumbles, add a few drops more cream or milk. This part is more about feel than strict rules. The dough will tell you what it needs, which sounds dramatic, but it’s true.
Step 5: Add Food Coloring, If Desired
If you want colored butter mints, divide the dough into separate bowls. Add a tiny amount of gel food coloring to each portion and knead gently until the color is even.
Soft pastel colors are the classic choice for this Old-Fashioned Butter Mints Recipe. Think pale pink, mint green, butter yellow, lavender, or soft blue. You don’t need strong colors. These mints are supposed to look delicate and sweet, not like they’re auditioning for a neon sign.
Step 6: Roll the Dough into Ropes
Lightly dust a clean surface with powdered sugar. Take a small portion of dough and roll it into a long rope about ½ inch thick.
Work with small pieces of dough at a time. It’s easier to control, and the ropes will come out more even. If the dough sticks, dust lightly with more powdered sugar. If it feels a little stiff, knead it for a few seconds to soften it. And if the rope isn’t perfectly even? Truly, nobody is measuring your butter mints at the dessert table.
Step 7: Cut the Mints
Cut the ropes into ½-inch pieces using a sharp knife or bench scraper. Place the pieces on a parchment-lined baking sheet.
You can leave them as little pillow shapes, or gently tidy the edges if you want them neater. I like them with a little handmade look. It gives them personality. Plus, once they’re in a candy dish, they look charming either way.
Step 8: Let the Mints Air Dry
Arrange the mints in a single layer on the parchment-lined baking sheet. Let them air dry at room temperature for 12 to 24 hours, or until they form a firm outer shell.
Don’t cover them tightly while they dry, or they may stay too soft. Let the air do its thing. Once the outside feels firm, the mints are ready to store or serve. The inside should still be smooth and creamy, which is exactly the magic we want.
Storage Options
This Old-Fashioned Butter Mints Recipe is wonderful for making ahead because the mints store well once they’re dried. After they form a firm outer shell, place them in an airtight container. Store them at room temperature in a cool, dry place for up to 1 week.
For longer storage, refrigerate the butter mints for up to 2 to 3 weeks. Place parchment paper between layers so they don’t stick together. Before serving, let them sit at room temperature for a few minutes so they soften slightly and melt nicely when you eat them.
You can also freeze fully dried butter mints for up to 2 months. Place them in a freezer-safe container with parchment between layers. Thaw them in the refrigerator first, then bring them to room temperature before serving. The texture may change just slightly, but they’ll still be sweet, minty, and lovely.
Variations & Substitutions
One thing I really like about this Old-Fashioned Butter Mints Recipe is how easy it is to customize. You can change the colors, swap the extract, pipe the dough, shape them differently, or make them fit a holiday theme. They’re simple candies, but they have that sweet little “dress me up” quality. Like tiny edible party favors.
- Change the colors: Use gel food coloring to create soft pastel butter mints. Pink and white are sweet for baby showers, green and white are pretty for Christmas, lavender feels lovely for spring, and pale yellow is cute for Easter. Keep the colors gentle for that classic old-fashioned look.
- Try different extracts: Peppermint is traditional, but spearmint, almond, lemon, orange, or vanilla-only can work too. Start with a small amount because extracts vary in strength. You can add more, but once the flavor is too strong, there’s no easy undo button.
- Make them dairy-free: You can try plant-based butter and non-dairy milk, though the texture may be a little different. Use a firm plant-based butter stick rather than a soft spread for better structure. The dough needs something that behaves like butter, not something too loose.
- Pipe the mints: If the dough is soft enough, pipe small mints onto parchment using a piping bag and star tip. This gives them a pretty, decorative look. If the dough is too stiff, add the tiniest splash of cream or milk.
- Shape them differently: Instead of cutting little pillows, roll the dough into small balls and flatten them lightly with a fork. You can also press the dough into small candy molds if it’s soft and smooth enough. It’s a fun way to make them extra cute for parties.
- Add a stronger mint flavor: For a bolder peppermint flavor, add one tiny drop of peppermint extract at a time. Go slowly. Peppermint has no chill if you overdo it.
- Make holiday trays: Add these butter mints to cookie boxes, candy tins, dessert boards, or holiday trays. They’re refreshing next to richer treats like fudge, brownies, chocolate cookies, and truffles.

What to Serve With Old-Fashioned Butter Mints Recipe?
This Old-Fashioned Butter Mints Recipe makes sweet little candies that are perfect after meals, on dessert tables, or tucked into candy dishes. Because they’re buttery, sweet, and minty, they pair nicely with drinks and desserts that balance that refreshing peppermint flavor. They may be small, but they add such a pretty, nostalgic touch.
- Coffee: Coffee pairs beautifully with butter mints because the bitterness balances the sweetness. A little dish of butter mints beside hot coffee after dinner feels simple but elegant. Like you planned ahead, even if the rest of the meal was a little chaotic.
- Hot tea: Black tea, green tea, and herbal tea all work well with butter mints. Peppermint tea makes the mint flavor stronger, while black tea gives a nice contrast. It feels very tea-party, but in an easy, unfussy way.
- Hot chocolate: Butter mints with hot chocolate taste a little like peppermint cocoa. This is especially cozy around the holidays. Set them out with mugs of hot chocolate, and watch how fast people start reaching for them.
- Cookie trays: These mints are perfect next to cookies because they offer a refreshing little break between richer sweets. Serve them with sugar cookies, shortbread, gingerbread, chocolate crinkles, or butter cookies.
- Wedding or shower dessert tables: Old-fashioned butter mints are classic for weddings, bridal showers, baby showers, and tea parties. Their soft colors and delicate texture make them look lovely in small bowls, jars, or candy dishes.
- Chocolate desserts: Mint and chocolate are always good together. Serve butter mints with brownies, chocolate cake, truffles, or chocolate-dipped strawberries. The mint keeps the chocolate from feeling too heavy.
- After-dinner candy bowls: Place the mints in a small dish after dinner for a sweet little finish. They’re light enough for people to enjoy even after a big meal. One or two feels polite. Three or four happens when nobody is looking.
FAQ
Why is my butter mint dough too dry?
If the dough feels dry or crumbly, add heavy cream or milk a tiny bit at a time until it becomes soft and smooth. Add slowly because too much liquid can make the dough sticky.
Why is my butter mint dough too sticky?
If the dough is too sticky, add more sifted powdered sugar a little at a time. The dough should feel like soft playdough and should be easy to roll without sticking heavily to your hands.
Do butter mints need to be refrigerated?
Butter mints can be stored at room temperature in a cool, dry place for about 1 week after drying. For longer storage, refrigerate them for up to 2 to 3 weeks.
Can I freeze butter mints?
Yes, you can freeze fully dried butter mints for up to 2 months. Place parchment paper between layers and store them in a freezer-safe container. Thaw them in the refrigerator before bringing them to room temperature.

This Old-Fashioned Butter Mints Recipe is sweet, creamy, nostalgic, and honestly so charming in a little candy dish. With softened butter, powdered sugar, vanilla, peppermint, and a splash of cream or milk, you can make homemade mints that feel perfect for holidays, weddings, showers, and dessert trays.
I love that they look delicate and special, but they’re actually simple to make. Mix the dough, tint it if you want, roll it, cut it, and let the mints dry until they form that classic outer shell. It’s quiet little kitchen work, and sometimes that’s the nicest kind.
So tell me — would you make these Old-Fashioned Butter Mints in classic white, soft pink, mint green, or a whole little pastel mix? I’d love to know what colors you’d choose.

Old-Fashioned Butter Mints Recipe
Ingredients
- ½ c unsalted butter softened
- 4 c powdered sugar sifted and divided
- ½ tsp vanilla extract
- ¼ tsp peppermint extract
- 1 pinch salt
- 1 tbsp heavy cream or milk as needed
- Food coloring optional
Instructions
Step 1: Beat the Butter
- Place the softened butter in a large mixing bowl.
- Using an electric mixer on medium speed, beat the butter until smooth and creamy.
- Scrape the bottom and sides of the bowl.
- Beat again until the butter is completely lump-free.
Step 2: Add the First Portion of Powdered Sugar
- Reduce the mixer speed to low.
- Gradually add 2 c powdered sugar.
- Mix until the powdered sugar is fully incorporated into the butter.
Step 3: Add the Flavorings
- Add the vanilla extract, peppermint extract, and salt.
- Mix on low speed until evenly combined.
Step 4: Add the Remaining Powdered Sugar
- Gradually add the remaining powdered sugar.
- Mix until a soft dough begins to form.
- If the dough appears dry or crumbly, add heavy cream or milk in small amounts until the dough reaches a soft, smooth, playdough-like consistency.
Step 5: Add Food Coloring, If Desired
- If using food coloring, divide the dough into separate bowls.
- Add a small amount of gel food coloring to each portion.
- Knead gently until the color is evenly distributed.
Step 6: Roll the Dough
- Lightly dust a clean work surface with powdered sugar.
- Working with small portions at a time, roll the dough into long ropes approximately ½ inch thick.
Step 7: Cut the Mints
- Cut the ropes into ½-inch pieces.
- Arrange the mints in a single layer on a parchment-lined baking sheet.
Step 8: Air Dry
- Allow the mints to air dry at room temperature for 12 to 24 hours, or until they form a firm outer shell.
Step 9: Serve or Store
- Once dry, serve the mints immediately or transfer them to an airtight container for storage.
Notes