Apples, apple cider, apple cider vinegar, cinnamon, nutmeg.
There’s something about an Old Fashioned Apple Butter Recipe that makes the whole house feel softer. I don’t know how else to explain it. One minute you’re just peeling apples, and the next minute the kitchen smells like cinnamon, cider, fall leaves, and every cozy memory you forgot you had. It’s not a loud recipe. It doesn’t shout for attention. It just simmers away quietly and somehow makes everything feel a little warmer.
I think that’s why I love homemade apple butter so much. It’s one of those recipes that asks for time more than skill. You don’t have to decorate anything. You don’t have to frost layers or pipe little swirls or stand there wondering if your cake is “moist enough.” You just start with apples, apple cider, apple cider vinegar, cinnamon, and nutmeg, then let heat and patience do their slow little magic. And honestly, that’s kind of refreshing.
The first time I made an Old Fashioned Apple Butter Recipe, I was surprised by how humble it looked at the beginning. A giant pile of apples. A splash of cider. Nothing too exciting. At first, it looked like it was heading toward applesauce, which is fine, but not exactly thrilling. Then a few hours passed. The color deepened. The spices settled in. The whole thing turned glossy and thick, and suddenly I was standing over the slow cooker with a spoon thinking, Oh. Okay. Now I get it.
This recipe has that old-school preserving feeling, too. Jars lined up on the counter, steam in the kitchen, sticky apple drips that somehow appear in places you did not touch. Sound familiar? If you’ve ever canned anything, you know it can feel both peaceful and chaotic at the same time. You’re wiping jar rims like a serious person, but there’s also apple butter on the spoon rest, the towel, maybe your sleeve. It happens.
What I really like about this no sugar added apple butter is that it doesn’t need extra sugar to taste rich. The apples and apple cider bring their own sweetness, and as they cook down, that flavor gets stronger and deeper. The apple cider vinegar adds just enough brightness so it doesn’t taste flat, and the cinnamon and nutmeg make it warm without turning it into a spice cabinet situation. It’s balanced. Not too sweet. Not too sharp. Just cozy.
And then, if you can it, comes the best little sound in the world: the jar lids popping as they seal. I swear, that sound makes you feel like you accomplished something important. Like you might suddenly start wearing an apron with pockets and labeling pantry shelves. Maybe not, but for a minute, it feels possible.

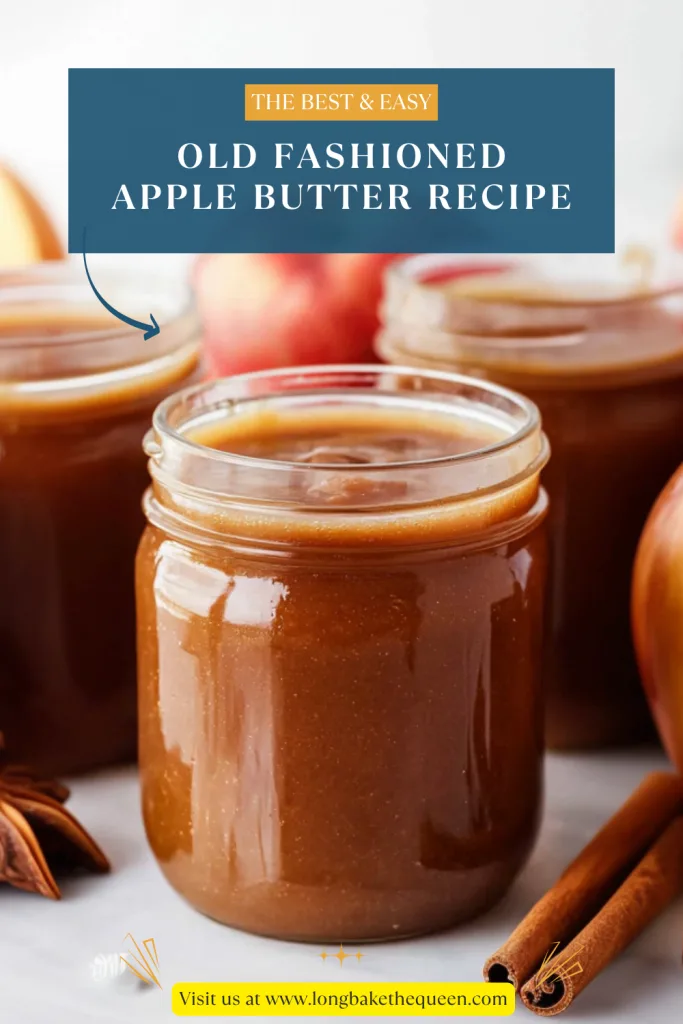
Why you’ll Love this Old Fashioned Apple Butter Recipe?
You’ll love this Old Fashioned Apple Butter Recipe because it turns simple ingredients into something that tastes rich, slow-cooked, and deeply comforting. There’s no added sugar, no fancy thickener, and no complicated ingredient list. Just apples, apple cider, apple cider vinegar, cinnamon, and nutmeg. That’s it. A short list, but somehow it makes a spread that tastes like fall got tucked into a jar.
One of the nicest things about this homemade apple butter recipe is the texture. Apple butter doesn’t actually have butter in it, which is always a fun little surprise if you’re new to it. The name comes from the way it becomes smooth, thick, and spreadable after long cooking. It should hold its shape on a spoon when it’s ready. Not watery. Not loose. More like a soft, spiced apple paste that spreads beautifully over toast, biscuits, pancakes, or honestly, a spoon if we’re being real.
This slow cooker apple butter recipe is also wonderfully flexible. You can make it in a slow cooker if you want the mostly hands-off version, or you can make it on the stovetop if you like staying close and stirring. I lean toward the slow cooker because I enjoy recipes that do their thing while I do mine. But the stovetop method has its own charm, especially if you like that old-fashioned simmering-pot feeling.
Another reason this Old Fashioned Apple Butter Recipe is worth making is the big batch. It yields about 8 pint jars, which means you get enough to keep, share, and maybe hide one jar in the back of the pantry for yourself. No judgment. Homemade apple butter also makes a lovely gift. Add a label, tie on a ribbon, and suddenly you look like someone who planned ahead beautifully. Even if you were peeling apples at midnight. Been there.
I also love how useful this spiced apple butter is. It’s not just for toast, though toast is obviously a good place to start. You can swirl it into oatmeal, spoon it over waffles, serve it with pork chops, add it to yogurt, spread it on biscuits, or place it on a cheese board with sharp cheddar. It quietly makes simple food feel more special. Do you agree?
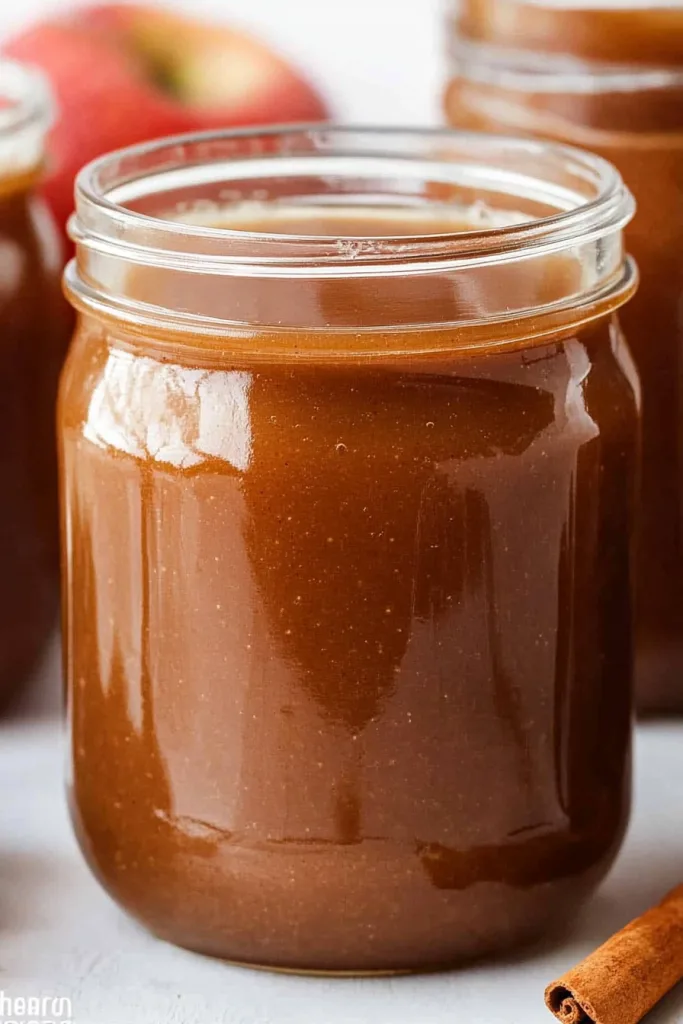
Ingredient Notes
The ingredient list for this Old Fashioned Apple Butter Recipe is short, but every ingredient has a real job. The apples bring body and natural sweetness, the cider deepens the apple flavor, the vinegar adds a little brightness, and the cinnamon and nutmeg make everything taste warm and cozy. Since there’s no added sugar, the apples you choose matter more than you might think.
- Apples: Apples are the heart of this Old Fashioned Apple Butter Recipe, and you’ll need 12 pounds of them. Yes, it sounds like a lot. It is a lot. You may look at the pile and briefly question your choices, but they cook down quite a bit. A mix of sweet and tart apples gives the best flavor. Try Fuji, Gala, Honeycrisp, Golden Delicious, Jonagold, McIntosh, or Granny Smith. Sweet apples bring natural sweetness, while tart apples keep the apple butter from tasting too heavy.
- Apple cider: Apple cider helps the apples soften and gives the finished homemade apple butter a deeper apple flavor. If you can use real apple cider instead of plain apple juice, I would. Cider usually tastes richer and more fall-like. Since this recipe doesn’t use added sugar, that cider flavor really helps build the sweetness naturally.
- Apple cider vinegar: Apple cider vinegar adds balance. It may sound odd at first, especially in a sweet spread, but it keeps the apple butter from tasting flat. You don’t taste sharp vinegar in the finished batch. It just adds a little lift, like opening a window in a warm kitchen.
- Cinnamon: Cinnamon gives this spiced apple butter recipe its classic cozy flavor. It’s warm, familiar, and exactly what you want with slow-cooked apples. This recipe uses 1 tablespoon, which works well for such a large batch. The smell alone is worth it, honestly.
- Nutmeg: Nutmeg adds depth and warmth behind the cinnamon. It’s a quieter spice, but it rounds everything out. Use the 1 teaspoon listed in the recipe, because nutmeg can get bossy if you add too much. A little is lovely. Too much and suddenly the apple butter has opinions.
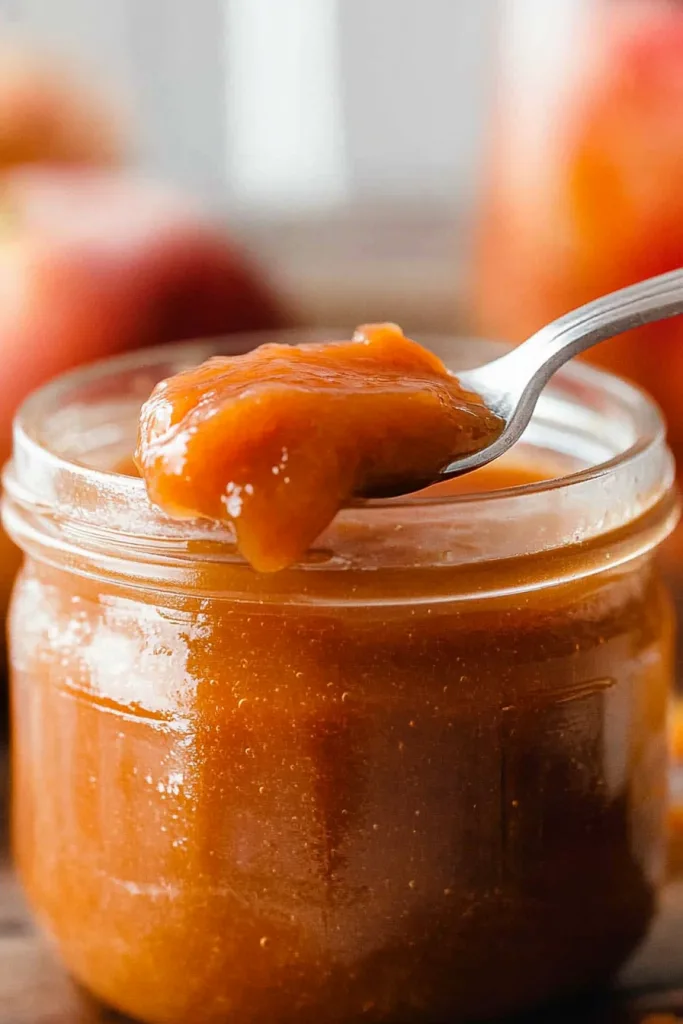
How to Make Old Fashioned Apple Butter Recipe?
Making this Old Fashioned Apple Butter Recipe is not hard, but it is slow. You’ll peel, core, and quarter the apples, cook them with cider until soft, mash or puree them, add the vinegar and spices, and then cook everything down until thick. If you want shelf-stable jars, you’ll also process the apple butter in a boiling water bath. It’s a kitchen project, yes, but a satisfying one.
Step 1: Prepare the Apples
Start by peeling, coring, and quartering the apples. This is the part where you may want a podcast, a playlist, or someone nearby who can be convinced to help. Twelve pounds of apples is not exactly a casual handful. But once they’re prepped, the rest of the recipe feels much easier. Removing the peels and cores helps create a smoother final texture for your Old Fashioned Apple Butter Recipe.
Step 2: Cook the Apples with Apple Cider
Place the apples and apple cider in a slow cooker or a large stock pot. If you’re using the slow cooker, cook on high for 3 to 4 hours, or until the apples are very soft. If you’re using the stovetop, bring the mixture to a boil over medium-high heat, then reduce the heat and simmer, stirring often, until the apples soften. The goal here is simple: get those apples tender enough to mash easily.
Step 3: Mash the Apples
Once the apples are soft, use a potato masher to break them up. You don’t need to make them perfectly smooth at this stage. You’re just helping them move from chunky apples to something closer to applesauce. This makes the next step easier and helps the apple mixture cook down more evenly.
Step 4: Puree the Apple Mixture
Work in batches and run the apple pulp through a food mill, sieve, or chinois for a smooth texture. You can also use an immersion blender if you want a quicker method. I usually like smooth apple butter, but a slightly rustic texture is okay too. It depends on what you love. Some people want silky. Some people like a little body. Both are valid apple butter personalities.
Step 5: Return the Puree to the Pot
Return the apple puree to the slow cooker or cooking pot. At this point, it will look more like applesauce than apple butter, and that’s normal. Don’t judge it too early. The long cooking time is what turns the puree darker, thicker, and richer. This is where the Old Fashioned Apple Butter Recipe starts becoming itself.
Step 6: Add the Vinegar and Spices
Add the apple cider vinegar, cinnamon, and nutmeg to the apple puree. Stir well so the spices are evenly mixed throughout. This is the moment the kitchen starts smelling properly cozy. Not just “something is cooking” cozy, but “maybe I should make biscuits too” cozy.
Step 7: Cook Until Thick in the Slow Cooker
If you’re using the slow cooker, tilt the lid slightly so steam can escape. Cook on low for another 6 to 8 hours, or until the apple butter is thick and holds its shape on a spoon. The tilted lid matters because the extra moisture needs somewhere to go. As it cooks, the color will deepen and the flavor will become richer. Stir now and then if you can.
Step 8: Cook Until Thick on the Stovetop
If you’re using the stovetop, simmer the apple puree over low heat, stirring frequently until thickened. Keep the heat low because apple butter can scorch if it gets too hot. It can also bubble and splatter, so a deep pot is helpful unless you enjoy cleaning sticky apple dots off your stove. The apple butter is ready when it is thick, glossy, and mounds slightly on a spoon.
Step 9: Wash and Check the Jars
Before canning, wash your jars well and check each rim for nicks or cracks. A damaged rim can stop the lid from sealing properly. This part is not glamorous, but canning is one of those places where details matter. Clean jars, good rims, better seals.
Step 10: Prepare the Lids and Rings
Wash the lids and rings in hot soapy water. If you’re using lids from a brand that gives special preparation instructions, follow those directions. Clean lids and rings help the jars seal correctly, which is the whole point after making a big beautiful batch of homemade apple butter.
Step 11: Heat the Empty Jars
Place the empty jars in a canning pot or large stock pot with enough water to cover them by 1 to 2 inches. Cover the pot and bring the water to a boil. Warming the jars helps prevent them from cracking when you add the hot apple butter. Sudden temperature changes can be rude to glass.
Step 12: Fill the Jars
Remove the warm jars from the canner and drain them. Ladle hot apple butter into pint jars, leaving ¼ inch of headspace. A canning funnel makes this so much easier. Without one, you can still do it, but you may end up with apple butter on the jar, the counter, and possibly your hand. Ask me how I know.
Step 13: Wipe the Jar Rims
Wipe the jar rims clean before adding the lids. This is important because even a little bit of apple butter on the rim can keep the lid from sealing. After cooking apples for half the day, we are not letting a sticky rim sabotage the mission.
Step 14: Add Lids and Bands
Place the lids centered on the jar rims. Screw the bands on until they are finger tight. Don’t tighten them too much. Air needs to escape during processing, and finger tight is enough. Canning has its own rules, and this is one of them.
Step 15: Process the Jars
Use a jar lifter to gently lower the filled jars into the boiling water. The water should cover the tops of the jars by 1 inch. Return the water to a simmer, then begin timing. Process pint jars for 15 minutes at 0 to 1,000 feet altitude, 20 minutes at 1,001 to 6,000 feet, and 25 minutes above 6,000 feet. Altitude matters here, so don’t skip that detail.
Step 16: Let the Jars Cool
Remove the jars with a jar lifter and place them on a towel-covered surface. Let them cool undisturbed for 24 hours. This is when you may hear the lids pop as they seal. That little ping is honestly one of the best parts of canning. It feels like the jars are applauding politely.
Step 17: Check the Seals
After 24 hours, check the seals. The lids should be pulled down tight and should not flex when pressed. If a lid pops or moves, the jar did not seal. Put any unsealed jars in the refrigerator and use those first. They are still delicious, just not shelf-stable.
Step 18: Clean, Label, and Store
Remove the rings and wash the outside of the jars if needed. Store sealed jars in a cool, dark place. Label them with the date so you know when you made them. This is one of those tiny future-you favors that feels boring now and helpful later.
Storage Options
This Old Fashioned Apple Butter Recipe can be stored several ways depending on whether you process the jars, refrigerate the batch, or freeze it. Properly canned jars last the longest, but even if you skip canning, you can still enjoy the apple butter from the fridge or freezer. Just choose the method that fits your comfort level.
- Properly canned jars: Sealed jars of old fashioned apple butter can be stored in a cool, dark place for up to 1 year. Keep them away from heat and direct sunlight. A pantry, cupboard, or cool basement shelf works well.
- After opening: Once opened, refrigerate the jar and use it within 2 to 3 weeks. Use a clean spoon each time you scoop from the jar. It’s a small thing, but it helps keep the apple butter fresh.
- Unsealed jars: If a jar does not seal, do not store it at room temperature. Place it in the refrigerator and use it first. It will still taste wonderful, but it should be treated like a refrigerated batch.
- Refrigerator storage without canning: If you don’t want to can this Old Fashioned Apple Butter Recipe, transfer the finished apple butter to clean containers and refrigerate. Use within 2 to 3 weeks.
- Freezer storage: Apple butter freezes well. Spoon it into freezer-safe containers and freeze for up to 6 months. Leave a little space at the top because it may expand as it freezes. Thaw in the refrigerator before using.
- Gift storage tip: If you’re giving jars away, check that they are sealed and label them with the date. A handwritten tag with serving ideas makes it feel extra thoughtful. I know it’s a little old-fashioned, but honestly, that’s kind of the point.
Variations & Substitutions
This Old Fashioned Apple Butter Recipe is classic as written, but you can adjust the flavor depending on the apples you use and the spices you love. Since this version has no added sugar, the apple varieties really shape the finished taste. Sweet apples make it mellow and naturally sweet, while tart apples give it a brighter edge. I wouldn’t change everything at once, but little tweaks can be really nice.
- Use a mix of apples: A blend of sweet and tart apples gives the best flavor. Try Fuji, Gala, Honeycrisp, Golden Delicious, Jonagold, McIntosh, or Granny Smith. Using more than one variety makes the homemade apple butter taste fuller and more interesting.
- Make it sweeter naturally: If you want a sweeter no sugar added apple butter, use naturally sweet apples like Fuji, Gala, or Honeycrisp. The long cooking time also concentrates the sweetness, so the flavor becomes richer as it cooks down.
- Add cloves: Ground cloves add a deep, warm spice flavor. Use only a little, about ¼ teaspoon, because cloves are strong. They can go from cozy to “holiday candle aisle” pretty quickly.
- Add allspice: Allspice gives the apple butter a rounder, more holiday-style flavor. It pairs well with cinnamon and nutmeg and makes the spread feel a little more festive.
- Add ginger: Ground ginger adds warmth and a gentle bite. It’s a good choice if you want this spiced apple butter recipe to have a little extra personality.
- Use apple juice instead of cider: Apple cider gives the deepest flavor, but unsweetened apple juice can work if that’s what you have. The flavor may be a little lighter, but it will still cook down nicely.
- Make it smoother: Use an immersion blender, food mill, sieve, or chinois for a smooth finish. Smooth apple butter spreads beautifully on toast, biscuits, pancakes, and waffles.
- Make it rustic: If you like a little texture, blend less or mash the apples more gently. The finished apple butter will be less silky, but still cozy and delicious.
- Add vanilla: Stir in a little vanilla near the end of cooking for a softer, warmer flavor. It’s not required, and not everyone adds it, but I think it can be lovely.
- Make a smaller batch: If 12 pounds of apples feels like too much, cut the recipe in half. The cooking time may be slightly shorter, so watch for the thick texture instead of relying only on the clock.
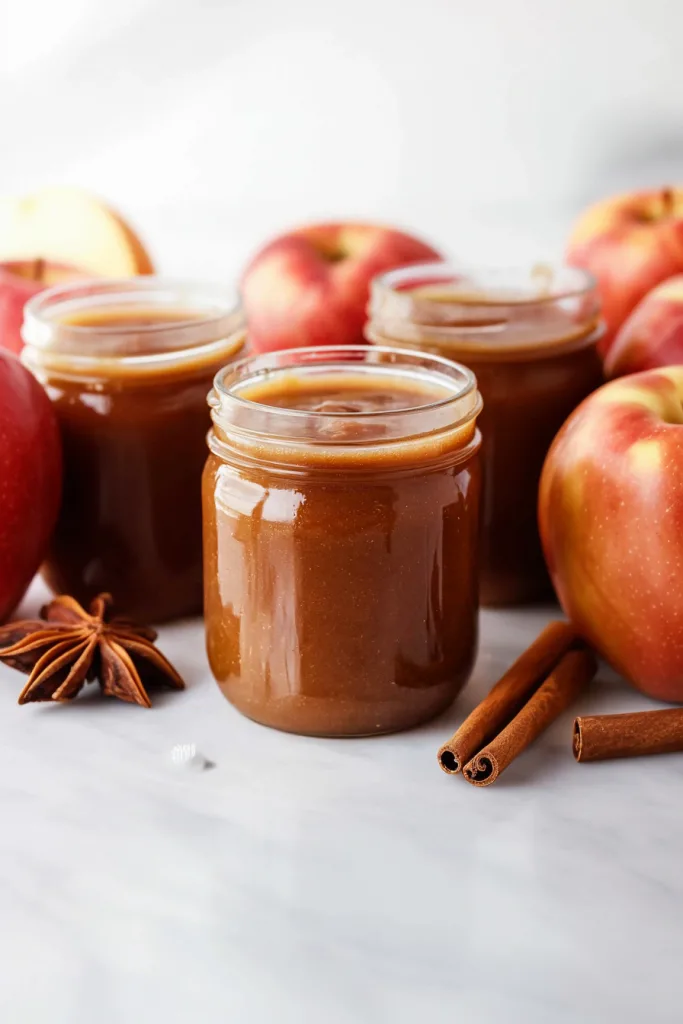
What to Serve With Old Fashioned Apple Butter Recipe?
This Old Fashioned Apple Butter Recipe is one of those spreads that finds its way into everything once you have it in the fridge or pantry. It’s sweet, spiced, tangy, and smooth, so it works with breakfast foods, snacks, desserts, and savory meals. You may start with toast, but don’t be surprised if you end up putting it on half the kitchen.
- Toast: Warm toast is the classic choice for homemade apple butter. Add regular butter first if you want it extra rich. The apple butter melts slightly into the toast, and the whole thing tastes like fall breakfast.
- Biscuits: Apple butter on warm biscuits is pure comfort. The biscuit soaks up the spiced spread, and suddenly a simple breakfast feels like something worth sitting down for. No eating over the sink for this one. Well, unless you want to.
- English muffins: Toasted English muffins are great with apple butter because all those little nooks hold the spread beautifully. It’s easy, simple, and very satisfying.
- Pancakes: Spoon this Old Fashioned Apple Butter Recipe over pancakes instead of syrup. It adds apple-cinnamon flavor without being overly sweet.
- Waffles: Apple butter on waffles is wonderful, especially with whipped cream, chopped nuts, or a little extra cinnamon. It has strong weekend breakfast energy.
- Oatmeal: Swirl apple butter into oatmeal for natural sweetness and warm spice. It turns plain oats into something that feels a little more cared for.
- Yogurt: Add a spoonful to plain or vanilla yogurt and top with granola. It makes an easy breakfast or snack with a cozy apple flavor.
- Pork chops: Apple and pork are a classic pair. Serve apple butter with roasted or pan-seared pork chops for a sweet, tangy contrast. It’s simple, but it tastes thoughtful.
- Cheese boards: Add a small bowl of spiced apple butter to a cheese board. It pairs beautifully with sharp cheddar, brie, goat cheese, crackers, and nuts. Very good for holidays, gatherings, or just pretending your snack plate is fancy.
- Sandwiches: Spread a thin layer on turkey, ham, or grilled cheese sandwiches. It sounds a little unexpected, but the sweet-savory flavor works really well. Especially with sharp cheese. Trust me on that one.
FAQ
Can I make this apple butter without sugar?
Yes. This Old Fashioned Apple Butter Recipe has no added sugar. The apples and apple cider provide natural sweetness, and the long cooking time concentrates the flavor.
What apples are best for apple butter?
A mix of sweet and tart apples works best. Fuji, Gala, Honeycrisp, Golden Delicious, Jonagold, McIntosh, and Granny Smith are all good choices. Using a variety gives the apple butter a more balanced flavor.
How do I know when apple butter is thick enough?
Apple butter is ready when it is thick, glossy, and holds its shape on a spoon. It should not look watery or runny. If it slides off the spoon too easily, keep cooking.
Can I freeze apple butter instead of canning it?
Yes. If you do not want to can it, freeze the apple butter in freezer-safe containers for up to 6 months. Thaw it in the refrigerator before using.
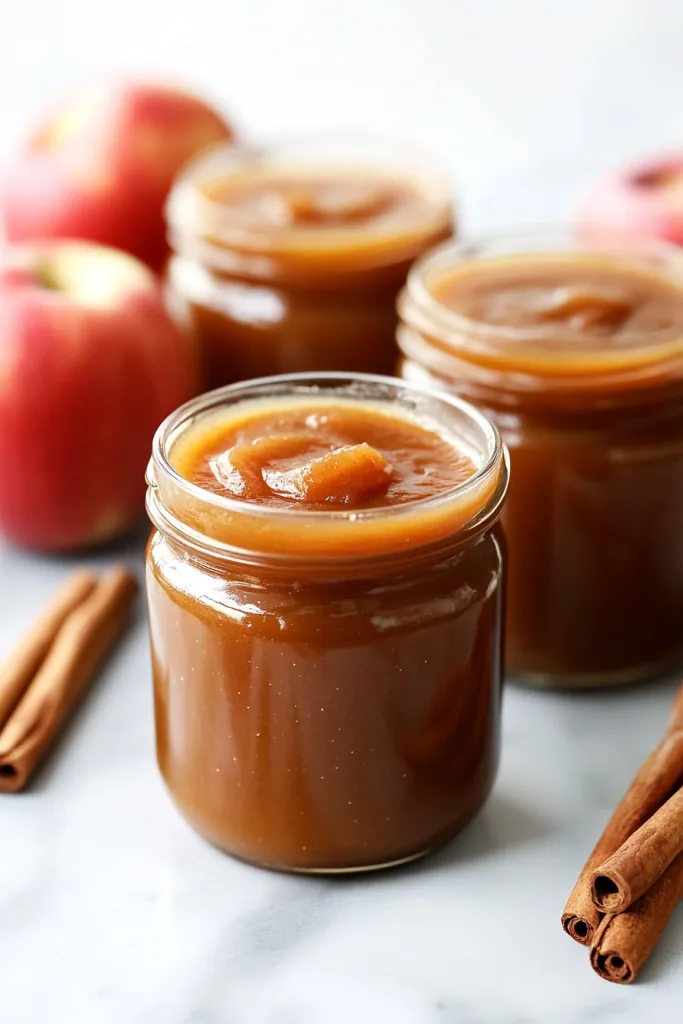
This Old Fashioned Apple Butter Recipe is cozy, simple, and full of slow-cooked fall flavor. With apples, apple cider, apple cider vinegar, cinnamon, and nutmeg, it turns into a thick, spiced spread that tastes wonderful on toast, biscuits, pancakes, waffles, oatmeal, pork chops, and cheese boards. It’s not fancy, but it feels special in that old-fashioned kitchen way.
So if you have a big pile of apples and a little time, give this homemade apple butter a try. Let it simmer, let the kitchen smell amazing, and enjoy those beautiful jars when they’re done. Can’t wait to hear what you think!
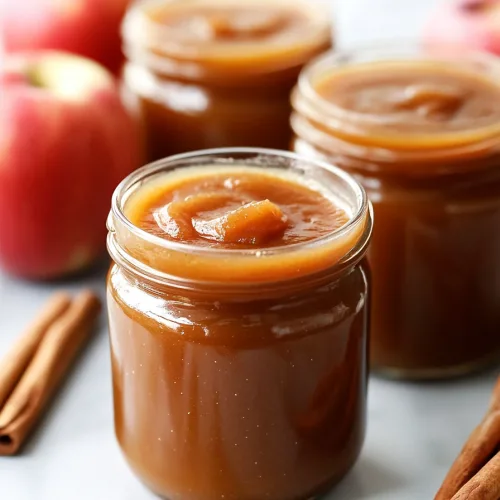
Old Fashioned Apple Butter Recipe
Ingredients
- 12 lb apples peeled, cored, and quartered
- 3 cups apple cider
- 1/4 cup apple cider vinegar
- 1 tbsp ground cinnamon
- 1 tsp ground nutmeg
Instructions
Prepare the Apple Butter
- Peel, core, and quarter the apples.
- Place the prepared apples and apple cider in a slow cooker or large stock pot.
- For the slow cooker method, cook the apples on high for 3 to 4 hours, or until very soft.
- For the stovetop method, bring the apples and cider to a boil over medium-high heat.
- Reduce the heat and simmer, stirring frequently, until the apples are very soft.
- Use a potato masher to break up the softened apples.
- Working in batches, pass the apple pulp through a food mill, sieve, or chinois for a smooth texture.
- Alternatively, use an immersion blender to puree the apples until smooth.
- Return the apple puree to the slow cooker or cooking pot.
- Add the apple cider vinegar, cinnamon, and nutmeg.
- Stir until the spices and vinegar are fully incorporated.
- For the slow cooker method, place the lid slightly tilted to allow steam to escape.
- Cook on low for 6 to 8 hours, or until the apple butter is thick and holds its shape on a spoon.
- For the stovetop method, simmer the apple puree over low heat, stirring frequently, until thickened.
- Continue cooking until the apple butter is glossy, concentrated, and thick enough to hold its shape on a spoon.
Prepare the Jars for Canning
- Wash the jars thoroughly, ensuring each jar is clean and free of chips or nicks along the rim.
- Wash the lids and rings in hot soapy water.
- If using lids from a brand with specific preparation instructions, follow the manufacturer’s directions.
- Place the empty jars in a canning pot or large stock pot.
- Add enough water to cover the jars by 1 to 2 inches.
- Cover the pot and bring the water to a boil.
Can the Apple Butter
- Remove the warmed jars from the canner and drain them.
- Ladle the hot apple butter into pint-sized jars, leaving 1/4 inch headspace.
- Use a canning funnel, if available, to keep the jar rims clean.
- Wipe each jar rim thoroughly to remove any apple butter residue.
- Place the lids centered on the jar rims.
- Screw the bands on until finger tight.
- Using a jar lifter, carefully lower the filled jars into the boiling water in the canning pot.
- Ensure the water covers the tops of the jars by at least 1 inch.
- Return the water to a simmer before beginning the processing time.
- Process pint jars for 15 minutes at 0 to 1,000 feet altitude.
- Process pint jars for 20 minutes at 1,001 to 6,000 feet altitude.
- Process pint jars for 25 minutes at over 6,000 feet altitude.
- Remove the jars from the water using a jar lifter.
- Transfer the jars to a solid, towel-covered surface.
- Allow the jars to cool undisturbed for 24 hours.
- After cooling, check the seals.
- The lids should be pulled down tightly and should not flex when pressed.
- If any lid flexes or pops, the jar did not seal properly.
- Refrigerate any unsealed jars and use them first.
- Remove the rings from properly sealed jars.
- Wash the outside of the jars if needed.
- Store sealed jars in a cool, dark place.
Notes