Salted butter, marshmallows, vanilla extract, Fruity Pebbles cereal.
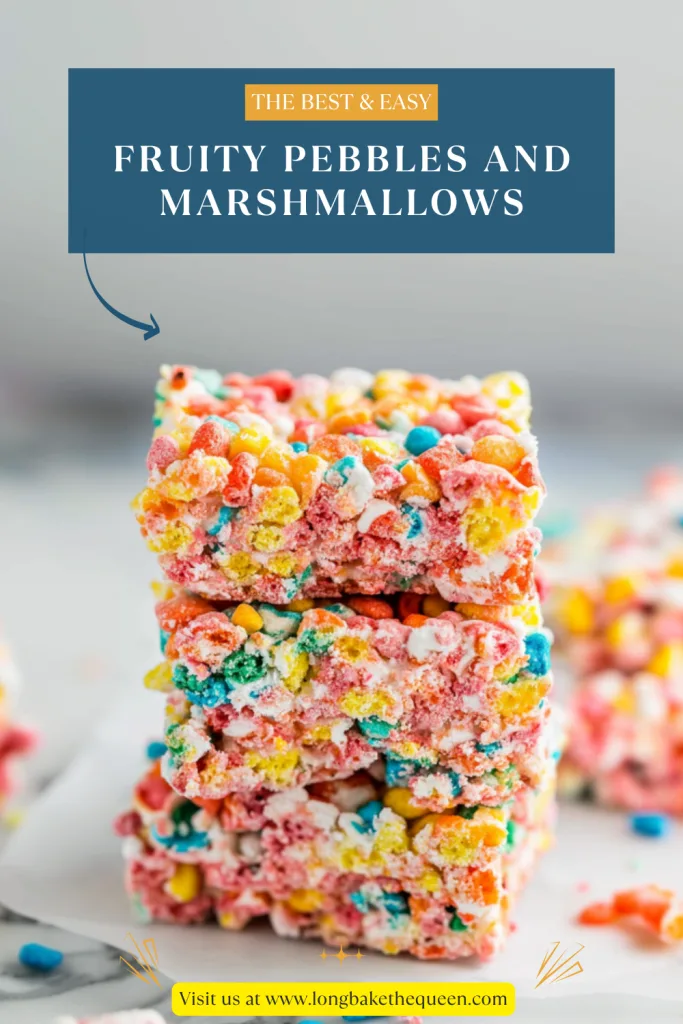
I don’t know what it is about Fruity Pebbles And Marshmallows, but they always make me feel like I’m about five seconds away from a birthday party. Even if it’s just a normal afternoon and there are dishes in the sink. The colors are bright, the smell is fruity and sweet, and the whole pan looks like someone tossed edible confetti into a marshmallow cloud. Which, honestly, is not a bad dessert idea at all.
I’ve always had a weakness for cereal treats. Maybe it goes back to being a kid and watching someone press sticky marshmallow cereal into a pan while everyone hovered nearby, waiting for the “ugly corner piece.” You know the one. The piece that somehow doesn’t count because it’s not shaped nicely. Very convenient logic. These Fruity Pebbles And Marshmallows have that same nostalgic feel, but with more color and a fruity little twist that makes them feel extra fun.
The first time I made these Fruity Pebbles marshmallow treats, I remember laughing a little because they looked way too cheerful for the tiny amount of effort involved. No oven. No mixer. No frosting bags. No checking the middle with a toothpick and hoping for the best. Just butter, marshmallows, vanilla, and Fruity Pebbles cereal. Melt, stir, press, chill, slice. That’s it. It almost feels like cheating, but the delicious kind.
And I’ll be honest, the hardest part of this Fruity Pebbles And Marshmallows recipe is not eating the warm marshmallow-coated cereal straight from the pot. I always tell myself I’m “checking the texture,” which sounds very responsible. But really? It’s just warm, sticky cereal and I have very little self-control around that. Sound familiar?
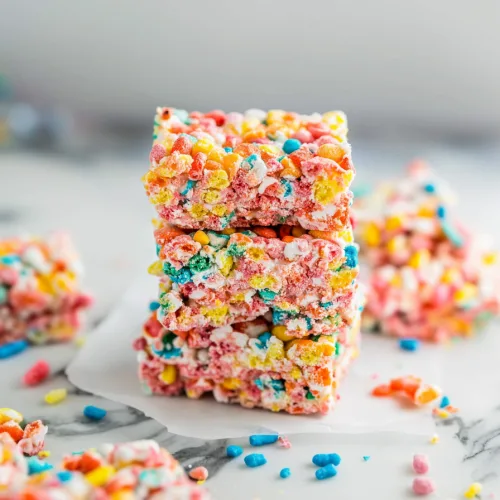
These no-bake Fruity Pebbles bars are sweet, chewy, fruity, and bright enough to wake up any dessert table. They’re perfect for birthday parties, lunchbox treats, bake sales, movie nights, school events, holiday trays, or those random days when you want something colorful and happy. Not every dessert needs to be elegant. Some desserts are here to wear rainbow pajamas and make people smile.

Why you’ll Love these Fruity Pebbles And Marshmallows?
You’ll love Fruity Pebbles And Marshmallows because they’re easy, cheerful, and almost impossible to resist. They take only 5 minutes of prep, about 10 minutes of cooking, and then 1 hour of chill time before slicing. The hands-on work is quick, which is perfect for days when you want a homemade treat but don’t want to turn your kitchen into a full bakery situation.
One of the best things about these Fruity Pebbles marshmallow bars is that they’re completely no-bake. That means no oven, no waiting for cookies to cool, no cake layers, no “oops, I forgot the timer” moment. You only need a large pot, a spoon or spatula, a prepared pan, and a little patience while the bars chill. It’s simple, and sometimes simple is exactly what we need.
The flavor is sweet, fruity, buttery, and very nostalgic. The Fruity Pebbles cereal brings color and that classic fruity crunch, while the melted marshmallows turn everything soft and chewy. The salted butter helps balance the sweetness, and the vanilla extract gives the bars a warmer flavor. I wouldn’t call them fancy, but I would call them dangerously snackable.
Another reason Fruity Pebbles And Marshmallows are so fun is that they decorate themselves. The cereal does all the heavy lifting. You don’t need sprinkles, food coloring, or frosting. The bars come out bright and party-ready with almost no effort. It’s the dessert version of throwing on a cute outfit and acting like it wasn’t planned.
These colorful marshmallow cereal treats are also great for kids and family baking days. Kids can help measure the cereal, stir with supervision, or press the mixture into the pan using greased parchment paper. Will it get sticky? Yes. Will someone probably sneak cereal from the measuring cup? Also yes. But that’s part of the fun, isn’t it?
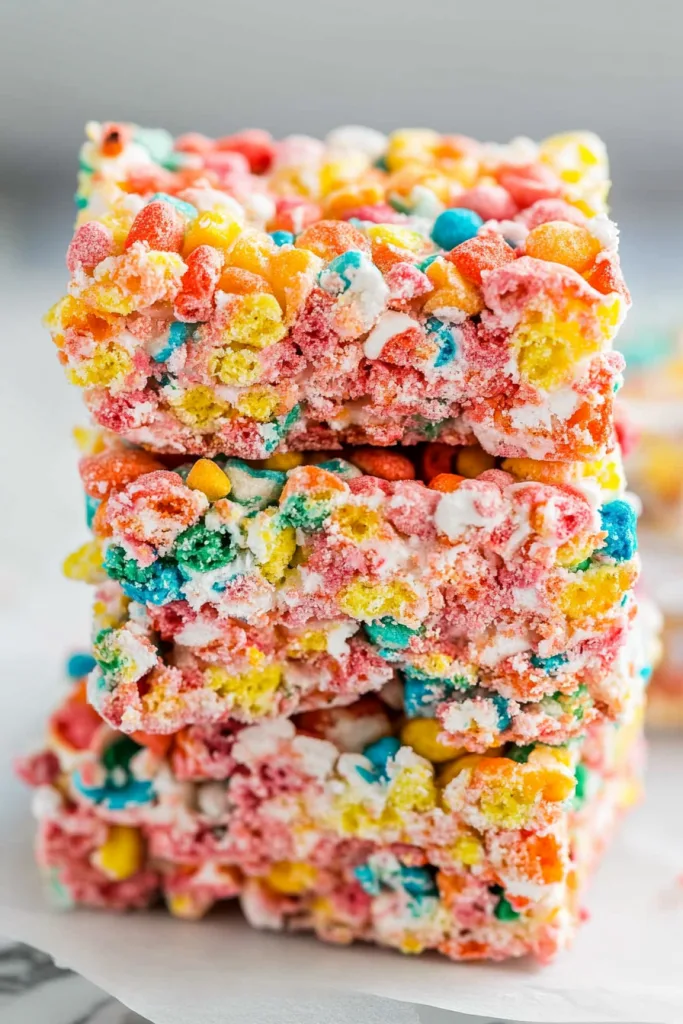
Ingredient Notes
The ingredient list for Fruity Pebbles And Marshmallows is short, sweet, and wonderfully easy. You only need salted butter, marshmallows, vanilla extract, and Fruity Pebbles cereal. Each ingredient has a simple job, but together they create chewy, fruity, colorful bars that feel way more exciting than four ingredients should be allowed to feel.
- Salted butter: Salted butter gives these Fruity Pebbles And Marshmallows a rich, buttery flavor and helps melt the marshmallows smoothly. I like using salted butter because the cereal and marshmallows are already very sweet, and that little bit of salt keeps the bars from tasting too sugary. If you only have unsalted butter, that’s fine too. Just add a tiny pinch of salt. Not a mountain, just a pinch.
- Marshmallows: Marshmallows are the sticky magic that holds these Fruity Pebbles marshmallow treats together. A 10-ounce bag melts into a smooth, glossy mixture that coats the cereal. Fresh marshmallows work best because they melt nicely and help keep the bars soft. Older marshmallows can still work, but they may make the bars a little firmer. Still tasty, just less dreamy.
- Vanilla extract: Vanilla extract adds a soft, warm flavor that makes the bars taste more homemade. It’s only 1 teaspoon, but it helps round out the sweetness. Add it when the marshmallows are almost melted so it blends into the mixture smoothly. Small step, big little difference.
- Fruity Pebbles cereal: Fruity Pebbles cereal is the star of this recipe. It brings the bright rainbow colors, fruity flavor, and light crispy texture. You’ll need 6 cups. Stir gently when adding the cereal to the marshmallow mixture so it stays mostly intact. You want colorful bars, not crushed rainbow gravel. Although, to be fair, even the crumbs are pretty good.
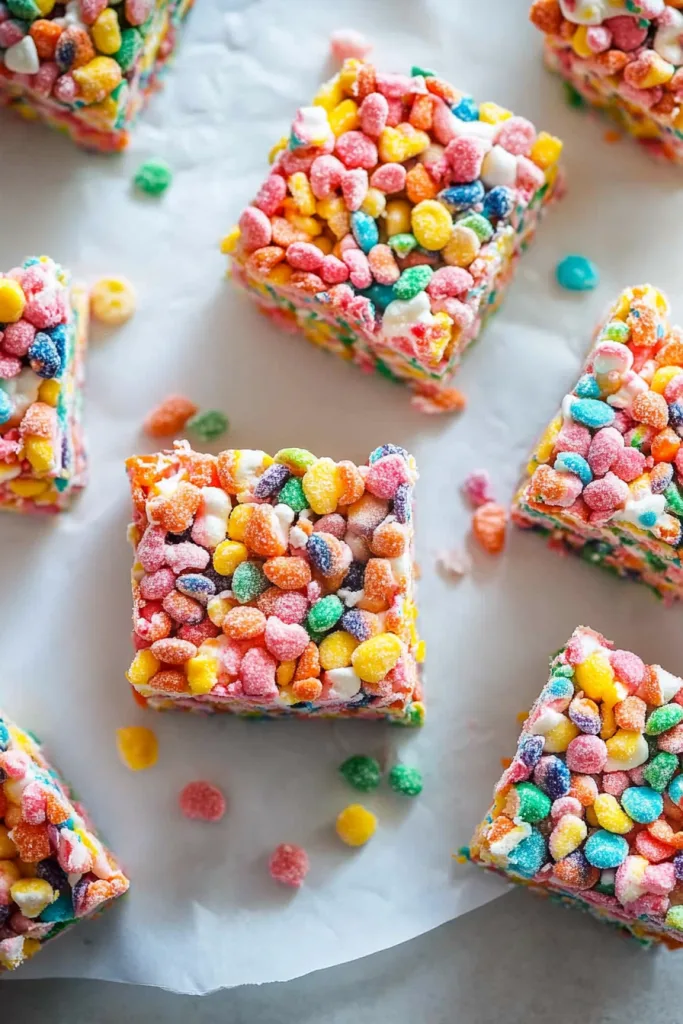
How to Make Fruity Pebbles And Marshmallows?
Making Fruity Pebbles And Marshmallows is easy, but a few little details help keep them soft and chewy instead of hard and dense. The main tricks are to use medium-low heat, stir the marshmallows constantly, remove the pot from the heat before adding the cereal, and press the mixture gently into the pan. Gentle is the word here. These bars do not need to be packed down like you’re sealing a suitcase.
Step 1: Prepare the Pan
Before you start melting anything, prepare your pan. Lightly grease it or line it with parchment paper. This makes it much easier to remove the bars after they chill. Marshmallow cereal treats are sticky, and they will absolutely cling to an unprepared pan like they’ve signed a lease. A little prep now saves you a sticky mess later.
Step 2: Melt the Butter
Place the salted butter in a large pot over medium-low heat. Let it melt slowly and evenly. You don’t want the butter to brown or burn. You just want it melted and ready for the marshmallows. Keeping the heat gentle helps create soft Fruity Pebbles And Marshmallows, so don’t rush this part.
Step 3: Add the Marshmallows
Add the marshmallows to the melted butter and stir constantly. At first, they’ll look puffy and slightly stubborn, but they’ll gradually melt into a smooth, glossy mixture. Keep stirring so they don’t stick to the bottom of the pot. This is also the part where the kitchen starts smelling like sweet childhood chaos, in the best way.
Step 4: Add the Vanilla Extract
When the marshmallows are almost melted, add the vanilla extract. Stir until the mixture is fully melted and smooth. The vanilla gives these Fruity Pebbles marshmallow bars a little extra warmth and makes the flavor feel more finished. It’s not a dramatic step, but it helps.
Step 5: Remove the Pot From the Heat
Remove the pot from the heat before adding the cereal. This helps keep the treats soft. If the marshmallow mixture stays too hot for too long, the bars can turn firmer after they cool. You want the mixture warm enough to coat the cereal, but not so hot that it takes the chewiness away.
Step 6: Stir in the Fruity Pebbles Cereal
Add the Fruity Pebbles cereal to the melted marshmallow mixture. Stir gently until all the cereal is coated. A folding motion works best because it helps protect the cereal from getting crushed. The mixture will look sticky, colorful, and maybe a little wild. That’s normal. Honestly, that’s the charm.
Step 7: Press the Mixture Into the Pan
Pour the cereal mixture into the prepared pan. Use a greased spatula, greased parchment paper, or lightly greased hands to spread it evenly. If you use your hands, grease them first unless you want rainbow cereal glued to your fingers for the next hour. Press lightly. A gentle press keeps the Fruity Pebbles And Marshmallows soft and chewy.
Step 8: Chill Until Set
Chill the bars for 1 hour, or until they are firm enough to cut. I know waiting is annoying, especially when the pan looks that colorful and smells that good. But the chill time helps the bars hold their shape and makes slicing easier. Cleaner cuts, less sticky drama.
Step 9: Cut and Enjoy
Once the bars are set, cut them into 9 bars. Serve and enjoy. They should be chewy, fruity, buttery, sweet, and bright enough to make everyone at the table smile a little. Even the grown-ups. Maybe especially the grown-ups.
Storage Options
Fruity Pebbles And Marshmallows are best when they’re fresh and chewy, but they do store well if you keep them covered properly. The main thing is keeping air away from them. Marshmallow treats dry out quickly when left uncovered, and nobody wants a colorful little cereal brick. Cute? Maybe. Easy to bite? Not so much.
- Room temperature: Store Fruity Pebbles And Marshmallows in an airtight container at room temperature for up to 2 to 3 days. This is usually the best way to keep them soft. If you stack the bars, place parchment paper between the layers so they don’t stick together. They’re friendly bars, but maybe a little too clingy.
- Refrigerator: You can refrigerate Fruity Pebbles marshmallow treats, especially if your kitchen is warm or humid. Just know that the bars may become firmer in the fridge. Let them sit at room temperature for a few minutes before serving if you want them softer and chewier.
- Freezer: Freeze the bars for up to 1 month. Wrap each bar in parchment paper or plastic wrap, then place them in a freezer-safe bag or container. Thaw them at room temperature before serving. The texture may be a little firmer after freezing, but they’ll still be sweet, colorful, and fun.
- Make-ahead option: You can make Fruity Pebbles And Marshmallows a day ahead for parties, lunchboxes, dessert trays, or bake sales. Store them tightly covered at room temperature for the best texture. I wouldn’t make them too far ahead if you want them at their softest, freshest bite.
- Best storage tip: Keep the bars airtight and don’t press them too firmly when making them. Soft bars start with gentle handling and stay soft with good storage. Air is the sneaky villain here. Not dramatic, but true.
Variations & Substitutions
This Fruity Pebbles And Marshmallows recipe is already fun, but it’s also easy to customize. You can add chocolate, mix in extra marshmallows, swap the cereal, shape them for holidays, or change the thickness depending on your pan. It’s a playful recipe, so a little creativity fits right in. A little mess too, probably. But that’s fine.
- Add extra mini marshmallows: Stir in a handful of mini marshmallows after adding the cereal. They won’t melt completely, so you’ll get little soft marshmallow pockets throughout the bars. It makes the texture even more fun and gives every bite a little surprise.
- Drizzle with white chocolate: Melt white chocolate and drizzle it over the chilled bars. The white chocolate looks pretty against the bright cereal and adds a creamy sweetness. This is a great option for birthdays, baby showers, bake sales, or anytime you want the bars to look a little more dressed up.
- Add sprinkles: Add sprinkles for birthdays, holidays, or just because. Are sprinkles necessary when Fruity Pebbles are already rainbow-colored? Not really. But sometimes dessert deserves to be extra. I’m not here to stop that.
- Use different cereal: Try Cocoa Pebbles, Rice Krispies, Cocoa Krispies, or another crispy cereal. The flavor will change, but the same marshmallow method works. Cocoa Pebbles make a chocolate version, while Rice Krispies give a more classic marshmallow cereal treat.
- Make thicker bars: Use a smaller pan if you want taller, thicker Fruity Pebbles marshmallow bars. They’ll be chewier and look extra generous. Just remember to press lightly so they don’t become dense.
- Make thinner bars: Use a larger pan for thinner bars. This works well for party trays, classroom treats, or bake sales when you want smaller pieces and more servings.
- Use unsalted butter: Unsalted butter works fine. Add a small pinch of salt to balance the sweetness. It’s a tiny detail, but it helps the flavor taste less flat.
- Use mini marshmallows: Mini marshmallows melt quickly and easily. Use the same total weight, about 10 ounces, for the best texture.
- Shape them for holidays: Press the mixture into cookie cutters or shape it into hearts, eggs, pumpkins, stars, or small squares. Grease your hands or tools first, because the mixture is sticky. Sticky, but adorable.
- Add candy pieces: Mini chocolate chips, candy-coated chocolates, crushed freeze-dried fruit, or small candy pieces can be added. Let the mixture cool slightly before stirring them in so the candy does not melt too much.
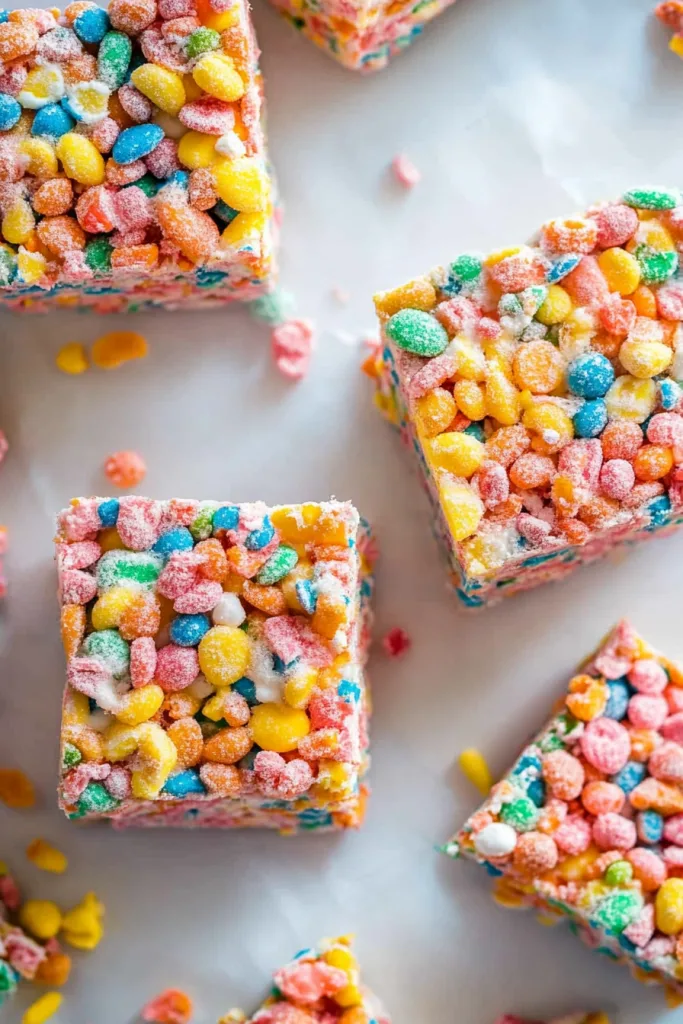
What to Serve With Fruity Pebbles And Marshmallows?
Fruity Pebbles And Marshmallows are sweet, colorful, and playful, so they pair well with simple drinks, fresh fruit, party snacks, and dessert boards. They don’t need much to shine, but pairing them with the right little extras can turn them into a full snack spread for birthdays, movie nights, school events, or casual family dessert nights.
- Milk: A cold glass of milk is a classic pairing for Fruity Pebbles And Marshmallows. It balances the sweetness and gives you that cereal-and-milk feeling, just in chewy dessert bar form. Simple and nostalgic.
- Coffee: Coffee pairs surprisingly well with these sweet bars. The slight bitterness balances the fruity sweetness, which makes them feel like a fun afternoon treat for grown-ups. Even if they look like they were designed by a rainbow with a sugar rush.
- Hot chocolate: Hot chocolate is cozy with these bars, especially for movie nights or chilly afternoons. It’s sweet with sweet, yes, but sometimes that’s exactly what the day calls for.
- Fresh fruit: Strawberries, grapes, apple slices, orange wedges, or blueberries add freshness beside the sweet bars. It makes the plate feel a little more balanced, even if marshmallows are clearly running the meeting.
- Birthday party snacks: Serve Fruity Pebbles marshmallow treats with cupcakes, popcorn, pretzels, mini cookies, fruit skewers, or small candies. Their bright color makes any party table feel instantly more cheerful.
- Ice cream: Serve a bar with vanilla ice cream, or crumble one over the top like a colorful cereal topping. Dessert on dessert may be excessive, but sometimes excessive is delicious.
- Lunchbox treats: Wrap individual bars for lunchboxes or after-school snacks. They’re easy to pack, easy to eat, and don’t need utensils. That’s always a win.
- Dessert boards: Add the bars to a dessert board with brownies, cookies, fruit, chocolate pieces, marshmallows, pretzels, and candies. Their bright colors make the whole board pop without extra decorating.
- Movie night snacks: Pair these no-bake Fruity Pebbles treats with popcorn, pretzels, candy, and drinks for a fun movie-night tray. They’re easy to grab once set and not too messy, which is helpful when everyone is distracted by the movie.
- Party favors: Wrap individual bars in treat bags and tie them with ribbon. They make cute party favors, classroom treats, bake sale goodies, or holiday tray additions.
FAQ
How do I keep Fruity Pebbles And Marshmallows soft?
Use medium-low heat, avoid overcooking the marshmallows, and press the mixture lightly into the pan. Store the bars in an airtight container so they don’t dry out.
Why did my Fruity Pebbles treats turn hard?
The bars may turn hard if the marshmallows were cooked too long, the heat was too high, or the cereal mixture was pressed too firmly into the pan. Gentle heat and light pressing help keep the bars soft and chewy.
Can I double this recipe?
Yes, this recipe doubles well. Use a larger pan and press the mixture lightly into an even layer. It’s a great option for parties, bake sales, and family gatherings.
Can I add chocolate to Fruity Pebbles And Marshmallows?
Yes, you can drizzle melted white chocolate, milk chocolate, or dark chocolate over the bars after they set. You can also dip one side of each bar in chocolate for a fun twist.
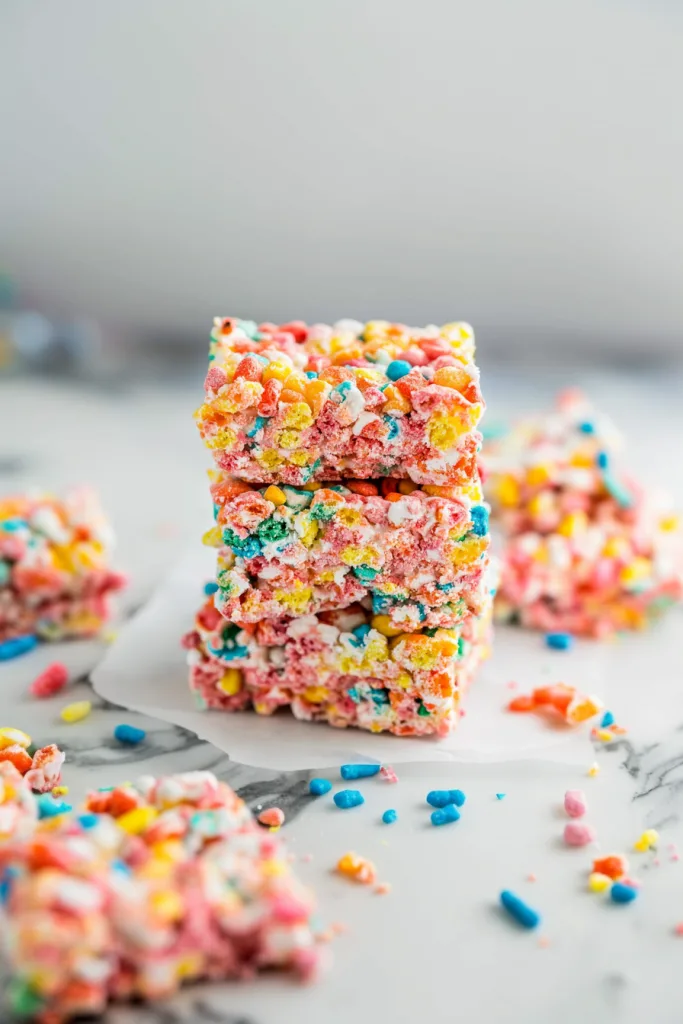
Fruity Pebbles And Marshmallows are bright, chewy, fruity, and wonderfully simple. They’re made with salted butter, marshmallows, vanilla extract, and Fruity Pebbles cereal, and somehow those four ingredients turn into the kind of no-bake dessert that makes everyone wander into the kitchen “just to look.” We know what that means.
So the next time you want something sweet, colorful, and easy, make these Fruity Pebbles And Marshmallows. Press them gently, chill them until set, slice them into bars, and enjoy every sticky, fruity, marshmallowy bite. Can’t wait to hear what you think!
Fruity Pebbles And Marshmallows
Ingredients
- 6 tbsp salted butter
- 1 bag marshmallows 10 oz
- 1 tsp vanilla extract
- 6 cups Fruity Pebbles cereal
Instructions
- Lightly grease a baking pan or line it with parchment paper.
- Place a large pot over medium-low heat.
- Add the salted butter to the pot.
- Allow the butter to melt completely, stirring occasionally.
- Add the marshmallows to the melted butter.
- Stir constantly until the marshmallows are almost fully melted.
- Add the vanilla extract.
- Continue stirring until the marshmallows are completely melted and the mixture is smooth.
- Remove the pot from the heat.
- Add the Fruity Pebbles cereal to the melted marshmallow mixture.
- Stir gently until the cereal is evenly coated.
- Transfer the cereal mixture to the prepared pan.
- Spread the mixture evenly in the pan.
- Press the mixture down lightly using a piece of greased parchment paper or lightly greased hands.
- Avoid pressing too firmly, as this may make the bars dense.
- Refrigerate the bars for 1 hour, or until firm enough to cut.
- Remove the chilled mixture from the pan, if desired.
- Cut into 9 bars.
- Serve and enjoy.
Notes