Air-popped popcorn, light brown sugar, light corn syrup, unsalted butter, salt, cream of tartar, and baking soda.
There’s a certain kind of snack that makes people forget all manners. Homemade Caramel Corn is absolutely one of them. You set out a bowl, thinking, “This should last through the movie,” and then ten minutes later everyone is looking around like the popcorn disappeared by magic. Nobody knows what happened. Nobody saw anything. Very suspicious.
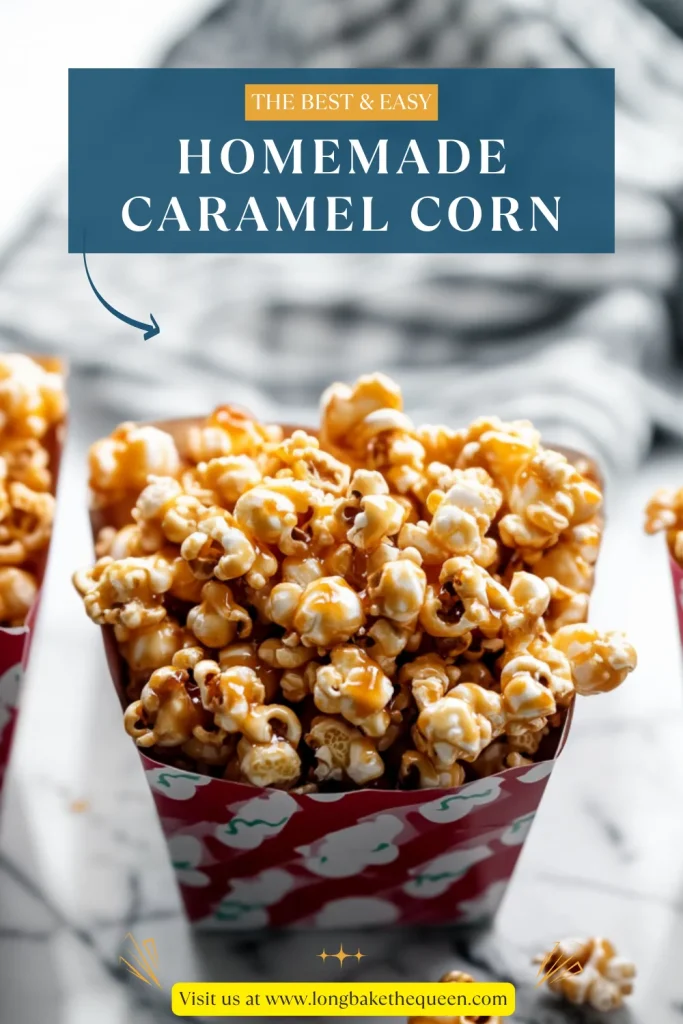
This Homemade Caramel Corn is buttery, crisp, sweet, a little salty, and coated in from-scratch caramel that bakes right onto the popcorn. It tastes like the caramel popcorn you’d get from a fair, a holiday tin, or one of those little snack shops that smells like sugar and happiness the second you walk in. Except you made it at home, probably with a slightly sticky spoon and a counter that somehow got caramel on it. Happens.
What I love most about this caramel popcorn recipe is that it feels old-fashioned in the best way. There’s no trendy shortcut or fancy gadget situation. You make a simple caramel sauce on the stove with brown sugar, corn syrup, butter, salt, cream of tartar, and baking soda. A candy thermometer is helpful, sure, but it’s not a deal-breaker. If you don’t have one, you can let the caramel bubble for 4 minutes once it starts simmering around the edges. Not too scary, right?
The fun part is when the baking soda goes in. The caramel suddenly bubbles up and gets foamy, almost like it’s trying to escape the saucepan and start a new life. The first time I made it, I definitely had a tiny “oh no” moment. But that foaming is normal. It helps make the caramel lighter so it coats the popcorn better and bakes into that crisp, crunchy shell we want.
Then everything goes into a low oven at 200°F for 1 hour, with a gentle stir every 20 minutes. This is what turns the caramel from sticky to crisp. And the smell? Brown sugar, butter, toasted popcorn… it’s the kind of smell that makes people wander into the kitchen pretending they just came in for water. Sure you did.
This easy homemade caramel corn is great for movie nights, bake sales, holiday treat bags, birthday parties, road trips, game day, school events, or those random weekends when you want something sweet but don’t feel like baking cookies. It also keeps well for up to 2 weeks in an airtight container, which is great in theory. In real life, I’ve never seen a batch make it that long. Maybe your household has more self-control than mine. Maybe.
I’ve always connected Homemade Caramel Corn with cozy, slightly chaotic snack moments. Movie nights where half the blankets end up on the floor. Holiday gatherings where everyone says they’re “too full” but still somehow stands near the snack bowl. School bake sales with little bags of caramel popcorn lined up on a table. It’s one of those treats that feels familiar even before you take the first bite.
The first time I made caramel corn from scratch, I was honestly a little nervous. Caramel has a reputation, doesn’t it? It sounds like something that burns the second you look away or turns grainy because you breathed wrong. And okay, you do need to pay attention. But this recipe is much friendlier than it sounds. You stir the sugar, corn syrup, butter, salt, and cream of tartar until everything melts together, let it bubble, stir in baking soda, and suddenly you’ve got this glossy, foamy caramel ready for popcorn.
I remember making a batch for a family movie night and thinking it would last through the whole film. Very cute of me. By the time we picked what to watch, the bowl was already noticeably lower. Everyone kept saying, “Just one more handful,” which is the biggest lie people tell around buttery caramel corn. One handful becomes four. Then someone finds a big caramel cluster and suddenly it’s a whole situation.
That’s part of why I love this from-scratch caramel corn. It’s not fancy, but it makes people happy. It has that little old-school charm, like popcorn balls at a fall festival or snack tins during the holidays. It smells like a county fair booth and a cozy kitchen had a very sweet baby. Weird comparison? Maybe, but you get it.
I also like how giftable it is. Once it cools, you can tuck it into treat bags, jars, tins, or little boxes, and it instantly feels thoughtful. It’s the kind of homemade gift that says, “I planned ahead,” even if you were actually making it at 10 p.m. with caramel on your sleeve. We’ve all had those nights.
This Homemade Caramel Corn isn’t trying to be elegant. It’s trying to be crunchy, sweet, buttery, and impossible to stop eating. And honestly, it succeeds a little too well.

Why you’ll Love this Homemade Caramel Corn?
You’ll love this Homemade Caramel Corn because it gives you that classic sweet-and-salty crunch with a fresher, richer flavor than store-bought caramel popcorn. The coating is buttery and crisp, the popcorn stays light, and every handful has that perfect mix of sweet caramel and airy crunch. It’s simple, but not boring. Big difference.
One of the best things about this caramel popcorn recipe is the texture. It’s not sticky in that “why is this still attached to my teeth?” way. Baking the coated popcorn low and slow helps the caramel dry into a crisp shell, so the finished snack is crunchy instead of chewy. I personally prefer crisp caramel corn. Chewy has its place, maybe, but for this recipe? Crunch wins.
Another great thing is that it’s make-ahead friendly. Once the Homemade Caramel Corn cools completely, it can stay fresh for up to 2 weeks in an airtight container. That makes it perfect for party prep, bake sales, holiday gifting, or snack bowls you want ready before guests arrive. Although, fair warning, making it ahead only works if people don’t “taste test” it every time they walk by.
This recipe also doubles easily. If you’re making caramel corn for a crowd, just use more baking sheets and the biggest mixing bowl you own. Popcorn takes up way more space than you think. It’s like laundry fresh from the dryer—somehow larger than when it started.
The ingredient list is short and practical, too. You only need air-popped popcorn and a six-ingredient caramel sauce. No fancy flavorings, no complicated steps, no expensive candy-shop equipment. Just a saucepan, a spatula, and maybe a little patience when the caramel starts getting sticky.
And once you’ve made the plain version, this easy homemade caramel corn becomes a blank canvas. Add nuts, drizzle it with chocolate, mix in pretzels, sprinkle on flaky salt, or make it festive with holiday candies. Do you agree that snacks are better when they can dress up for the occasion?
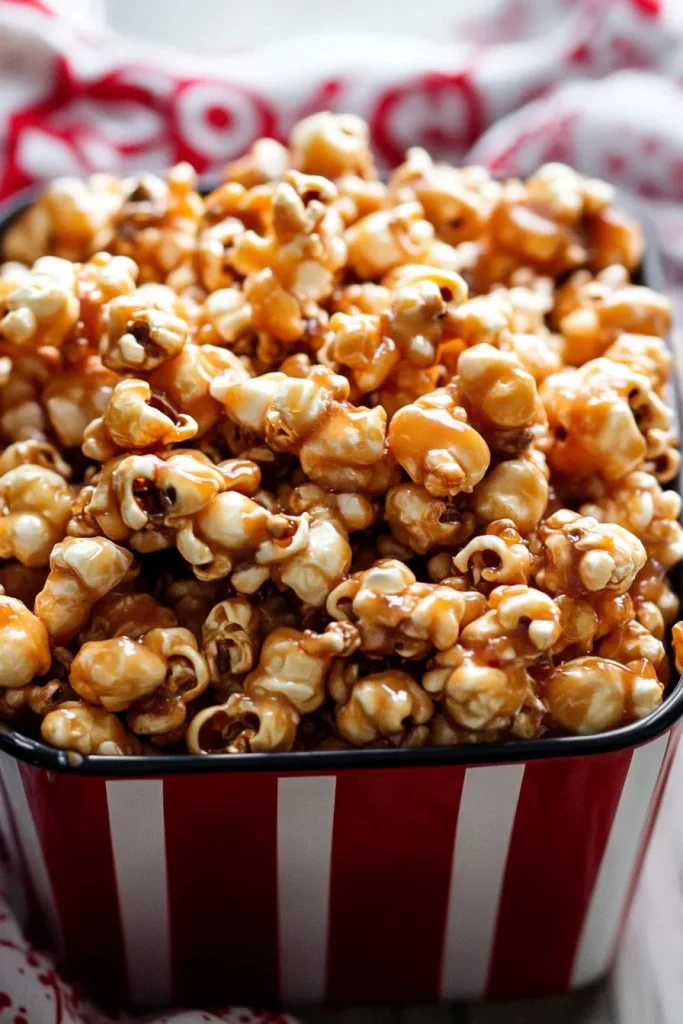
Ingredient Notes
The ingredients in Homemade Caramel Corn are simple, but each one matters. Popcorn gives you the light, crunchy base, while brown sugar, corn syrup, butter, salt, cream of tartar, and baking soda turn into that crisp caramel coating. It’s kind of amazing, actually. A few pantry staples go into a saucepan, bubble around for a few minutes, and suddenly everyone in the house is pretending they just “happened” to walk through the kitchen.
- Air-popped popcorn: Air-popped popcorn is best for this Homemade Caramel Corn because it’s plain, light, and ready to soak up the caramel. You’ll need about 10 to 11 cups, or 70 to 75g, of popped popcorn. Before adding caramel, remove any unpopped kernels. Those little things are sneaky, and biting into one is the fastest way to ruin a happy snack moment.
- Light brown sugar: Light brown sugar gives the caramel its warm, rich flavor. It has a little molasses in it, so the caramel tastes deeper than it would with plain white sugar. Pack it firmly into the measuring cup so the caramel has the right sweetness and texture.
- Light corn syrup: Corn syrup helps keep the caramel smooth and glossy. It also helps prevent the sugar from becoming grainy. It’s not a glamorous ingredient, but it does important work behind the scenes, like the quiet person at a party who actually organized everything.
- Unsalted butter: Butter gives this caramel popcorn its rich, buttery flavor. Unsalted butter is best because the recipe already includes salt, and it lets you control the final taste. The butter melts into the sugar mixture and gives the caramel that classic cozy flavor.
- Salt: Salt balances the sweetness and makes the caramel taste fuller. You only need 1/2 tsp, but it makes a real difference. Sweet snacks almost always need a little salty backbone. Otherwise they can taste flat.
- Cream of tartar: Cream of tartar helps keep the sugar from crystallizing, which helps the caramel stay smoother. It’s only 1/8 tsp, so it’s a small amount doing a quiet little job. If you bake often, it’s handy to keep around.
- Baking soda: Baking soda gets stirred into the hot caramel after it comes off the heat. It makes the caramel foam up and become lighter, which helps it spread over the popcorn more easily. The bubbling looks dramatic, but it’s supposed to happen. Just be careful because the caramel is very hot.
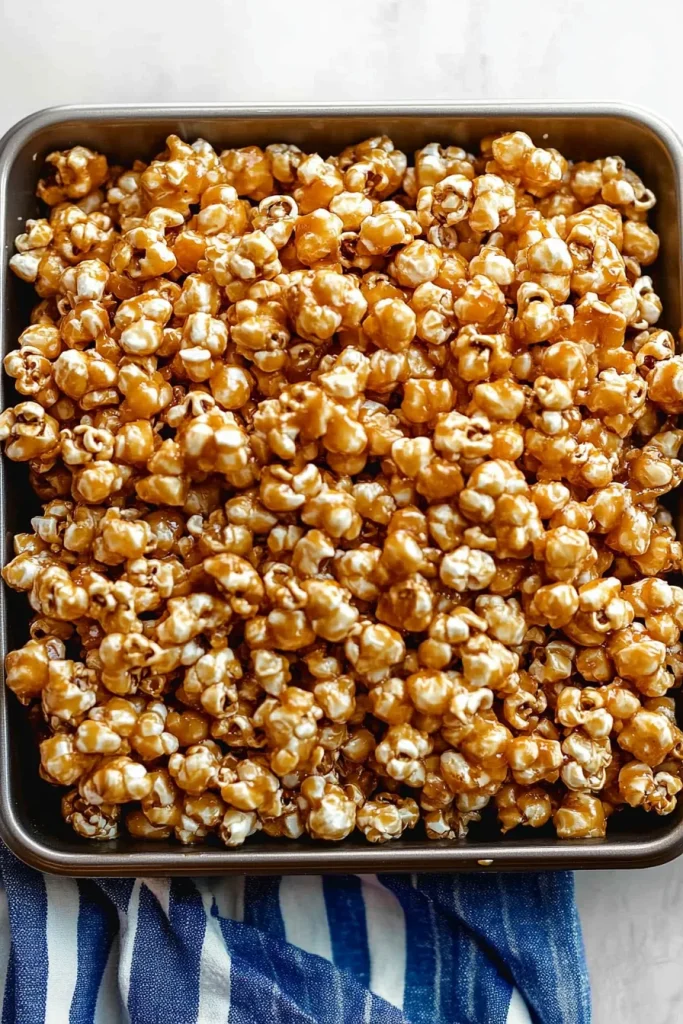
How to Make Homemade Caramel Corn?
Making Homemade Caramel Corn is easier when you have everything ready before you start the caramel. I know that sounds like the kind of advice people say and then ignore, but really, it helps here. Caramel moves quickly once it’s hot. Have your popcorn popped, your baking sheets lined, and your baking soda measured before the saucepan gets going. Future you will be grateful.
Step 1: Prep the Oven and Baking Sheets
Preheat the oven to 200°F. Line 1 or 2 12×17-inch baking sheets with silicone baking mats or parchment paper. The low temperature helps the caramel dry slowly without burning. And the lining? That saves you from scraping hardened caramel off a pan later, which is not exactly how anyone wants to spend their evening.
Step 2: Prepare the Popcorn
Place the air-popped popcorn in the largest bowl you have, or spread it onto the prepared baking sheets. Either method works. If you use a bowl, make sure it’s truly large enough because stirring caramel into popcorn needs space. Before moving on, pick out any unpopped kernels. They hide at the bottom like tiny kitchen villains.
Step 3: Make the Caramel Base
In a medium saucepan over medium heat, combine the packed light brown sugar, light corn syrup, unsalted butter, salt, and cream of tartar. Stir constantly while the butter melts and the mixture comes together. At first, it may look a little grainy or separated. Don’t panic. As it heats, it smooths into a bubbling caramel mixture.
Step 4: Let the Caramel Bubble
Once the caramel starts simmering around the edges, stop stirring and let it bubble for 4 minutes. If you have a candy thermometer, the mixture should reach 234 to 235°F. If you don’t, the timing method works well enough for this recipe. Just stay nearby. Caramel is not the time to go fold laundry or check your phone “real quick.”
Step 5: Add the Baking Soda
Remove the pan from the heat and immediately stir in the baking soda. The caramel will foam, bubble, and almost double in volume. This is normal. Stir carefully and keep your hands away from the steam and hot sugar. Hot caramel is no joke, even if it smells like heaven.
Step 6: Coat the Popcorn
Pour the hot caramel over the popcorn. Use a large spoon or spatula to gently stir until the popcorn is coated. This takes patience because the caramel starts to firm up as it cools. You may need quite a few turns of the spatula. Don’t rush it. Some pieces may look lighter at first, but the oven stirring will help even things out.
Step 7: Spread It Out
If the popcorn is not already on the prepared baking sheets, spread it out now in an even layer. Try not to pile it too high because the caramel needs space to dry and crisp. If needed, use two pans. More space means better texture and easier stirring.
Step 8: Bake Low and Slow
Bake the Homemade Caramel Corn for 1 hour, gently stirring every 20 minutes. This low, slow baking time helps the caramel coating turn crisp instead of sticky. It also helps distribute the caramel more evenly. The smell during this step is dangerous. People may begin hovering. You’ve been warned.
Step 9: Let It Cool
Let the caramel corn cool on the pan for at least 30 minutes. The caramel hardens as it cools, so don’t judge the texture right away. It may seem a little soft when it first comes out of the oven, but the crunch develops as it sits. Waiting is annoying. Worth it, though.
Step 10: Break and Store
Once the caramel corn is cool enough to handle, break apart any large clusters. Some clusters are wonderful, so don’t feel like every piece needs to be separated. Store the cooled caramel corn in an airtight container once it is completely cool. Then try not to keep opening the lid “just to check.” Harder than it sounds.
Storage Options
One of the nicest things about Homemade Caramel Corn is how well it stores. Once baked and cooled, the caramel coating stays crisp for days if you keep moisture away. Humidity is the real enemy here. Not to be dramatic, but moisture can take crunchy caramel popcorn and turn it sad pretty quickly. So let it cool completely, seal it well, and keep it somewhere dry.
- Airtight container: Store cooled Homemade Caramel Corn in an airtight container at room temperature for up to 2 weeks. A large food container, glass jar, cookie tin, or resealable bag works well. The most important thing is making sure the caramel corn is fully cool before sealing it. Warm caramel corn creates steam, and steam ruins crunch.
- Room temperature storage: Keep the container in a cool, dry place such as a pantry or cupboard. Avoid storing it near the stove, dishwasher, sunny window, or any humid spot. Caramel corn likes calm storage conditions. Apparently snacks have preferences too.
- Gift packaging: If you’re giving caramel popcorn as a gift, pack it in treat bags, tins, jars, or boxes once it is completely cool. If using cute paper bags, tuck the caramel corn inside sealed food-safe bags first. Paper bags look charming, but they don’t protect crunch for long. Cute and practical can work together, thankfully.
- Freezing: I don’t usually recommend freezing Homemade Caramel Corn. It already keeps well at room temperature, and freezer moisture can mess with the texture. Once thawed, the caramel may turn sticky. For best results, skip the freezer and store it tightly sealed at room temperature.
- Refreshing the crunch: If the caramel corn softens a bit, spread it on a lined baking sheet and warm it in a 200°F oven for a few minutes. Let it cool completely before storing again. It won’t always be exactly like fresh-baked, but it can help bring back some crunch.
Variations & Substitutions
This Homemade Caramel Corn is delicious plain, but it also loves a little personality. Once you know the basic method, you can add nuts, chocolate, pretzels, sea salt, spices, or holiday candy. Some add-ins are best added before baking, while others should wait until the caramel corn has cooled. Chocolate, for example, does not need to spend an hour in the oven. It would like to be respected.
- Add nuts: Mix roasted peanuts, almonds, pecans, cashews, or walnuts into the popcorn before adding the caramel. Nuts add crunch, saltiness, and a toasted flavor that pairs beautifully with caramel. Pecans make it feel extra cozy and holiday-ish.
- Drizzle with chocolate: Once the Homemade Caramel Corn is baked and cooled, drizzle it with melted chocolate. Dark chocolate, milk chocolate, or white chocolate all work. Let the chocolate set fully before storing. This turns the snack into something closer to dessert, which I support.
- Add sea salt: Sprinkle flaky sea salt over the caramel-coated popcorn before baking or right after it comes out of the oven. This gives you that sweet-salty flavor that makes it even harder to stop eating. Not that it was easy before.
- Make cinnamon caramel corn: Add a little ground cinnamon to the caramel mixture for a warm, spiced flavor. This is perfect for fall parties, holiday snack bowls, or chilly movie nights when everyone is under blankets and pretending not to be sleepy.
- Add pretzels: Mix small pretzels with the popcorn before adding the caramel. The pretzels add salty crunch and make the recipe feel more like a snack mix. Great for parties, game day, or anywhere people keep wandering past the snack table.
- Use dark brown sugar: Light brown sugar gives classic caramel flavor, but dark brown sugar makes the caramel deeper and more molasses-rich. It’s a stronger flavor, so use it if you like a bolder caramel taste.
- Try maple flavor: Add a small splash of maple extract after removing the caramel from the heat and before stirring in the baking soda. Go easy, though. Extracts can get loud fast, and nobody wants caramel corn that tastes like a candle.
- Make it festive: After the caramel corn has baked and cooled, add holiday sprinkles, crushed peppermint, chocolate candies, candy corn, or colored chocolate drizzle. This is great for Christmas tins, Halloween bags, Valentine’s treats, or any event where snacks are expected to wear costumes.
- Make it spicy: Add a tiny pinch of cayenne pepper to the caramel for a sweet-heat version. Start small. You want a little warmth, not a snack that argues with you.
- Double the recipe: This caramel corn recipe doubles well for parties, bake sales, and gift bags. Use extra baking sheets and a very large bowl so you have enough room to coat and stir the popcorn evenly. Underestimating popcorn volume is a humbling experience.
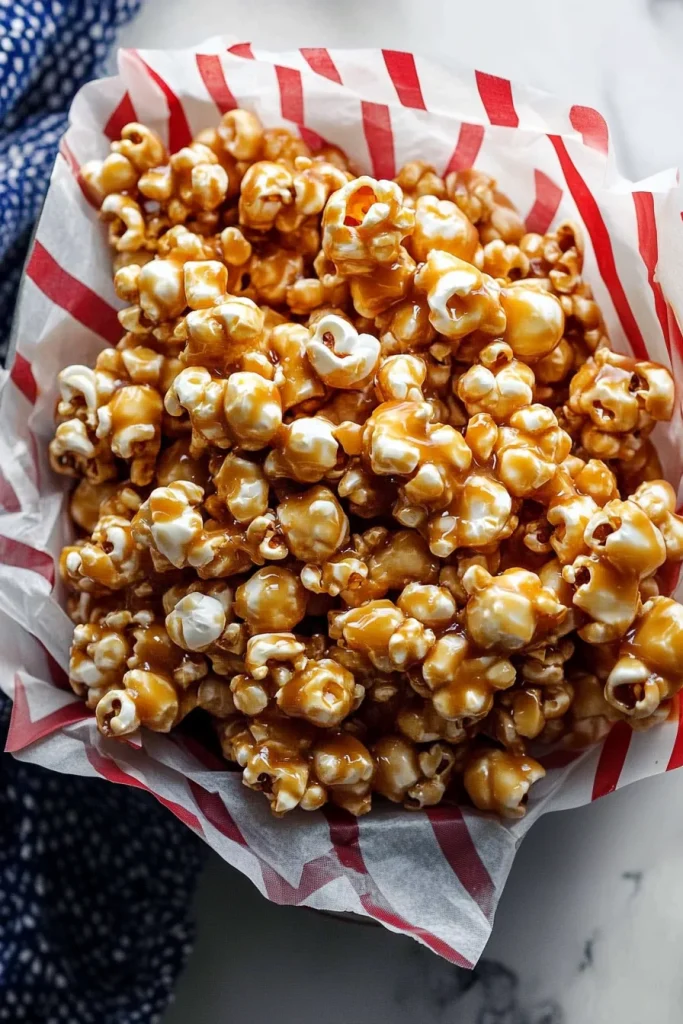
What to Serve With Homemade Caramel Corn?
Homemade Caramel Corn is great by itself, but it also works beautifully with drinks, desserts, and party snacks. Since it’s sweet, buttery, and crunchy, it pairs best with simple drinks, salty foods, and cozy treats. I like serving it in bowls where people can grab a handful as they pass by, but fair warning: “a handful” becomes a lifestyle pretty quickly.
- Hot coffee: Coffee pairs nicely with Homemade Caramel Corn because the slight bitterness balances the sweetness of the caramel. It’s a great afternoon snack combo, especially when you want something sweet but not a full slice of cake.
- Hot chocolate: Hot chocolate and caramel popcorn make a cozy movie-night pairing. Add marshmallows if you’re going all in. This combo feels like pajamas, blankets, and a movie everyone argues about choosing.
- Apple cider: Warm apple cider is lovely with buttery caramel corn, especially in fall. The apple flavor works so well with the brown sugar caramel. It gives harvest festival energy without needing to leave the house.
- Milk: Cold milk keeps things simple and nostalgic. It balances the sweetness and makes the caramel popcorn feel like an after-school snack, even if you’re a grown adult eating it over the sink. No judgment.
- Movie night snacks: Serve caramel popcorn with pretzels, chocolate candies, roasted nuts, and plain popcorn for a full movie-night snack spread. Sweet, salty, crunchy, chocolatey—it checks every important snack box.
- Ice cream: Sprinkle broken caramel corn clusters over vanilla, chocolate, or butter pecan ice cream. It adds crunch and caramel flavor, and the little broken bits from the bottom of the container are perfect for this. Waste nothing. Snack smarter.
- Dessert boards: Add Homemade Caramel Corn to a dessert board with cookies, brownies, chocolate bark, fruit, and candies. It brings texture and makes the board feel more playful. People love snacks they can pick at while chatting.
- Holiday treats: Serve caramel corn with sugar cookies, fudge, peppermint bark, gingerbread, or chocolate truffles during the holidays. Small bowls of caramel corn also look cute on a dessert table and disappear faster than you think.
- Salty appetizers: Pair caramel corn with cheese cubes, crackers, pretzels, roasted nuts, or charcuterie-style snacks. The salty foods balance the sweetness, and people will bounce between both like it’s a very serious snack strategy.
- Gift baskets: Add Homemade Caramel Corn to gift baskets with cocoa mix, coffee, cookies, or candy. It stores well, travels nicely, and feels thoughtful without being fragile. I love a homemade gift that doesn’t panic in transit.
FAQ
Why is my caramel corn sticky?
Sticky caramel popcorn usually means it needed more baking time, was stored before cooling completely, or was exposed to moisture. Bake it for the full 1 hour, stir every 20 minutes, and let it cool all the way before storing. Moisture is the crunch thief.
Can I use microwave popcorn?
Plain, unsalted microwave popcorn can work, but air-popped popcorn is best. Avoid heavily buttered or flavored microwave popcorn because it can make the finished Homemade Caramel Corn too greasy or salty. The caramel already brings plenty of flavor.
Can I double this recipe?
Yes, this recipe doubles well. Use a very large bowl and extra lined baking sheets so the popcorn has room to be coated and stirred evenly. If the bowl is too small, caramel goes everywhere. Ask me how I know. Actually, don’t.
How do I keep caramel corn from clumping too much?
Stir the Homemade Caramel Corn gently every 20 minutes while it bakes, then break apart large clusters once it cools. Some clumps are normal, though. Honestly, the big clusters might be the best part.
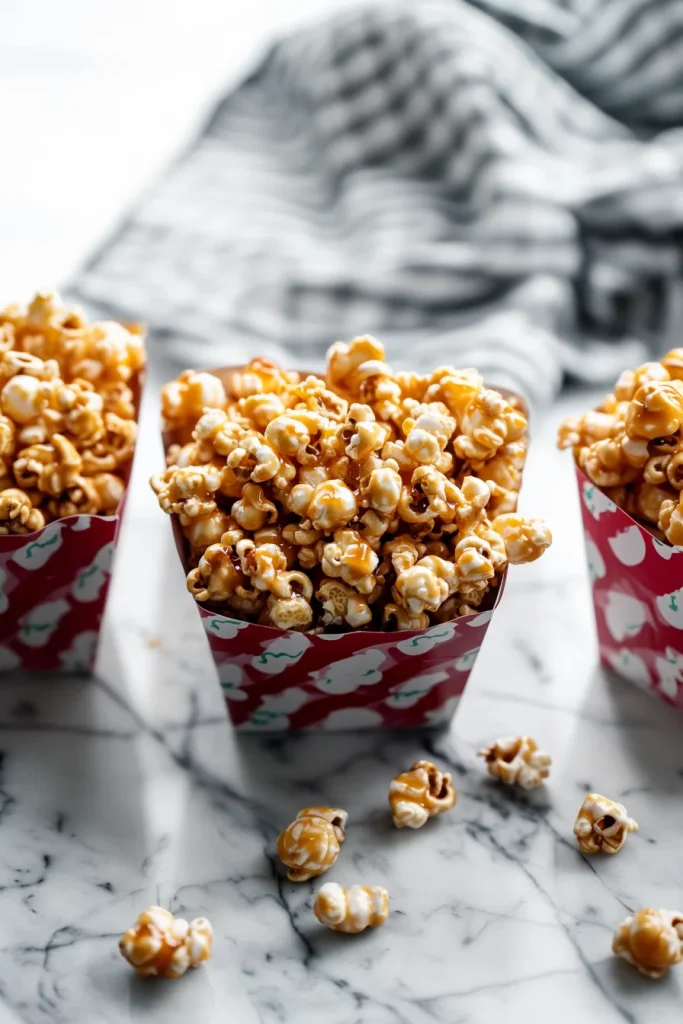
This Homemade Caramel Corn is buttery, crunchy, sweet, and made from scratch with a simple stovetop caramel sauce. It’s perfect for movie nights, holiday tins, bake sales, road trips, gift bags, or any afternoon when plain popcorn feels a little too responsible.
Make a batch, let it cool, break it into crunchy clusters, and try not to eat half of it while “checking the texture.” And tell me—are you keeping your caramel popcorn classic, adding nuts, or going straight for a chocolate drizzle? Can’t wait to hear what you think!
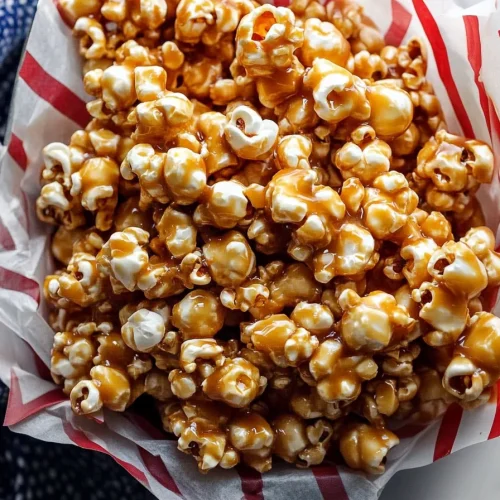
Homemade Caramel Corn
Ingredients
- 10 –11 cups air-popped popcorn about 70–75g
- 1 cup packed light brown sugar 200g
- 1/4 cup light corn syrup 80g
- 1/2 cup unsalted butter 113g
- 1/2 tsp salt
- 1/8 tsp cream of tartar
- 1/2 tsp baking soda
Instructions
- Preheat the oven to 200°F.
- Line 1 or 2 12×17-inch baking sheets with silicone baking mats or parchment paper.
- Place the air-popped popcorn in a very large mixing bowl. Alternatively, spread the popcorn directly onto the prepared baking sheets.
- Remove any unpopped kernels from the popcorn before adding the caramel.
- In a medium saucepan, combine the packed light brown sugar, light corn syrup, unsalted butter, salt, and cream of tartar.
- Place the saucepan over medium heat.
- Stir constantly as the butter melts and the mixture begins to combine.
- Continue stirring until the mixture reaches a simmer around the edges.
- Once the mixture is simmering, stop stirring.
- Allow the caramel to bubble undisturbed for 4 minutes. If using a candy thermometer, the caramel should reach 234–235°F.
- Remove the saucepan from the heat.
- Immediately stir in the baking soda.
- Stir carefully, as the caramel will bubble, foam, and increase in volume.
- Pour the hot caramel over the prepared popcorn.
- Using a large spoon or spatula, gently stir the popcorn until evenly coated with caramel.
- Work slowly and carefully, as the caramel will begin to thicken as it cools.
- Spread the coated popcorn evenly onto the prepared baking sheet or sheets, if it is not already on them.
- Bake for 1 hour.
- Gently stir the caramel corn every 20 minutes during baking to help coat the popcorn evenly and prevent excessive clumping.
- Remove the caramel corn from the oven.
- Allow it to cool on the baking sheet for at least 30 minutes.
- Once cooled, break apart any large clusters as desired.
- Store the cooled caramel corn in an airtight container at room temperature.
- Serve as a snack, party treat, bake sale item, or homemade gift.
Notes