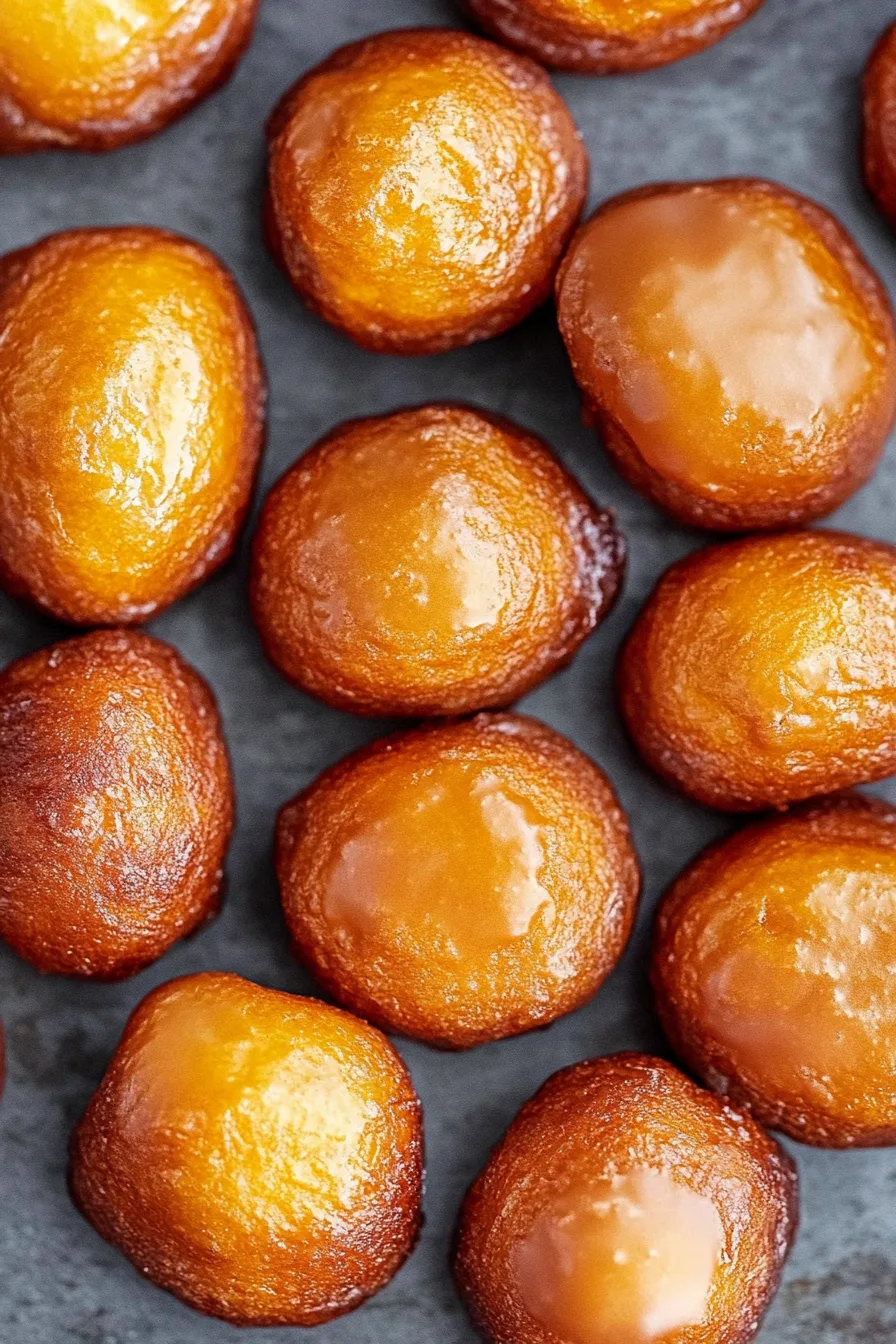
Corn flakes, salted butter, ground cinnamon, vanilla ice cream, caramel sauce, chocolate fudge sauce, whipped cream, cherries.
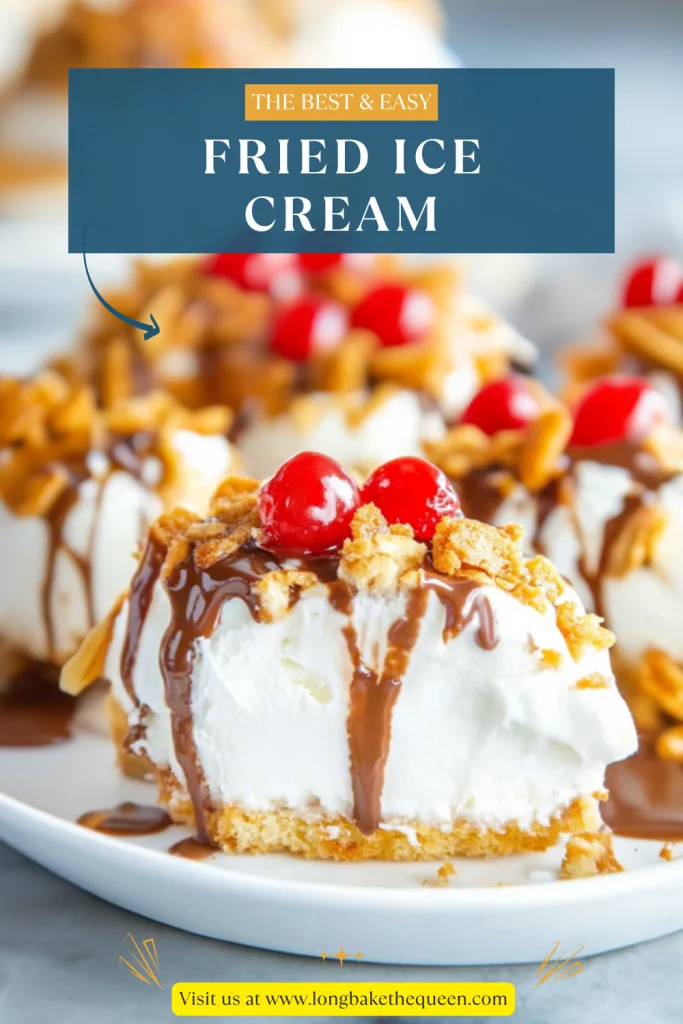
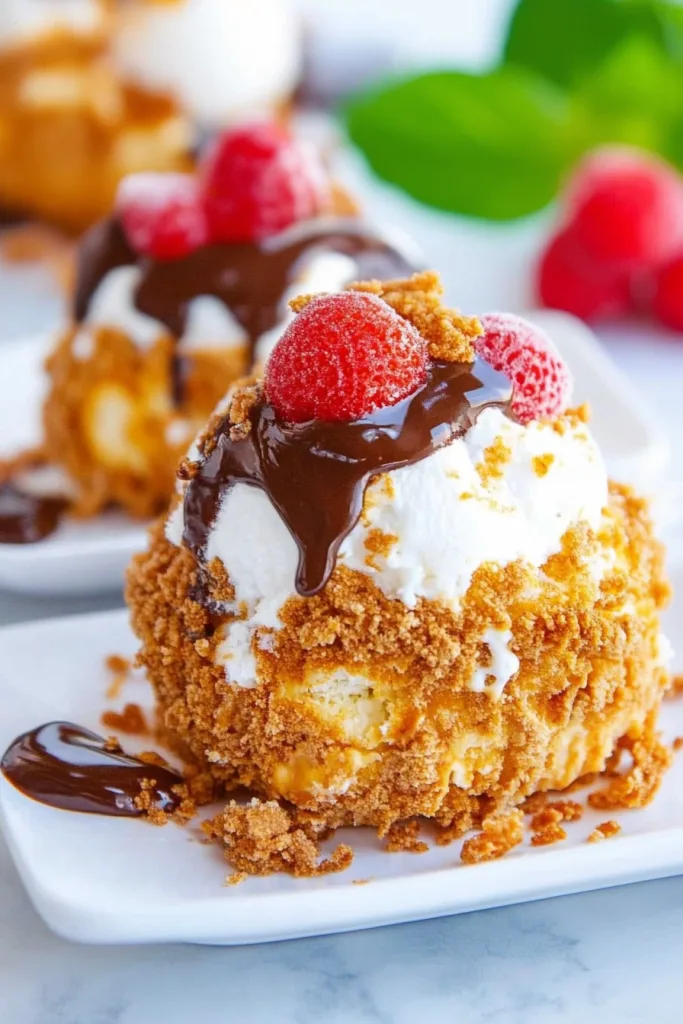
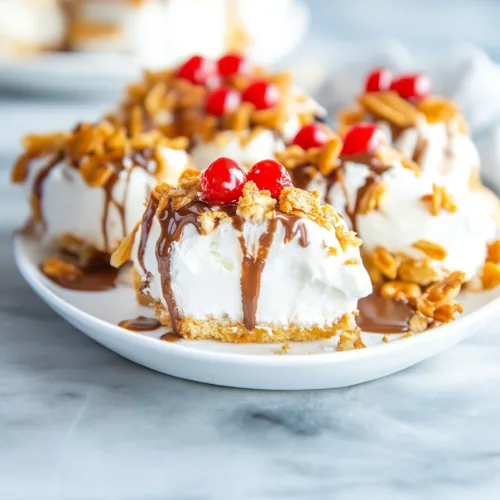
I have a weakness for desserts that feel a little ridiculous in the best possible way, and Fried Ice Cream is right at the top of that list. I mean, the name alone makes you pause for a second. Fried… ice cream? It sounds like something a kid would invent after having too much soda at a birthday party. And yet, somehow, it works beautifully. Creamy vanilla ice cream, crunchy cinnamon cornflake coating, chocolate sauce, caramel, whipped cream, and a cherry sitting proudly on top like it knows it has done something important.
The first time I had Fried Ice Cream, it was at one of those lively restaurants where the plates are huge, the room is loud, and someone at the next table is probably celebrating a birthday. You know the vibe. I remember seeing it on the menu and thinking, “Surely this is kitchen wizardry.” When it arrived, I was honestly suspicious. How was the ice cream still cold? Why was the outside crisp? Why did it taste like a sundae and a cinnamon dessert had teamed up behind my back? One spoonful in, I stopped asking questions. Sometimes dessert doesn’t need to explain itself.
This version gives you the joy of classic Fried Ice Cream without the deep fryer, which I deeply appreciate. I like a fun dessert, but I don’t always want hot oil, splatter, extra dishes, and that tiny moment of panic where you wonder if dessert is about to become a kitchen incident. This no-fry Fried Ice Cream recipe keeps things simple by toasting crushed corn flakes with salted butter and cinnamon until they’re golden, nutty, and crisp. Then you roll firm balls of vanilla ice cream in that crunchy topping and let the freezer do the rest. Honestly, it feels like cheating, but in a totally acceptable dessert way.
What I love most about this homemade Fried Ice Cream is that it still feels special. It has that restaurant-style drama, but you don’t need a culinary degree or a fire extinguisher nearby. The coating is buttery and cinnamon-scented, the ice cream stays cold and creamy, and the toppings make everything feel like a party. A drizzle of chocolate fudge sauce, a little caramel or honey, whipped cream, and cherries? That’s not just dessert. That’s dessert with jazz hands.
This easy Fried Ice Cream is perfect for taco night, birthdays, family dinners, summer parties, Cinco de Mayo-inspired menus, or those random evenings when regular ice cream feels too quiet. Do you ever get that? Like, yes, a scoop of vanilla is nice, but sometimes you want crunch. You want sauce. You want a dessert that makes people lean over the table and ask, “Wait, did you make this?” That’s the fun of this recipe. It looks fancy, tastes nostalgic, and secretly takes very little effort. My favorite kind of kitchen trick.

Why you’ll Love this Fried Ice Cream?
You’ll love this Fried Ice Cream because it gives you the creamy-crunchy contrast of the classic dessert without actually frying the ice cream. That part still makes me laugh a little, because technically we are making no-fry Fried Ice Cream, which sounds like a contradiction, but a delicious one. The crushed corn flakes are toasted in salted butter and cinnamon, so they get golden, crisp, and full of that warm, cozy flavor you expect from deep fried ice cream. Then they get pressed around cold vanilla ice cream, and suddenly you have a dessert that tastes restaurant-worthy without the hot oil situation.
One of the best things about this Fried Ice Cream recipe is that it’s quick. The topping only needs 2 to 3 minutes in the pan, and the whole recipe takes about 18 minutes of active time. There is a little freezing time after coating, but that’s easy. You can make the ice cream balls ahead, stash them in the freezer, and then pull them out when you’re ready to serve. I love that because it means you can look wildly prepared even if, ten minutes earlier, you were still trying to find the dessert plates.
The texture is really the whole point. The vanilla ice cream is smooth and creamy, and the cinnamon cornflake coating is crisp and buttery. Then the toppings come in and make things wonderfully excessive. Chocolate fudge sauce adds richness, caramel sauce brings that sticky-sweet sundae feeling, whipped cream makes it fluffy and fun, and cherries add the little retro finish. I know cherries on top can feel old-school, but I’m sorry, they still make dessert happier.
I also like that this easy Fried Ice Cream dessert is flexible. Vanilla ice cream is classic, but you can use chocolate, strawberry, coffee, cinnamon, caramel, dulce de leche, or cookies and cream. Some flavors feel more traditional, some feel a little playful, and some are just “I had this in the freezer and it worked.” That counts. You can also swap toppings depending on your mood. Honey feels lighter, caramel feels richer, chocolate fudge feels dramatic, and adding all three feels like the kind of decision future-you may or may not question. But probably not too much.
Another reason this homemade Fried Ice Cream is a keeper is that it’s fun for both kids and adults. Kids love the crunch and the toppings. Adults love that it tastes like something from a restaurant but doesn’t require standing over a deep fryer. It’s a dessert with big energy, but the method is surprisingly calm. And honestly, don’t we all need a dessert like that sometimes?
Ingredient Notes
The ingredients for Fried Ice Cream are very simple, but each one pulls its weight. The corn flakes create the crunch, the butter makes the coating rich and toasty, the cinnamon adds warmth, and the vanilla ice cream brings that cold creamy center. Then the toppings turn everything into a sundae-style treat. It’s not complicated, but when these ingredients come together, they do feel a little magical.
- Corn flakes: Corn flakes are what give this Fried Ice Cream its signature crunchy coating. I like to crush them into small pieces, but not so fine that they turn into powder. You want texture here. A few bigger bits are actually nice because they make the coating feel extra crisp. I usually use a freezer bag and rolling pin because it’s easy and, let’s be honest, slightly satisfying. A food processor works too, just pulse gently so you don’t end up with cornflake dust.
- Salted butter: Salted butter helps toast the corn flakes and gives the coating a rich flavor. That little bit of salt matters because it balances the sweet ice cream and toppings. If you only have unsalted butter, use it and add a tiny pinch of salt. Nothing dramatic. Just enough to keep the coating from tasting flat.
- Ground cinnamon: Cinnamon gives the coating that warm, cozy flavor that makes no-fry Fried Ice Cream taste like the restaurant version. It pairs beautifully with vanilla ice cream, chocolate sauce, caramel, honey, whipped cream, and cherries. Also, the smell of cinnamon and butter toasting with corn flakes? Very dangerous. People may wander into the kitchen before dessert is ready.
- Vanilla ice cream: Vanilla ice cream is the classic choice for Fried Ice Cream because it lets the crunchy cinnamon coating and toppings shine. Use ice cream that is firm enough to scoop and shape. If it’s too soft, it melts fast and becomes a bit of a slippery situation. Not impossible, just annoying. Let it soften only enough to scoop, then work quickly.
- Honey or caramel sauce: Honey gives the dessert a lighter sweetness, while caramel sauce makes it richer and more sundae-like. I usually lean caramel because it feels nostalgic and cozy, but honey is lovely too, especially with cinnamon. Use whichever one makes you happier. Dessert should not be bossy.
- Chocolate fudge sauce: Chocolate fudge sauce makes this Fried Ice Cream dessert feel extra indulgent. Warm it just enough so it drizzles easily, but don’t pour it on boiling hot unless you want the ice cream to stage a dramatic collapse. Warm sauce, cold ice cream, crunchy coating. That’s the goal.
- Whipped cream: Whipped cream gives the dessert that classic restaurant-style finish. You can use canned whipped cream, whipped topping, or homemade whipped cream. I won’t pretend one option is always superior here. Use what works for your day.
- Cherries: Fresh cherries or maraschino cherries add color, sweetness, and that cheerful “finished dessert” look. Is it a little retro? Yes. Do I still love it? Absolutely. A cherry on top has never hurt anyone’s mood.
How to Make Fried Ice Cream?
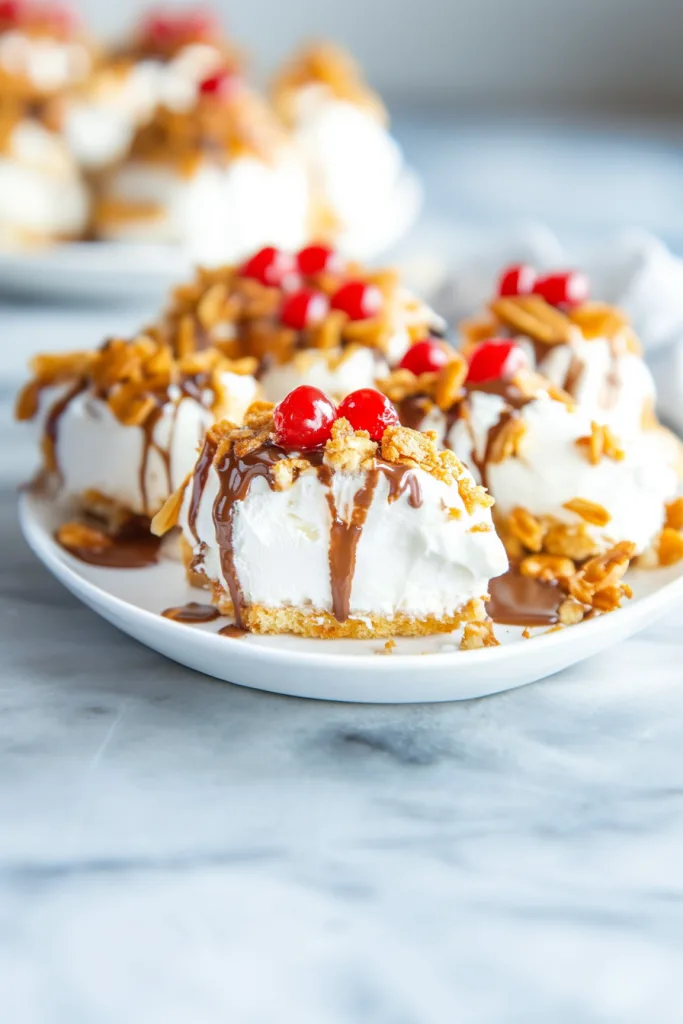
Making Fried Ice Cream without frying is easier than it sounds. You’ll crush the corn flakes, toast them with butter and cinnamon, cool the topping, shape the ice cream into balls, coat each one, freeze again, and then add toppings right before serving. The biggest things to remember are simple: keep the ice cream firm, let the coating cool completely, and work quickly. Ice cream is delicious, but it is not known for patience.
Step 1: Crush the Corn Flakes
Add the corn flakes to a large freezer bag. Seal the bag, leaving about a 1-inch gap so air can escape, then crush the corn flakes with a rolling pin until they become small pieces. You can also use a food processor and pulse them into a coarse crumble. Don’t crush them too finely. The coating should have crunch and texture, not look like breakfast cereal sand. A few uneven pieces are fine. Honestly, they make the coating more interesting.
Step 2: Melt the Butter
Add the salted butter to a non-stick pan over medium heat. Let it melt fully before adding the corn flakes. I like to have the crushed corn flakes and cinnamon ready before the butter melts, because the next part moves quickly. This is not a recipe where you want to be searching the spice cabinet while butter is sitting in a hot pan judging you.
Step 3: Toast the Cornflake Coating
Add the crushed corn flakes and ground cinnamon to the melted butter. Stir constantly for 2 to 3 minutes, until the crumbs turn golden brown and start to smell toasted and nutty. This step is what gives the no-fry Fried Ice Cream its deep, crunchy, almost “fried” flavor. Keep stirring because corn flakes can go from golden to burnt faster than expected. It’s rude, but true.
Step 4: Let the Topping Cool
Remove the pan from the heat and pour the toasted cornflake mixture into a shallow bowl. Let it cool completely before using it. This is important. If the topping is even a little too warm, it can start melting the ice cream as soon as you roll it. And while melted ice cream is still tasty, it is not exactly easy to shape into a neat little ball. Been there, sticky hands and all.
Step 5: Scoop the Ice Cream
Scoop a 4 oz serving of vanilla ice cream from the container. Make sure the ice cream is firm enough to hold its shape while you work. If it feels too soft, put it back in the freezer for a few minutes. It’s better to pause than fight with melting ice cream. The freezer is your teammate here.
Step 6: Shape the Ice Cream Into Balls
Use your hands to gently shape each scoop into a round ball. Work quickly so the ice cream doesn’t melt too much. You can use food-safe gloves if you want less mess, or rinse your hands in cold water and dry them between scoops. This step can be a bit chaotic, and that’s okay. Perfectly round ice cream balls are nice, but slightly lumpy ones still taste fantastic.
Step 7: Coat the Ice Cream
Place the ice cream ball into the cooled cornflake topping. Roll it gently until the entire surface is covered. Lightly press the crumbs into the ice cream so they stick, then shake off any extra coating. You want a good crunchy layer all around the ball. This is where the Fried Ice Cream starts to look like the real deal, and yes, it is very tempting to sneak a bite.
Step 8: Repeat With the Remaining Ice Cream
Repeat the scooping, shaping, and coating process until you have 8 total portions. If the ice cream begins to soften, stop and place everything back in the freezer for a few minutes. No shame at all. Ice cream melts. That’s kind of its whole personality.
Step 9: Refreeze the Coated Ice Cream Balls
Place the coated ice cream balls on a parchment-lined baking sheet and return them to the freezer for at least 15 minutes, or until you’re ready to serve. This helps the ice cream firm back up and keeps the coating in place. If you’re making them ahead, you can freeze them longer and add toppings right before serving.
Step 10: Add Toppings and Serve
Right before serving, drizzle each Fried Ice Cream ball with chocolate fudge sauce, caramel sauce, or honey. Add whipped cream and cherries if you like. Serve immediately while the coating is still crunchy and the ice cream is firm. This dessert does not like to wait around while everyone looks for spoons, so maybe get those ready first. Learned that one the sticky way.
Storage Options
Fried Ice Cream is best when served soon after coating and refreezing, but it can definitely be made ahead. Since this version is not actually deep fried, it stores pretty well in the freezer. The coating may soften a little over time, but it still tastes delicious. For the best texture, keep the toppings separate until serving.
- Freezer: Store coated Fried Ice Cream balls on a parchment-lined baking sheet until firm. Once frozen, transfer them to an airtight freezer-safe container. If stacking them, place parchment paper between layers so they don’t stick together. They are best enjoyed within 1 week, though the crunchiest texture usually happens in the first day or two.
- Short-term make-ahead: You can prepare the coated ice cream balls several hours before serving and keep them frozen. This is especially helpful for parties, family dinners, or taco night when you want dessert ready but don’t want to fuss after the meal. Just add the sauces, whipped cream, and cherries at the last minute.
- Do not refrigerate: Do not store Fried Ice Cream in the refrigerator. The ice cream will soften too much, and the crunchy coating may turn soggy. This dessert needs the freezer. The fridge is not invited.
- Topping storage: Store chocolate fudge sauce, caramel sauce, honey, whipped cream, and cherries separately. Add them right before serving so the coating stays crisp and the ice cream stays firm. Sauces are wonderful, but they are not gentle on crunch when they sit too long.
- Leftovers: If you have leftover topped Fried Ice Cream, return it to the freezer as soon as possible. The texture may change because the sauces and whipped cream freeze differently, but it will still be edible and probably still tasty. For best results, store the coated ice cream balls without toppings.
- Crunch tip: If the coating softens slightly after freezing, don’t panic. It still tastes buttery and cinnamon-y. For the crispest version, serve the coated ice cream balls within the first 24 to 48 hours.
Variations & Substitutions
This Fried Ice Cream recipe is easy to customize, which makes it fun for different occasions. You can change the ice cream flavor, switch the cereal, add nuts, drizzle different sauces, or make mini portions for a party tray. The basic idea stays the same: crunchy toasted coating, firm ice cream, a quick refreeze, and toppings right before serving. Simple, but with plenty of room to play.
- Use different ice cream flavors: Vanilla is classic for Fried Ice Cream, but chocolate, strawberry, coffee, cinnamon, dulce de leche, caramel, coconut, or cookies and cream can all work. I think vanilla gives the most classic restaurant-style flavor, but coffee ice cream with chocolate sauce? Very persuasive.
- Try a different cereal: Corn flakes give the most traditional crunch, but crushed Cinnamon Toast Crunch, Frosted Flakes, graham cereal, or crispy rice cereal can be fun. Just remember that sweeter cereals will make the dessert sweeter overall. Not necessarily a problem, just something to know before your dessert turns into a sugar parade.
- Add chopped nuts: Finely chopped pecans, almonds, or walnuts can be mixed into the cornflake coating for extra crunch. Toasted nuts are especially good with caramel sauce and vanilla ice cream. They make the dessert feel a little more grown-up, though still very much fun.
- Use unsalted butter: If you only have unsalted butter, use it and add a small pinch of salt to the topping. That little bit of salt helps balance the sweetness and makes the coating taste richer. It’s a tiny detail, but it matters.
- Make it extra cinnamon: Add a little more cinnamon if you love warm spice. You can also add a pinch of nutmeg for a cozy twist. Just don’t go too far, or the coating might start tasting like the holiday candle section. Nice smell, not always the dessert goal.
- Use honey instead of caramel: Honey gives no-fry Fried Ice Cream a lighter, floral sweetness. Caramel sauce is richer and more classic. Both are delicious, so this really depends on your mood and what’s already in the pantry.
- Add chocolate drizzle: Chocolate fudge sauce makes this dessert feel extra indulgent. You can also use dark chocolate, white chocolate, or chocolate magic shell. Magic shell gives a nice crackly texture, which is very satisfying.
- Make mini portions: Use smaller scoops of ice cream to make mini Fried Ice Cream balls. These are great for parties, dessert boards, or kids who want their own little portion. Adults also like tiny desserts, by the way. We just pretend it’s for portion control.
- Add toasted coconut: Toasted coconut can be mixed into the coating for a tropical flavor. It pairs especially well with vanilla, coconut, caramel, or chocolate ice cream.
- Make it dairy-free: Use dairy-free butter and dairy-free ice cream, then choose dairy-free toppings such as coconut whipped cream or dairy-free chocolate sauce. The method stays the same, but always check labels if you’re serving someone with allergies or dietary needs.
What to Serve With Fried Ice Cream?
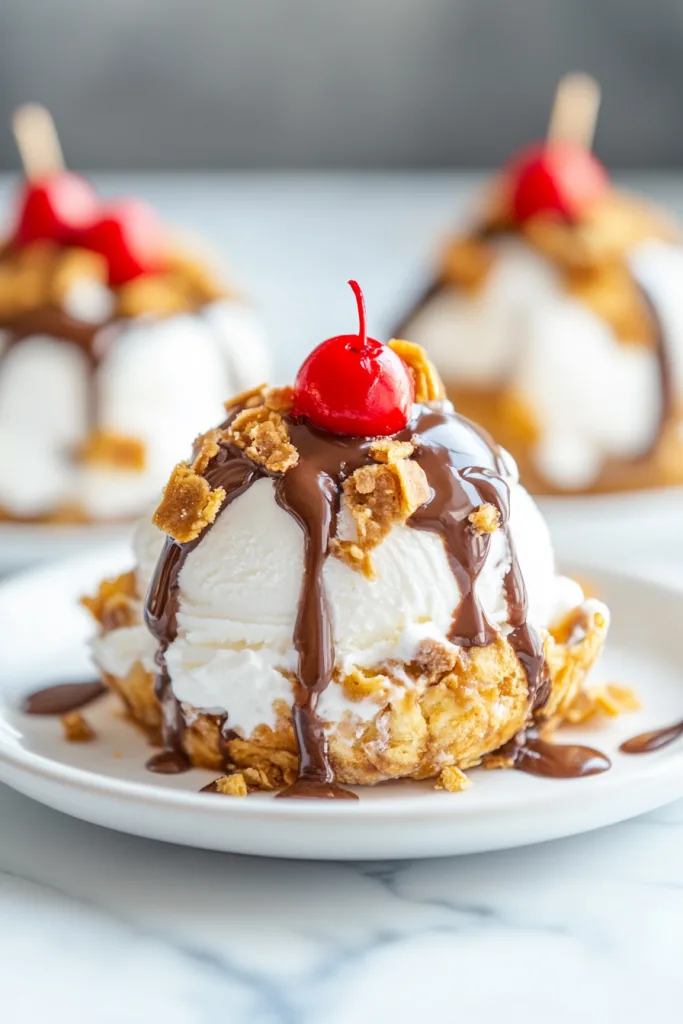
Fried Ice Cream already feels like a full dessert moment, but the right toppings and pairings can make it even better. Since it’s cold, creamy, crunchy, sweet, and warmly spiced, it pairs beautifully with sauces, fresh fruit, coffee, hot chocolate, and fun dinner menus. You can keep it simple or go full sundae mode. I support both choices.
- Chocolate fudge sauce: Chocolate fudge sauce is a classic topping for Fried Ice Cream. It adds richness, looks beautiful when drizzled over the crunchy coating, and makes the dessert feel extra decadent. Warm it slightly so it pours smoothly.
- Caramel sauce: Caramel sauce pairs beautifully with the cinnamon cornflake coating and vanilla ice cream. It adds buttery sweetness and that cozy sundae flavor people love. I personally think caramel is hard to beat here, but chocolate fans may disagree. Fair enough.
- Honey: Honey is a lighter option that works really well with cinnamon. It adds sweetness without making the dessert feel too heavy. If you like a slightly simpler topping, honey is a lovely choice.
- Whipped cream: Whipped cream gives homemade Fried Ice Cream that classic restaurant-style finish. Add it right before serving so it stays fluffy and pretty. Or mostly pretty. Whipped cream has its own plans sometimes.
- Cherries: Fresh cherries or maraschino cherries add color and charm. A cherry on top is old-fashioned in the best way. It makes the dessert look complete, like it got dressed before leaving the kitchen.
- Fresh berries: Strawberries, raspberries, or blueberries add freshness and a little tartness next to the rich ice cream and buttery coating. They help balance the sweetness, especially if you’re using both chocolate and caramel sauce.
- Bananas: Sliced bananas turn Fried Ice Cream into a banana-split-inspired dessert. Add chocolate, caramel, whipped cream, and cherries if you want the full sundae situation.
- Coffee: Coffee pairs beautifully with this dessert because the slight bitterness balances the sweetness. Hot coffee with cold crunchy ice cream is such a good after-dinner combo. Very simple, very grown-up, still fun.
- Mexican hot chocolate: Cinnamon-spiced hot chocolate is a cozy pairing for Fried Ice Cream. The cinnamon in the drink matches the coating, and the warm chocolate next to cold ice cream feels extra special.
- Taco night dinner: Serve Fried Ice Cream after tacos, enchiladas, fajitas, burrito bowls, or nachos for a fun restaurant-style finish at home. It’s especially nice when you want the meal to feel like a little celebration without doing anything too complicated.
FAQ
How do I keep the ice cream from melting while shaping it?
Use firm ice cream and work quickly. If the ice cream starts getting too soft, place it back in the freezer for a few minutes before continuing. You can also shape and coat a few scoops at a time instead of trying to do all 8 at once. That little freezer break can save the day.
Can I use another cereal besides corn flakes?
Yes. Corn flakes give the most classic Fried Ice Cream texture, but Cinnamon Toast Crunch, Frosted Flakes, graham cereal, or crispy rice cereal can also work. The flavor and sweetness will change depending on the cereal you choose.
Why didn’t my coating stick to the ice cream?
The coating may not stick well if it is too warm, too coarse, or if the ice cream is too hard and dry on the outside. Let the topping cool completely, then lightly press it into the ice cream ball. If needed, let the ice cream soften just slightly before coating.
Can I make Fried Ice Cream dairy-free?
Yes. Use dairy-free ice cream and dairy-free butter, then choose dairy-free toppings such as coconut whipped cream, dairy-free chocolate sauce, or caramel-style syrup. Always check labels if you are serving someone with allergies.
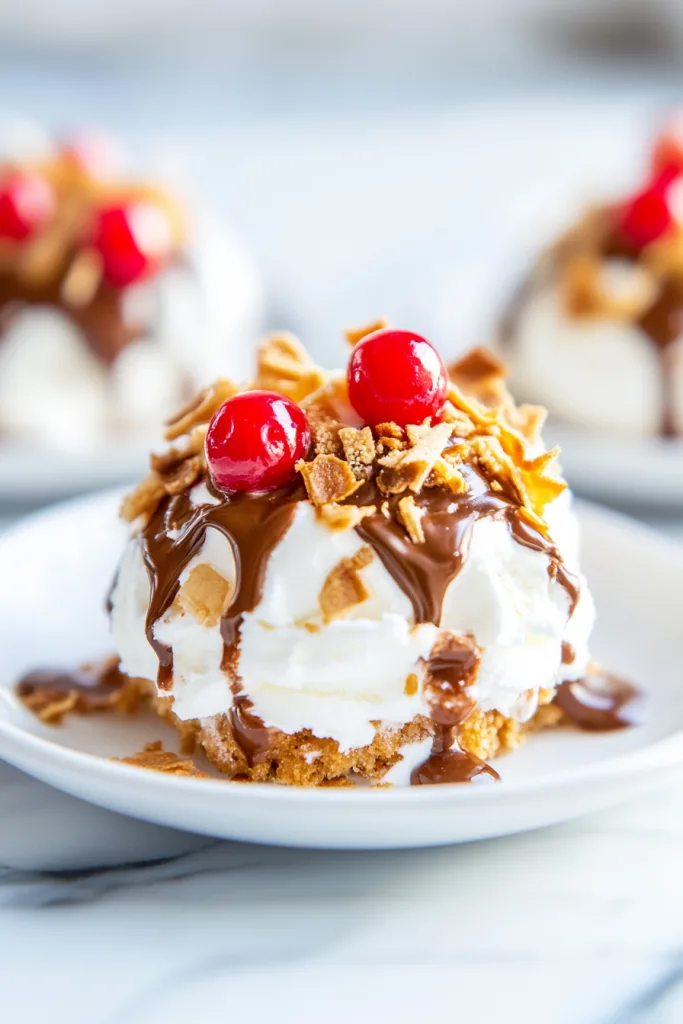
Fried Ice Cream is one of those desserts that feels playful, nostalgic, and a little dramatic, which is probably why people remember it. This no-fry Fried Ice Cream recipe gives you creamy vanilla ice cream coated in buttery cinnamon cornflake crunch, then finished with chocolate sauce, caramel, whipped cream, and cherries. You get the fun of classic deep fried ice cream without the hot oil, mess, or cleanup stress. A small kitchen victory, honestly.
So the next time you want a quick dessert that feels like a restaurant treat but is easy enough to make at home, try this Fried Ice Cream. Scoop it, coat it, freeze it, drizzle it, and enjoy every crunchy-creamy bite. And if the cherry slides off the whipped cream before serving? Just place it back on top and pretend it never happened. Can’t wait to hear what you think!
Fried Ice Cream
Ingredients
- 6 cups corn flakes
- 1/2 cup salted butter
- 2 1/4 tsp ground cinnamon
- 32 oz vanilla ice cream
Toppings
- Honey or caramel sauce as desired
- Chocolate fudge sauce as desired
- Whipped cream as desired
- Fresh or maraschino cherries as desired
Instructions
- Place the corn flakes in a large freezer bag.
- Seal the bag, leaving approximately a 1-inch opening to allow air to escape.
- Crush the corn flakes with a rolling pin until they form small, coarse pieces. Alternatively, place the corn flakes in a food processor and pulse until a coarse crumble forms.
- Place the salted butter in a non-stick skillet over medium heat.
- Heat until the butter is fully melted.
- Add the crushed corn flakes and ground cinnamon to the melted butter.
- Cook for 2 to 3 minutes, stirring constantly, until the corn flakes are golden brown and fragrant.
- Remove the skillet from the heat.
- Transfer the toasted cornflake mixture to a shallow bowl.
- Allow the mixture to cool completely before coating the ice cream.
- Scoop a 4 oz portion of vanilla ice cream from the container.
- Shape the ice cream into a ball using clean hands. Ensure the ice cream is firm enough to hold its shape while being handled.
- Immediately place the ice cream ball into the cooled cornflake mixture.
- Roll the ice cream ball in the topping until it is evenly coated.
- Lightly press the coating onto the surface of the ice cream to help it adhere.
- Gently shake off any excess coating.
- Repeat the process with the remaining ice cream until 8 portions are formed.
- Place the coated ice cream balls on a parchment-lined baking sheet.
- Transfer the baking sheet to the freezer.
- Freeze for at least 15 minutes, or until the ice cream balls are firm and ready to serve.
- Before serving, drizzle each coated ice cream ball with honey, caramel sauce, or chocolate fudge sauce, as desired.
- Garnish with whipped cream and fresh or maraschino cherries.
- Serve immediately.
Notes