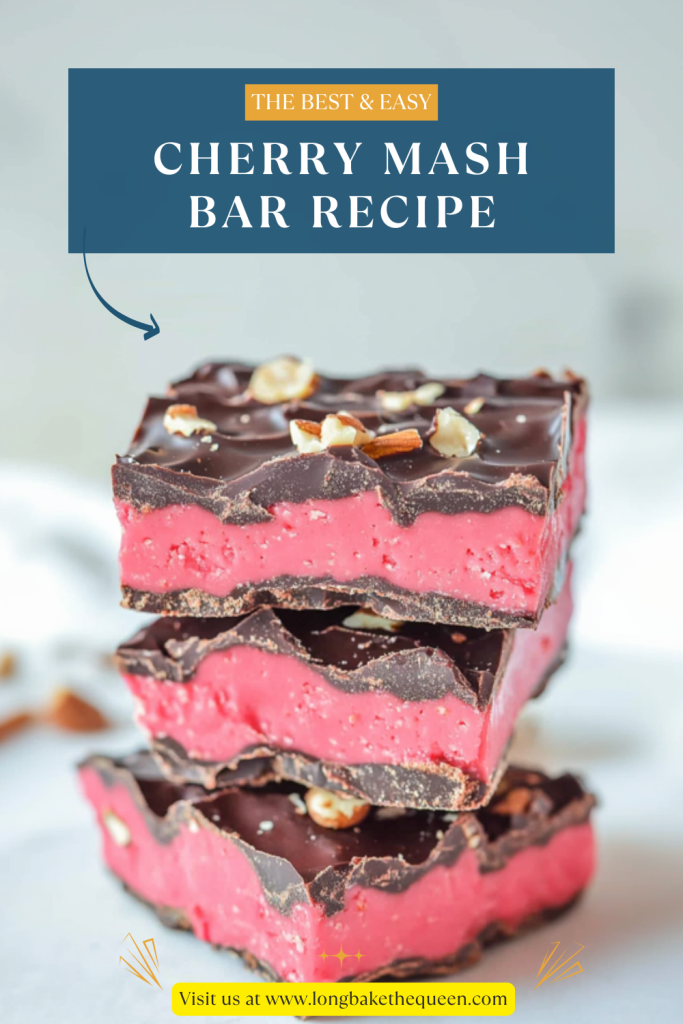
Cherry Mash Bar Recipe made with sugar, evaporated milk, marshmallows, margarine, cherry chips, vanilla, chocolate chips, peanut butter, and salted peanuts.
I have a real weakness for old-fashioned candy recipes. Not the shiny, perfect kind you see in fancy glass cases, but the homemade kind that shows up in a 9×13 pan, wrapped in foil, carried into a family gathering like a little treasure. This Cherry Mash Bar Recipe gives me that exact feeling. It’s sweet, colorful, a little nostalgic, and it has that cherry-chocolate-peanut butter combo that feels like something your aunt, grandma, or neighbor down the street would proudly bring to a holiday dessert table.
I remember seeing treats like these on Christmas candy trays when I was younger. There would be fudge, peanut butter balls, divinity if someone was brave enough, and then some bright pink or cherry-red candy square that always caught my eye first. I didn’t always know what it was, but I knew I wanted one. Maybe two. Okay, probably two. This homemade cherry mash bar has that same old-school charm, the kind that makes people pause and ask, “Wait, what are these?” before taking a bite.
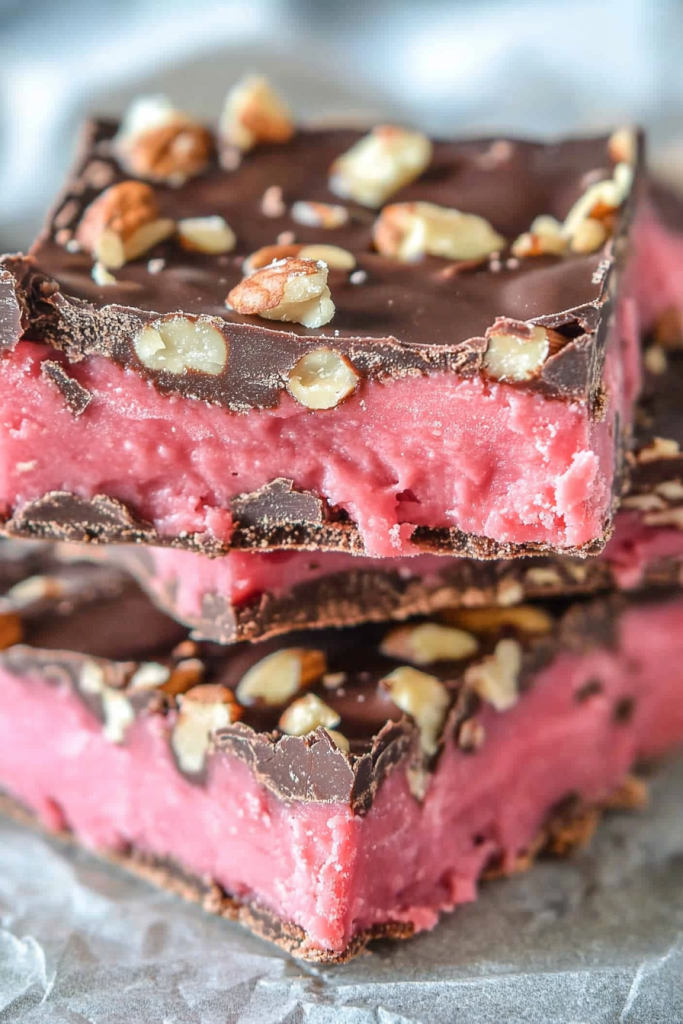
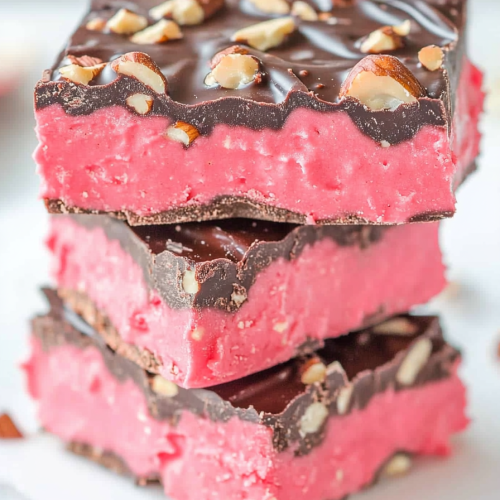
The thing I love about this Cherry Mash Bar Recipe is that it’s playful. It doesn’t try to be elegant or delicate. It’s candy. It’s cheerful. It’s rich. The bottom layer is sweet and cherry-flavored with marshmallows melted right in, and the top layer is chocolate, peanut butter, and crushed salted peanuts. It’s like a candy bar decided to move into a baking dish and make itself comfortable.
And I’ll be honest with you, cherry candy flavor can be a little bold. Some people love it instantly. Some people take a bite and need a second to decide. I get it. But when that sweet cherry layer is paired with semi-sweet chocolate, peanut butter, and salted peanuts? It balances out in such a good way. The peanuts bring crunch and salt, the peanut butter makes the chocolate topping creamy, and the cherry layer underneath keeps everything fun and bright.
This cherry mash candy bar recipe is especially perfect for holiday gifting. I can picture these bars tucked into little treat boxes with parchment paper, maybe next to fudge and sugar cookies. They also work for potlucks, bake sales, Valentine’s Day treats, church dinners, and those “I just wanted to make something different” weekends. Ever tried something similar? These bars have a way of making people nostalgic even if they didn’t grow up eating them.
I also like that they’re not overly complicated. You boil the cherry layer for 5 minutes, stir in the cherry chips, spread it in a buttered pan, then add the chocolate peanut butter topping. The fridge does the rest. It feels like candy-making, but without the candy thermometer stress. Which, honestly, I appreciate. Candy thermometers and I are not always emotionally aligned.
Why you’ll Love this Cherry Mash Bar Recipe?
This Cherry Mash Bar Recipe stands out because it tastes like a homemade candy bar, but you make it in one pan. That’s a big win. You get the sweet cherry marshmallow layer on the bottom and the rich chocolate peanut butter peanut layer on top. It’s soft, crunchy, sweet, salty, and chocolatey all in one square. A little dramatic? Maybe. But dessert is allowed to be dramatic.
The cherry layer is what gives these bars their personality. It’s made with sugar, evaporated milk, marshmallows, margarine, cherry chips, and vanilla. The marshmallows help the layer turn soft and candy-like, while the cherry chips give it that bold cherry flavor and pretty color. If you’ve ever made homemade fudge or candy bars, this part will feel familiar. If not, don’t worry, it’s easier than it sounds.
Another great thing about this homemade cherry mash recipe is that it includes a backup plan for the cherry chips. Cherry chips can be a little hit-or-miss at the store. Some places carry them around the holidays, some don’t, and some make you feel like you imagined them. If you can’t find them, you can use white almond bark, cherry extract, and red food coloring instead. Not exactly the same, maybe, but close enough to get that cherry candy flavor and color.
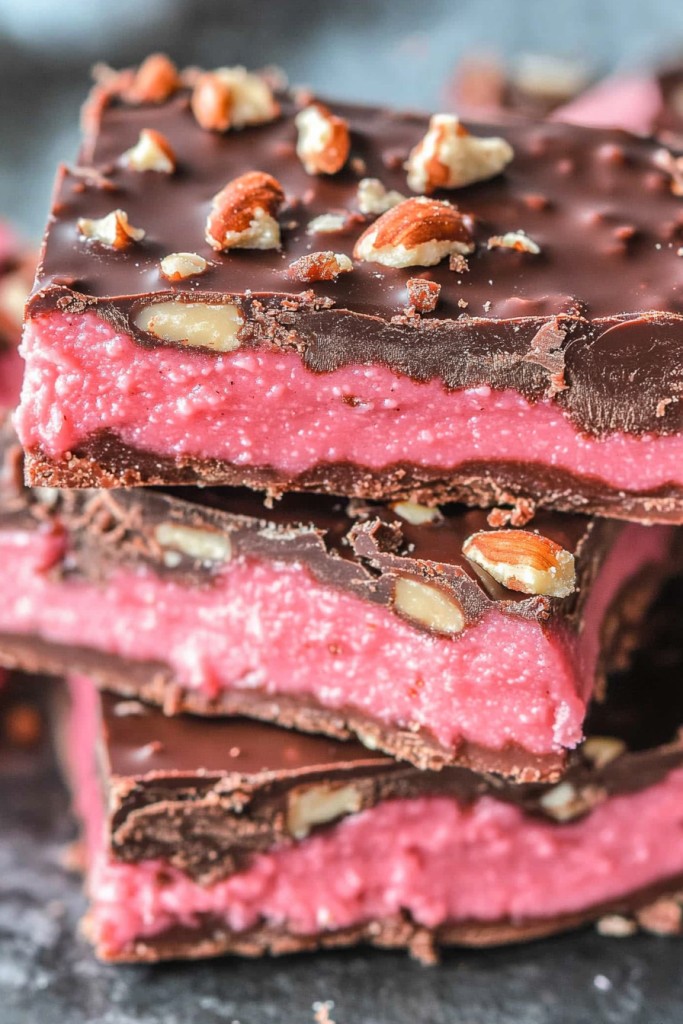
The topping is my favorite part, though I probably shouldn’t pick favorites. Semi-sweet chocolate chips melt down, then peanut butter and crushed salted peanuts get stirred in. It’s rich and crunchy, but the salt in the peanuts keeps the bars from tasting too sweet. That salty crunch is doing important work. Without it, the bars might lean a little too candy-sweet. With it, they’re much more balanced.
This chocolate cherry peanut butter bar recipe also makes 24 servings, which makes it great for sharing. I love desserts that can feed a crowd without making you cut tiny, fussy pieces or decorate each one individually. These are slice-and-serve bars. Very friendly. Very practical.
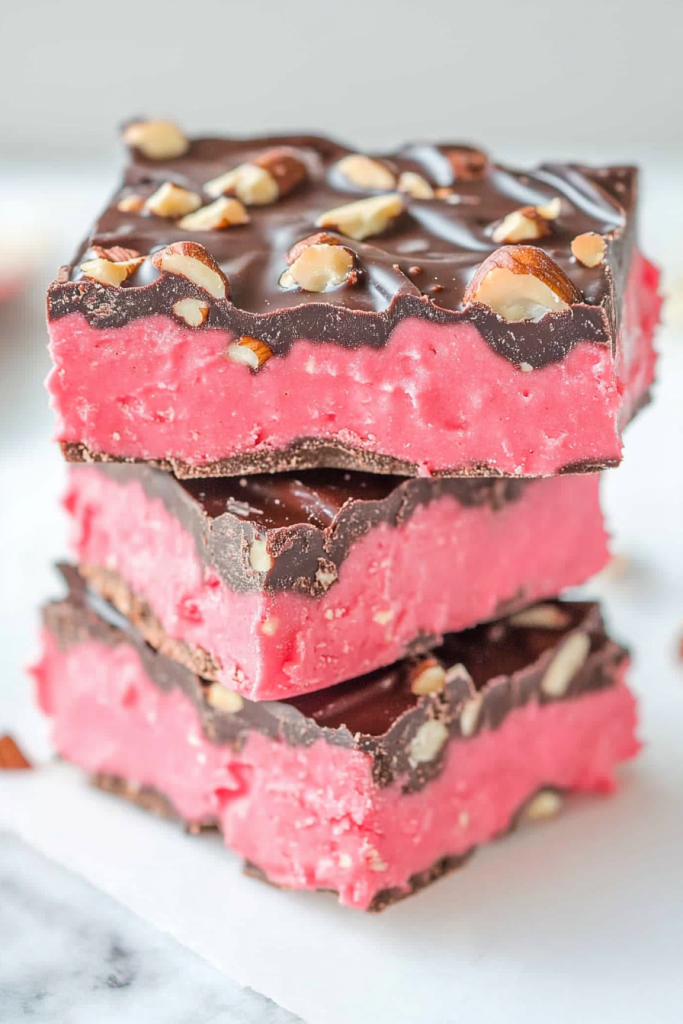
And honestly, they’re cute. That cherry layer under the chocolate peanut topping looks cheerful and a little retro. These cherry mash bars feel like something you’d find in an old recipe box, written on a card with a butter stain in the corner. That might be my favorite kind of recipe.
Ingredient Notes
The ingredients in this Cherry Mash Bar Recipe are simple, but they each help create that classic candy-bar texture. Since this is more like homemade candy than cake or brownies, the boiling time and ingredient balance matter. Nothing scary, just worth paying attention to.
- Sugar: Sugar gives the cherry layer its sweetness and helps form the candy-like base. Measure it carefully. This is one of those recipes where “close enough” can sometimes change the texture.
- Evaporated milk: Evaporated milk adds creaminess and helps the sugar, marshmallows, and margarine melt together smoothly. It gives the cherry layer a softer texture.
- Salt: Just a tiny bit of salt helps balance all the sweetness. It doesn’t make the bars salty. It just keeps the flavor from being flat.
- Marshmallows: Marshmallows melt into the cherry layer and help create that soft, fluffy candy texture. They also make the mixture feel a little like old-fashioned fudge.
- Margarine: Margarine adds richness and helps the cherry layer set. The recipe uses margarine in a classic way, but butter can be used if that’s what you prefer.
- Cherry chips: Cherry chips bring the color and flavor to this Cherry Mash Bar Recipe. They make the cherry layer sweet, bright, and candy-like. If they’re hard to find, use the almond bark, cherry extract, and food coloring substitute.
- Vanilla extract: Vanilla adds a little background flavor when using cherry chips. If you use cherry extract instead, leave out the vanilla so the flavor doesn’t get muddled.
- Semi-sweet chocolate chips: Semi-sweet chocolate gives the topping a rich flavor without making the bars overwhelmingly sweet. Milk chocolate works too, but the bars will be sweeter.
- Peanut butter: Peanut butter melts into the chocolate and makes the topping creamy, nutty, and smooth. It also helps tie the chocolate and peanut flavors together.
- Crushed salted peanuts: Salted peanuts add crunch and balance. They’re one of the reasons these cherry mash candy bars taste so good. The salt cuts through the sweet cherry layer beautifully.
How to Make Cherry Mash Bar Recipe?
This Cherry Mash Bar Recipe is made in two parts: the cherry layer and the chocolate peanut topping. The cherry layer cooks on the stove for just a few minutes, then the topping gets melted and spread over it. After that, the refrigerator steps in like the quiet hero of candy-making.
Step 1: Prepare the pan.
Butter a 9×13-inch baking dish. Don’t skip this. The cherry layer is sticky, and buttering the dish makes it much easier to remove the bars later. You can also line the pan with parchment if you want extra insurance. I’m usually team parchment, because I don’t enjoy wrestling desserts out of pans.
Step 2: Combine the cherry layer ingredients.
In a saucepan over medium heat, combine the sugar, evaporated milk, salt, marshmallows, and margarine. Stir while the mixture heats so the marshmallows melt evenly and nothing sticks too much to the bottom. It will look a little messy at first, then it smooths out.
Step 3: Boil the mixture.
Bring the mixture to a boil and let it boil for 5 minutes. Stir often. This step helps the cherry layer set properly, so try not to cut the time short. Five minutes isn’t long, but in candy-making time it matters.
Step 4: Add the cherry chips and vanilla.
Remove the saucepan from the heat. Stir in the cherry chips and vanilla extract until the chips melt and the mixture becomes smooth. If you’re using white almond bark with cherry extract and food coloring, skip the vanilla. The cherry smell at this point is strong in a fun, candy-shop kind of way.
Step 5: Spread the cherry layer.
Pour the cherry mixture into the buttered baking dish and spread it evenly. Try to get it into the corners, but don’t worry if it isn’t perfectly smooth. The chocolate peanut topping is going over it anyway, and dessert does not need to look airbrushed.
Step 6: Melt the chocolate.
Melt the semi-sweet chocolate chips in a double boiler, stirring until smooth. A double boiler helps melt the chocolate gently so it doesn’t scorch. If you use the microwave instead, go slowly in short bursts and stir often. Chocolate can go from smooth to grumpy pretty fast.
Step 7: Add peanut butter and peanuts.
Stir the peanut butter and crushed salted peanuts into the melted chocolate. Mix until everything is combined. The topping will be thick because of the peanuts, so work while it’s still warm and spreadable.
Step 8: Spread the topping over the cherry layer.
Spread the chocolate peanut butter mixture over the cherry layer. Be gentle so the layers stay fairly distinct. It doesn’t have to be perfect, just evenly covered.
Step 9: Refrigerate until set.
Place the dish in the refrigerator and chill until the bars are firm. This usually takes at least 1 to 2 hours. The chocolate topping should be fully set before slicing.
Step 10: Slice and serve.
Cut the bars into 24 pieces. For cleaner slices, use a sharp knife and wipe it between cuts. If the bars are very firm, let them sit at room temperature for a few minutes first. Or just cut rustic pieces and call it homemade charm. Works for me.
Storage Options
This Cherry Mash Bar Recipe stores well, which is one reason it’s so handy for holidays and gifting. Since the bars have a soft cherry layer and a chocolate peanut topping, they do best in a cool place.
Store the sliced bars in an airtight container in the refrigerator for up to 1 week. If you stack them, place parchment paper or wax paper between layers. The chocolate topping can stick a little if the bars are pressed together, especially if your kitchen is warm.
If you prefer a softer bite, let the bars sit at room temperature for 10 to 15 minutes before serving. I like them chilled, but not ice-cold. Somewhere in the middle feels just right. That said, if your house is warm, don’t leave them out too long because the chocolate topping may soften.
You can also freeze these homemade cherry mash bars. Place the sliced bars in a freezer-safe container with parchment between layers and freeze for up to 2 months. They’re a nice treat to have tucked away, especially around the holidays when unexpected guests appear like magic.
To thaw, move the bars to the refrigerator overnight. You can serve them chilled or let them sit at room temperature briefly before serving. The texture holds up pretty well, though they may be slightly softer after thawing.
For gifting, keep the bars chilled until you’re ready to package them. Wrap them in candy papers, parchment squares, or little treat bags. They look especially cute in holiday boxes with fudge and cookies. Very “I planned ahead,” even if you made them the night before.
Variations & Substitutions
This Cherry Mash Bar Recipe has that classic cherry, chocolate, peanut butter, and peanut flavor, but you can make small changes based on what you have. I wouldn’t change everything at once, because candy recipes can be a little sensitive, but there’s definitely room to play.
- Use almond bark instead of cherry chips: If you can’t find cherry chips, use 6 oz white almond bark, 1 tsp cherry extract, and red food coloring. Add enough color to get the shade you like. A little goes a long way, unless you want neon cherry bars, which honestly might be fun for a party.
- Use butter instead of margarine: Margarine is part of the original-style recipe, but butter can work too. The texture may be slightly different, but the flavor will be rich.
- Use milk chocolate chips: Milk chocolate makes the topping sweeter and creamier. If you love extra-sweet candy bars, this is a nice option.
- Use dark chocolate chips: Dark chocolate gives the topping a deeper flavor and helps balance the sweet cherry layer.
- Use crunchy peanut butter: Crunchy peanut butter adds even more texture. Since the topping already has peanuts, this makes the bars extra crunchy.
- Add extra peanuts: If you love that salty crunch, add a little more crushed salted peanuts. Don’t go too wild, or the topping may become hard to spread.
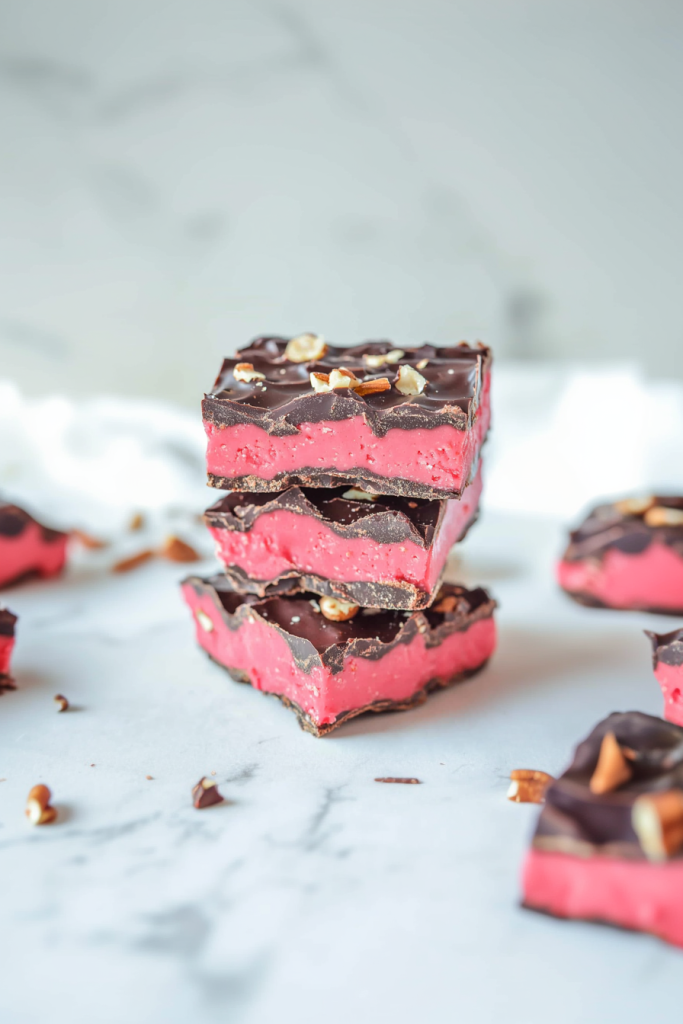
- Cut smaller candy bites: These bars are rich, so smaller pieces work beautifully for candy trays and gift boxes.
- Add a drizzle: Once the topping is set, drizzle melted white chocolate or almond bark over the top for a pretty finish.
- Use almond butter: Almond butter can replace peanut butter, though the flavor will be different from classic cherry mash bars. It’s still tasty, just not quite the same nostalgic candy-bar flavor.
What to Serve With Cherry Mash Bar Recipe?
These cherry mash bars are sweet, rich, and candy-like, so they pair best with simple drinks or lighter treats. They’re especially good on a holiday dessert tray because the cherry color stands out next to cookies and fudge.
- Hot coffee: Coffee balances the sweetness and richness of the bars. It’s a great choice for an afternoon treat, especially if you only want a small square.
- Black tea: Black tea pairs nicely with the chocolate and cherry flavor without making the dessert feel heavier.
- Milk: Milk is classic with chocolate and peanut butter desserts. It’s simple, but it works.
- Hot cocoa: Hot cocoa makes this Cherry Mash Bar Recipe feel extra cozy during the holidays. Sweet on sweet? Yes. But sometimes that’s the mood.
- Vanilla ice cream: Serve a small bar with vanilla ice cream for a fun dessert plate. The cold creaminess works well with the chewy candy layer.
- Fresh strawberries: Strawberries add freshness and look pretty beside the cherry layer. They also make the plate feel a tiny bit lighter.
- Holiday cookie trays: Add these bars to trays with fudge, sugar cookies, shortbread, peanut butter balls, and chocolate bark. They bring color and crunch.
- Homemade candy boxes: These homemade cherry mash bars are perfect for gifting with truffles, caramels, and other candy-style treats.
- Whipped cream: A small spoonful of whipped cream can soften the richness if you’re serving the bars as dessert.
FAQ
Can I make this Cherry Mash Bar Recipe without cherry chips?
Yes. If cherry chips are hard to find, use 6 oz white almond bark, 1 tsp cherry extract, and red food coloring. This gives you a similar cherry flavor and color.
Do I need a double boiler for the chocolate?
A double boiler is helpful because it melts the chocolate gently. You can use a microwave, but heat the chocolate in short intervals and stir often so it doesn’t burn.
Why is my cherry layer too soft?
The cherry layer may be too soft if the mixture did not boil long enough. Be sure to boil it for the full 5 minutes so it sets properly.
Why is my chocolate topping thick?
The topping is thick because of the peanut butter and crushed peanuts. Spread it while it is still warm for the easiest results.
This Cherry Mash Bar Recipe is sweet, nostalgic, colorful, and packed with cherry, chocolate, peanut butter, marshmallow, and salted peanut flavor. It feels like something from an old family recipe box, the kind of treat that gets people talking before they even finish the first bite.
Make this Cherry Mash Bar Recipe when you want a cheerful homemade candy bar treat for holidays, potlucks, bake sales, or gifting. Can’t wait to hear what you think — are these going into treat boxes, or are you keeping the pan at home for “quality control”?
Cherry Mash Bar Recipe
Ingredients
- 2 c sugar
- 2/3 c evaporated milk
- 1/8 tsp salt
- 12 marshmallows
- 1/2 c margarine
- 6 oz cherry chips
- 1 tsp vanilla extract
- 12 oz semi-sweet chocolate chips
- 3/4 c peanut butter
- 1 c crushed salted peanuts
Cherry Chip Substitute
- If cherry chips are unavailable, use:
6 oz white almond bark
1 tsp cherry extract
Red food coloring, to desired color
- Note: Omit the vanilla extract if cherry extract is used.
Instructions
Prepare the baking dish.
- Butter a 9×13-inch baking dish and set aside.
Combine the cherry layer ingredients.
- In a saucepan over medium heat, combine the sugar, evaporated milk, salt, marshmallows, and margarine.
Boil the mixture.
- Bring the mixture to a boil and continue boiling for 5 minutes, stirring frequently to prevent scorching.
Add the cherry flavoring.
- Remove the saucepan from the heat. Add the cherry chips and vanilla extract, then stir until fully melted and smooth. If using the cherry chip substitute, add the white almond bark, cherry extract, and red food coloring instead, and omit the vanilla extract.
Transfer to the baking dish.
- Pour the cherry mixture into the prepared 9×13-inch baking dish and spread evenly.
Melt the chocolate.
- Melt the semi-sweet chocolate chips in a double boiler, stirring until smooth.
Add the peanut butter and peanuts.
- Stir the peanut butter and crushed salted peanuts into the melted chocolate until fully combined.
Add the topping.
- Spread the chocolate peanut butter mixture evenly over the cherry layer.
Chill the bars.
- Refrigerate until the layers are firm and fully set.
Slice and serve.
- Once set, cut into 24 bars and serve.
Notes