Skip to content
Search
Search
Close this search box.
Menu
Home
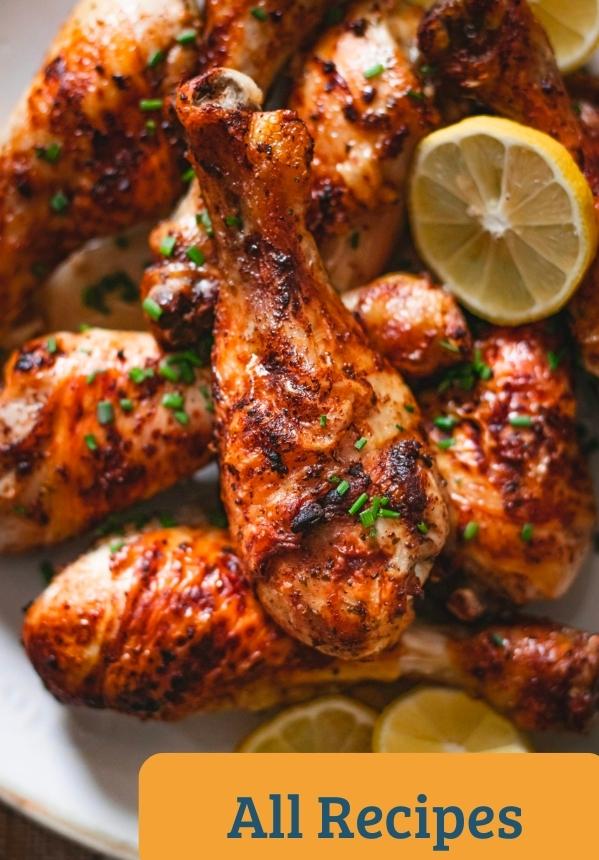
All Recipes
Holiday Meals
Valentine’s Day
St. Patrick’s Day
Easter
Thanksgiving
Christmas
About Me
Privacy Policies
Facebook
Pinterest
Instagram
subscribe to our email list
Name
Email
join now
Home
All Recipes
Holiday Meals
Valentine’s Day
St. Patrick’s Day
Easter
Thanksgiving
Christmas
About Me
Privacy Policies
Menu
Home
All Recipes
Holiday Meals
Valentine’s Day
St. Patrick’s Day
Easter
Thanksgiving
Christmas
About Me
Privacy Policies
Search
Search
Close this search box.
Breakfast
Lunches
Dinners
Holiday's Meals
Breakfast
Lunches
Dinners
Holiday's Meals
Appetizers
Breakfast
Soup & Chili
Desserts
Casseroles
Salad's
Appetizers
Breakfast
Soup & Chili
Desserts
Casseroles
Salad's
Don't Miss A Recipe! Follow Me:
Facebook
Pinterest
Instagram
Don't Miss A Recipe! Follow Me:
Facebook
Pinterest
Instagram
Latest Recipes
Latest Recipes
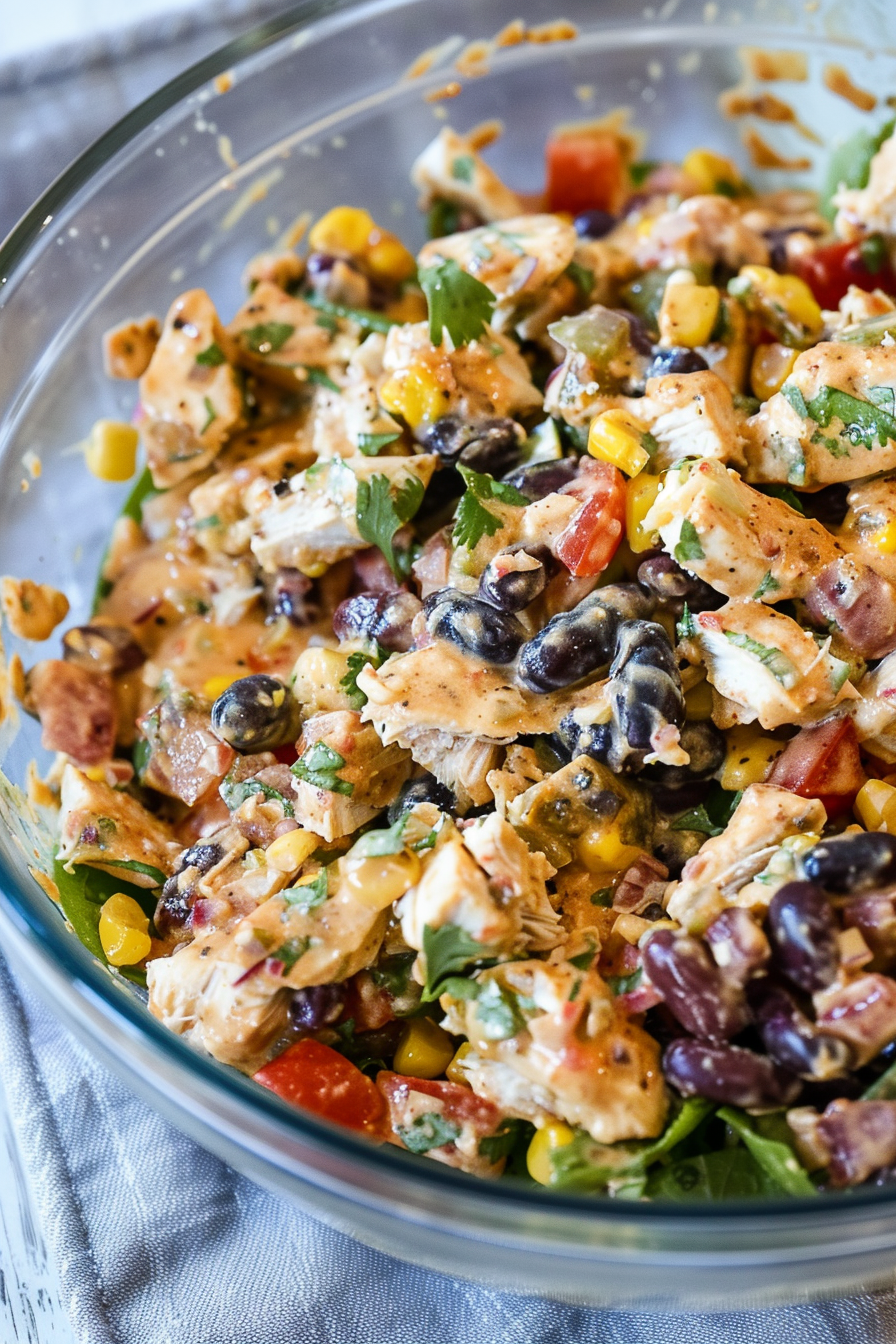
Zesty Southwest Chicken Salad
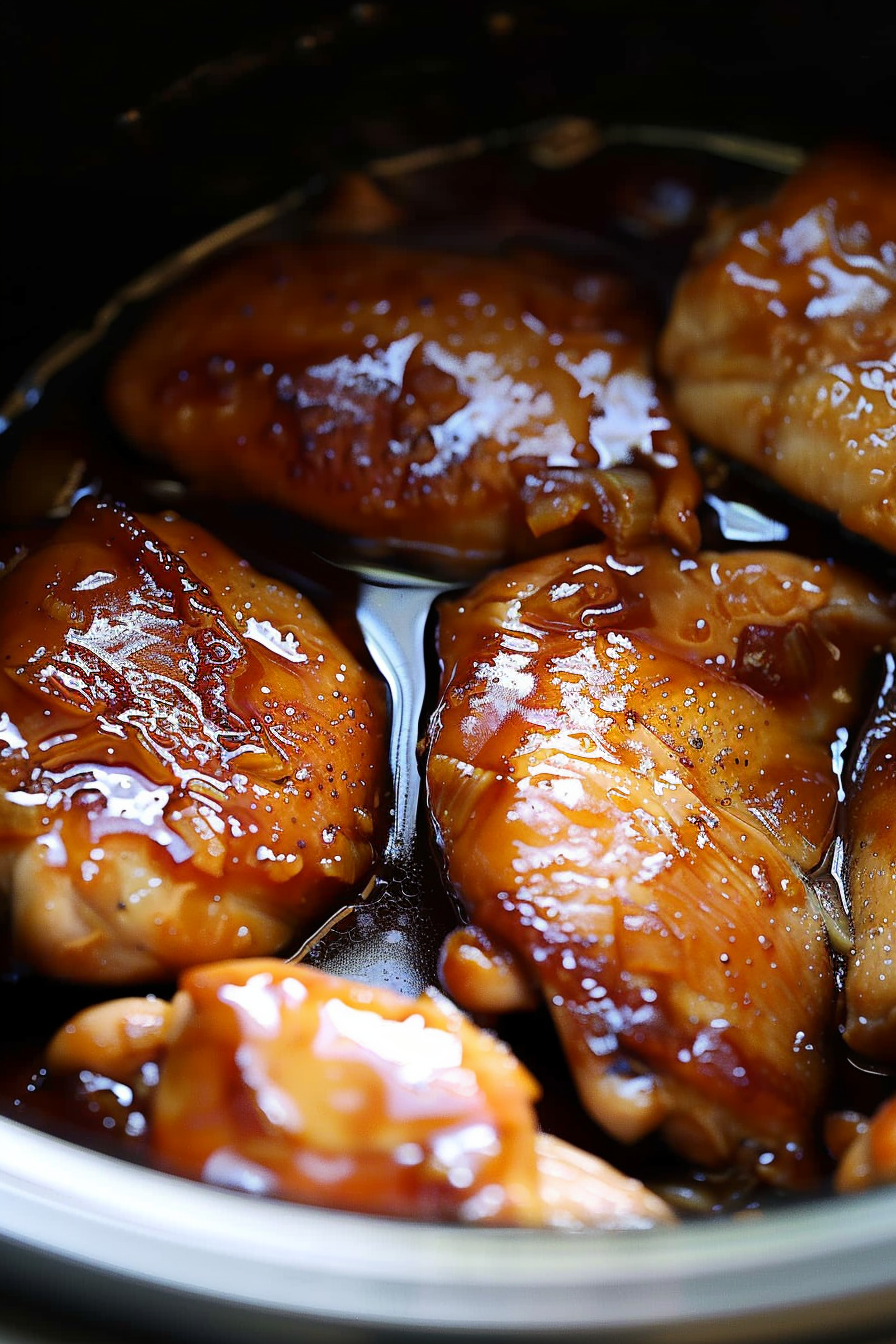
Sweet and Savory Honey Garlic Chicken in Slow Cooker
Spicy Parmesan-Garlic Chicken Skewers
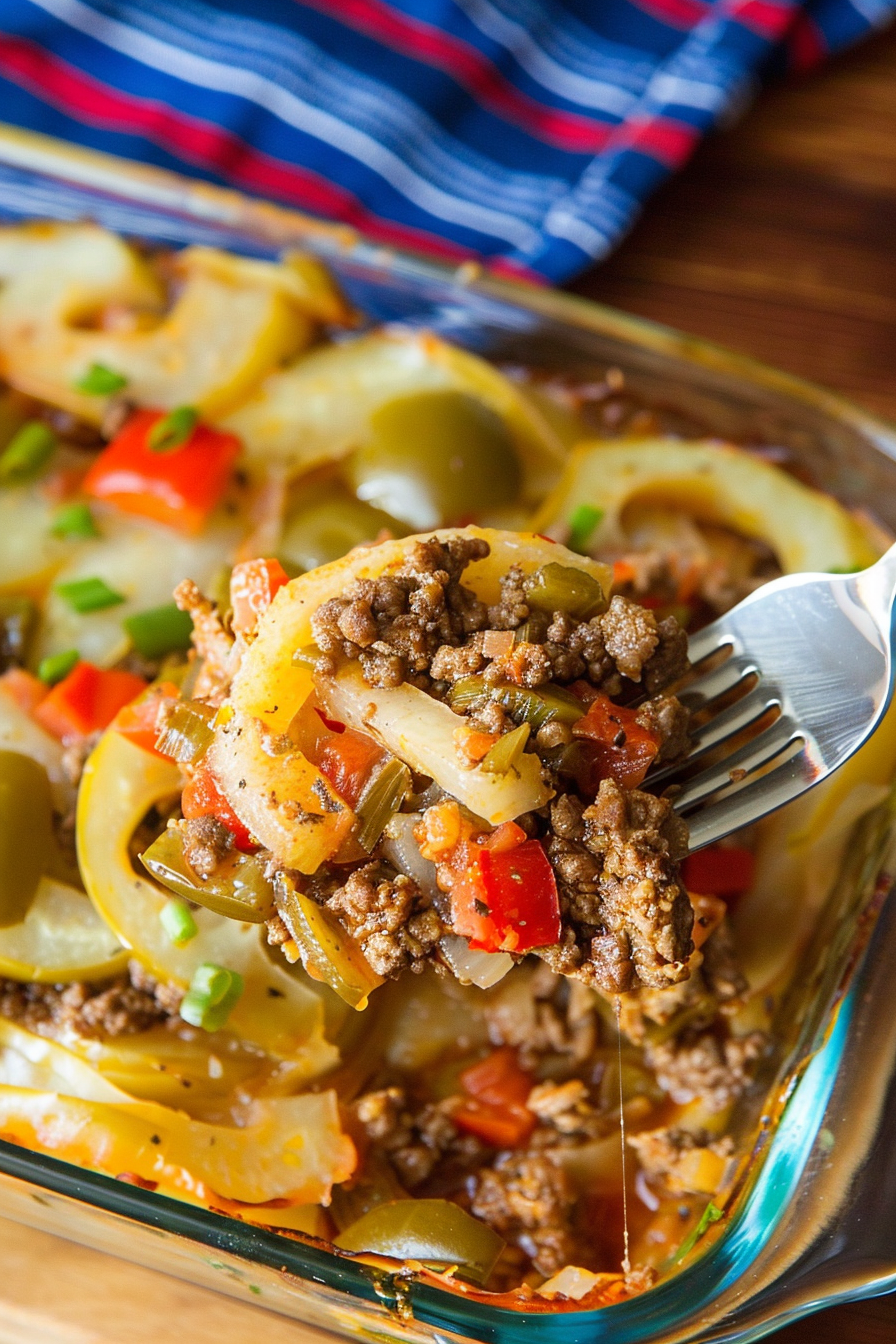
Southern Five Layer Beef Casserole
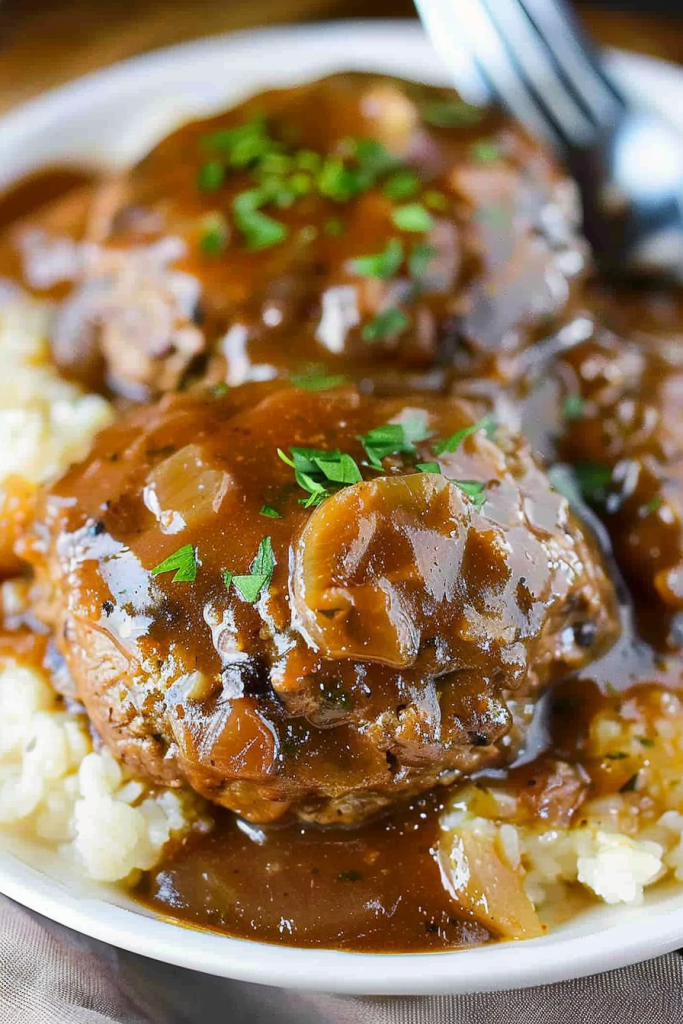
Slow Cooker Savory Salisbury Steak
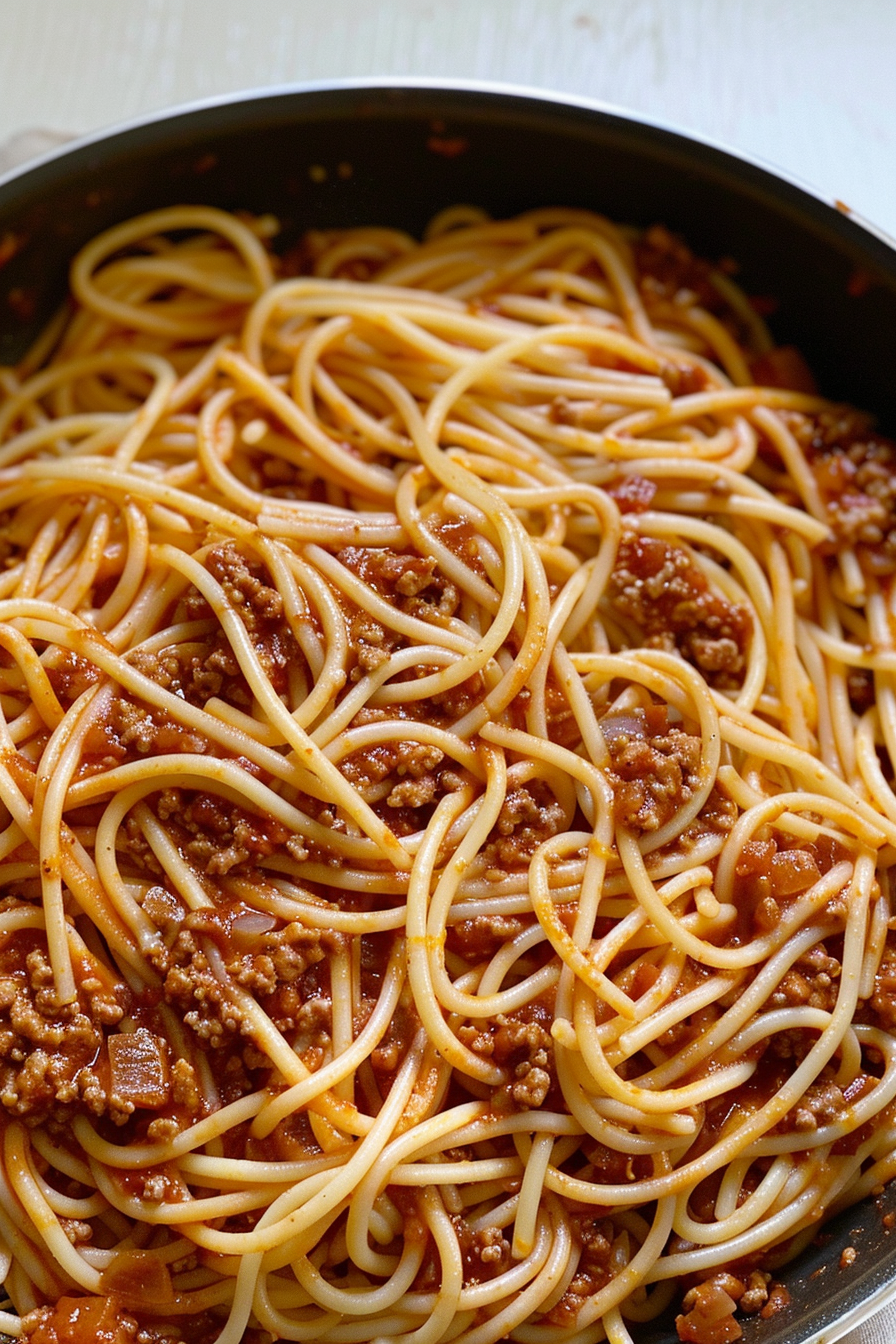
Simple and Delicious Homemade Spaghetti
Browse All
Zesty Southwest Chicken Salad
Sweet and Savory Honey Garlic Chicken in Slow Cooker
Spicy Parmesan-Garlic Chicken Skewers
Southern Five Layer Beef Casserole
Slow Cooker Savory Salisbury Steak
Simple and Delicious Homemade Spaghetti
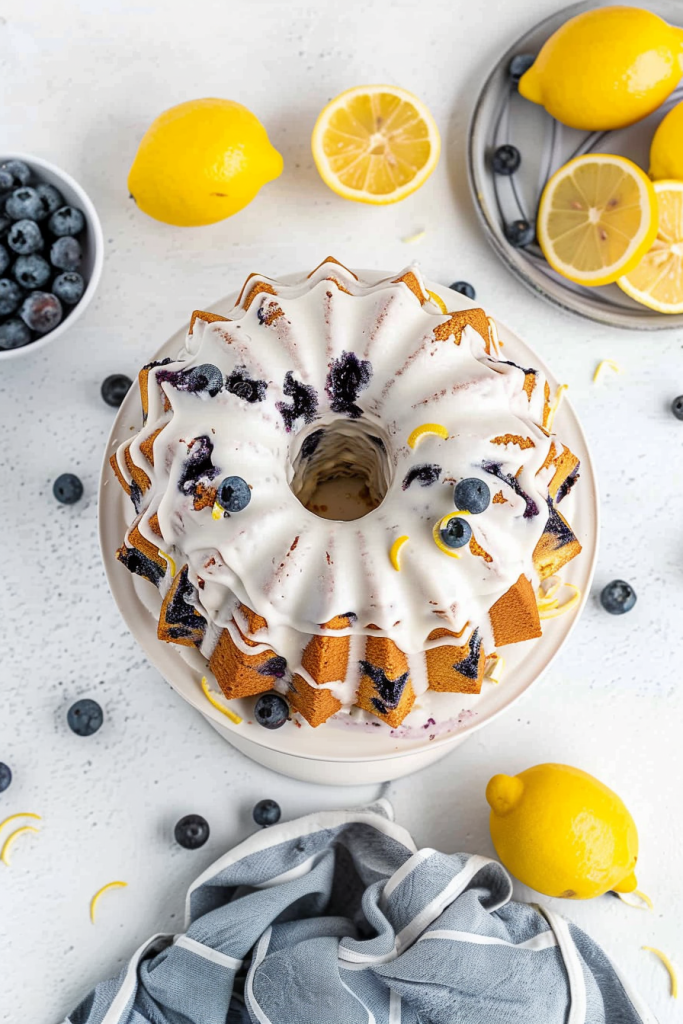
Blueberry Lemon Bliss Pound Cake
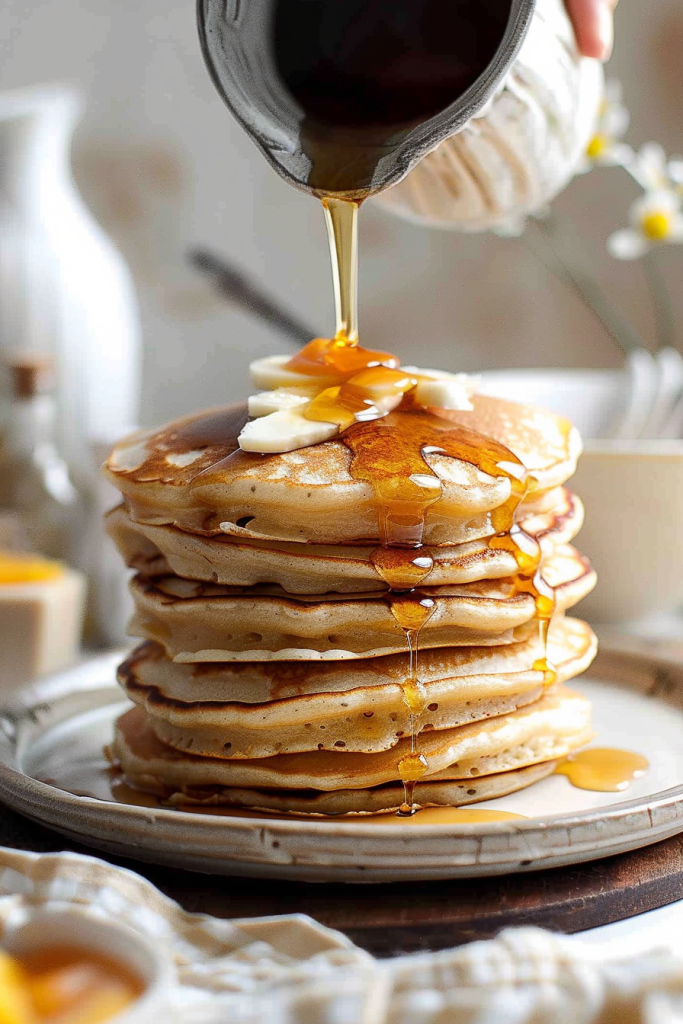
Traditional Old-Fashioned Pancakes
search our recipes:
Search
Search
search our recipes:
Search
Search
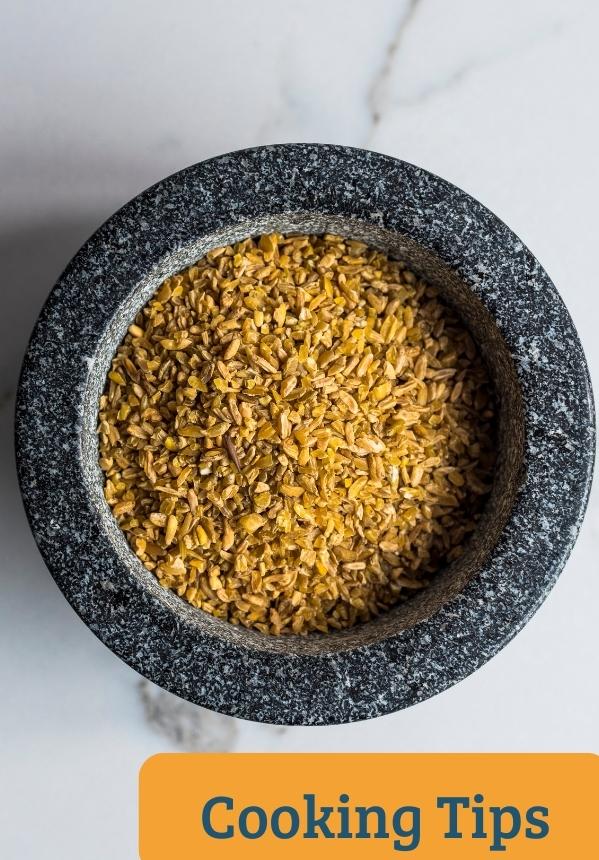
Cooking Tips
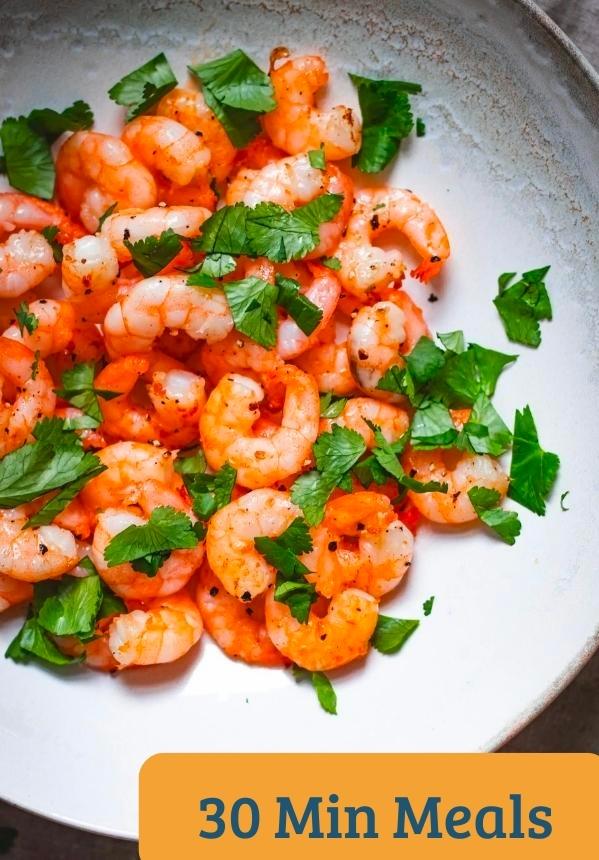
30 Min Meals
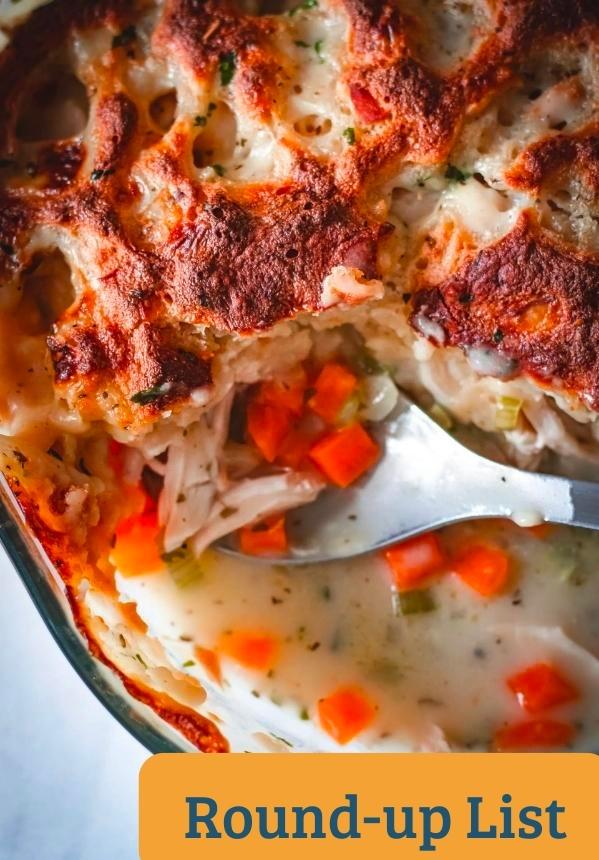
Round Up Recipes
Top 6 Most-Pinned Recipes
Pinterest
follow me on pinterest!
Garlic Butter Chicken Recipe
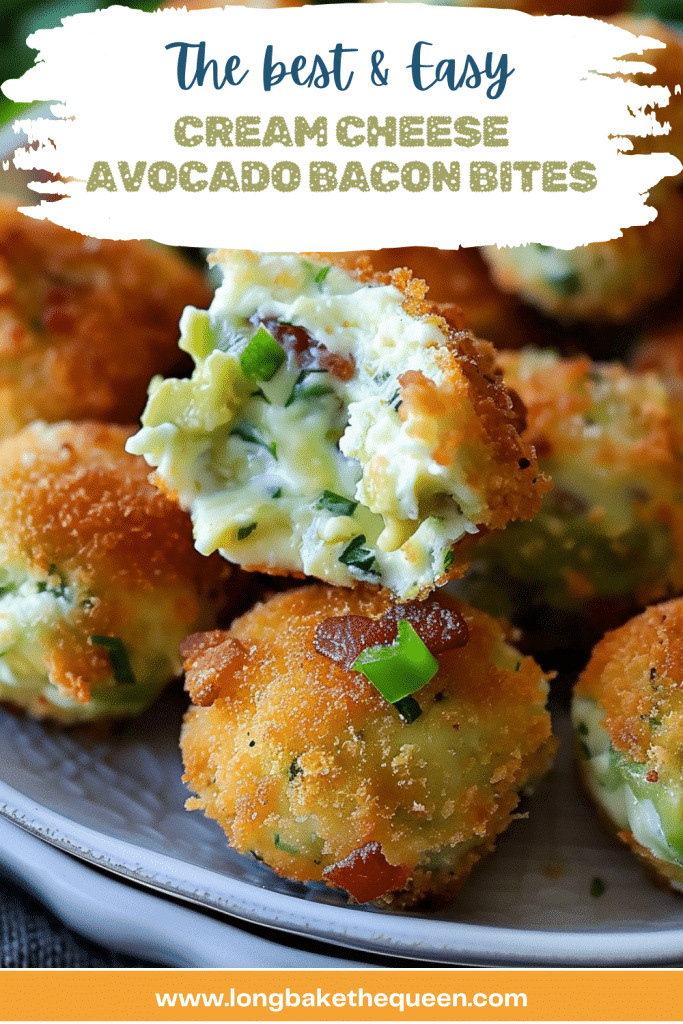
Cream Cheese Avocado Bacon Bites
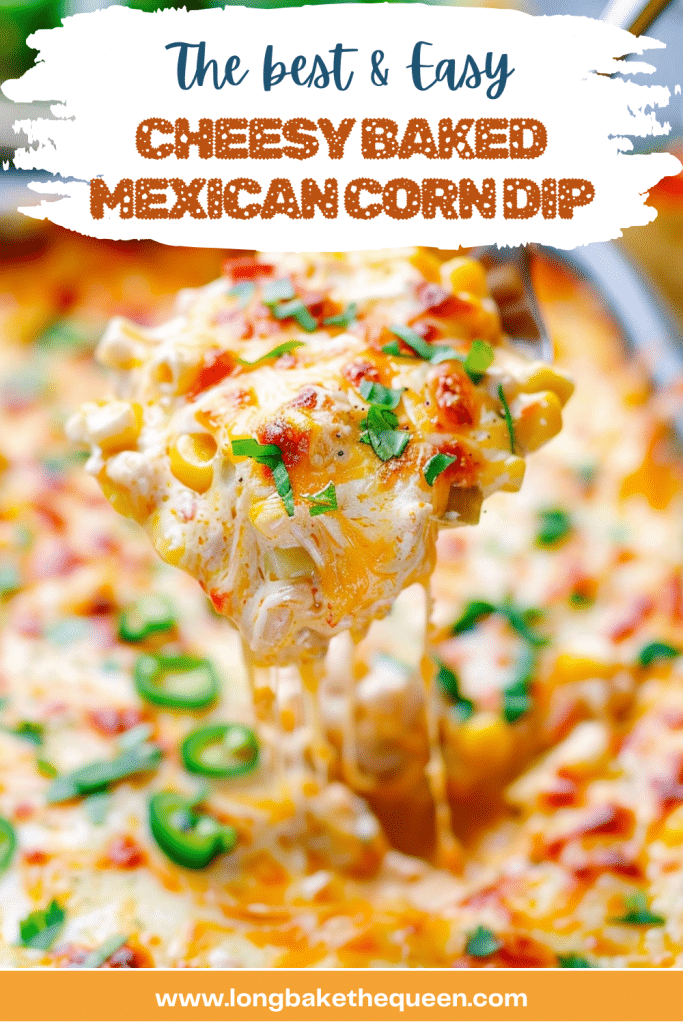
Cheesy Baked Mexican Corn Dip
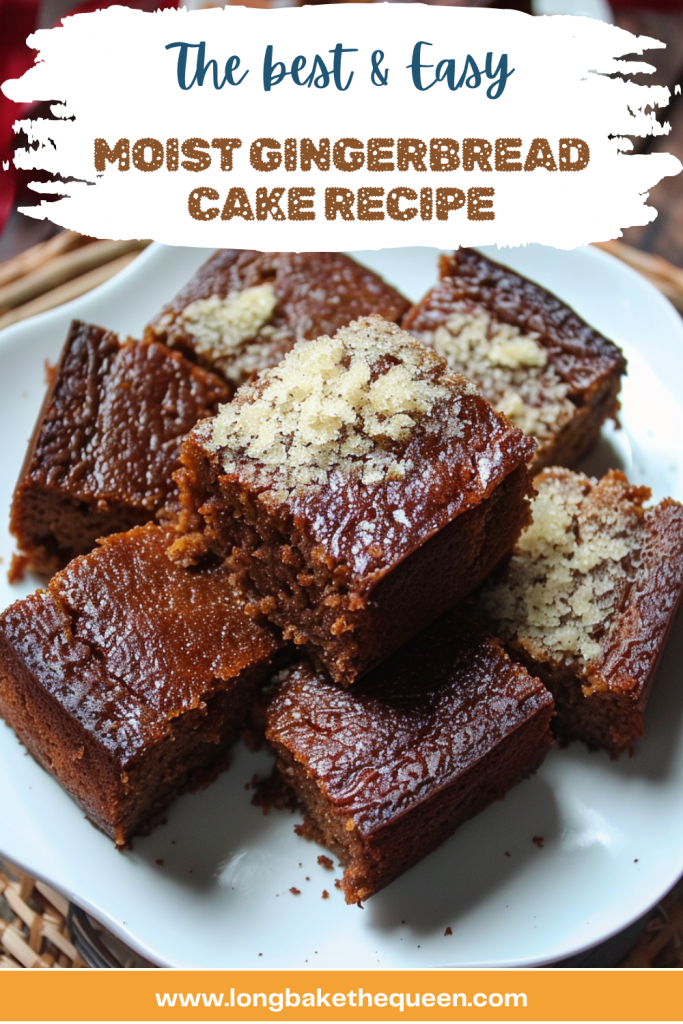
Easy and Moist Gingerbread cake
Homemade English Muffin Recipe
Crescent Breakfast Ring
Pinterest
follow me on pinterest!
Homemade English Muffin Recipe
Garlic Butter Chicken
Crescent Breakfast Ring Recipe
Easy and Moist Gingerbread cake
Cream Cheese Avocado Bacon Bites
Zesty Southwest Chicken Salad
Check Recipe >>
JOIN THE LONGBAKEQUEEN CLUB
Join Now!
Subscribe to the newsletter for all the latest recipes!
JOIN THE LONG BAKE QUEEN RECIPES CLUB
Join now!
Subscribe to the newsletter for all the latest recipes!